Tech Source Raptor Drivers for HP-UX User Manual
Page 10
Raptor Drivers for HP-UX Installation and Reference Manual
2-2
Step 2:
Install the Raptor card firmly into the PCI Local Bus
slot. Take care to press it evenly and snugly into
the slot. Once you are certain the card is installed
properly in the slot, secure it with the bracket
screw.
Step 3:
Secure the system’s cover, attach any previously
removed cables, and connect the video cable to
your monitor.
The Raptor card is now installed and the system is ready for software
installation as discussed in Chapter 3. If installing a display
subsystem (one of the Raptor FPS products), please read Section
2.3.
NOTE: At most, one Raptor card can be installed in a 64-bit PCI slot
on a HP C-360 workstation. If multiple Raptor cards are required,
install remaining cards into 32-bit slots.
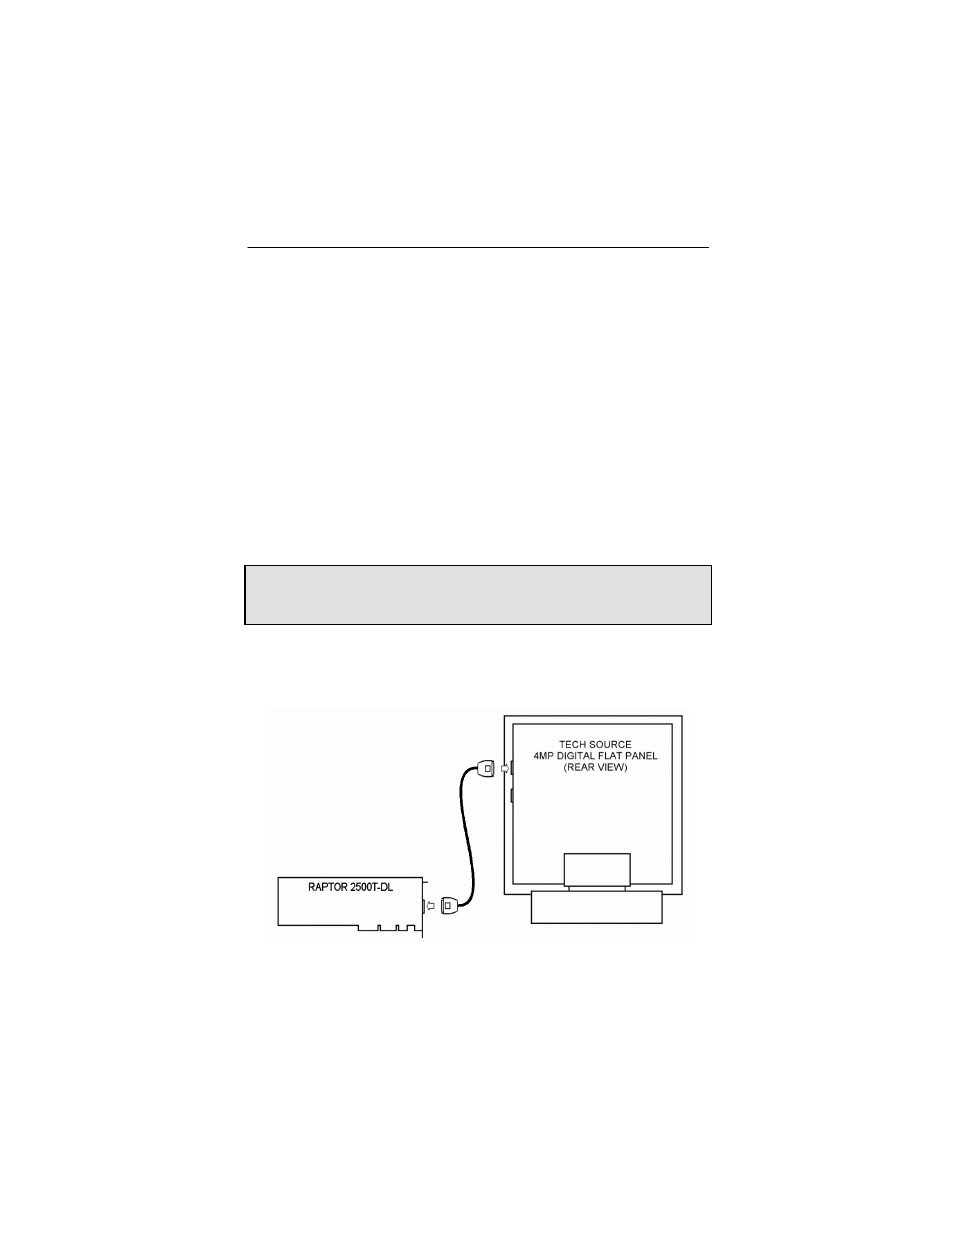
2.3 Raptor 2100/2500 FPS Installation
Figure 2-1 – Raptor 2100 Digital Flat Panel Subsystem