Mounting bracket structure, Installation procedure – H3C Technologies H3C WX5000 Series Access Controllers User Manual
Page 22
3-2
The WX5002V2 can be installed in either a standard 19-inch rack or a workbench as needed.
Installing the Access Controller onto a 19-Inch Rack
The access controller can be installed onto a 19-inch standard rack in one of the following approaches:
z
Installing the access controller with front and rear mounting brackets
z
Installing the access controller with front mounting brackets and a tray
z
Installing the access controller with front mounting brackets and slide rails
Installing the Access Controller with Front and Rear Mounting Brackets
Mounting bracket structure
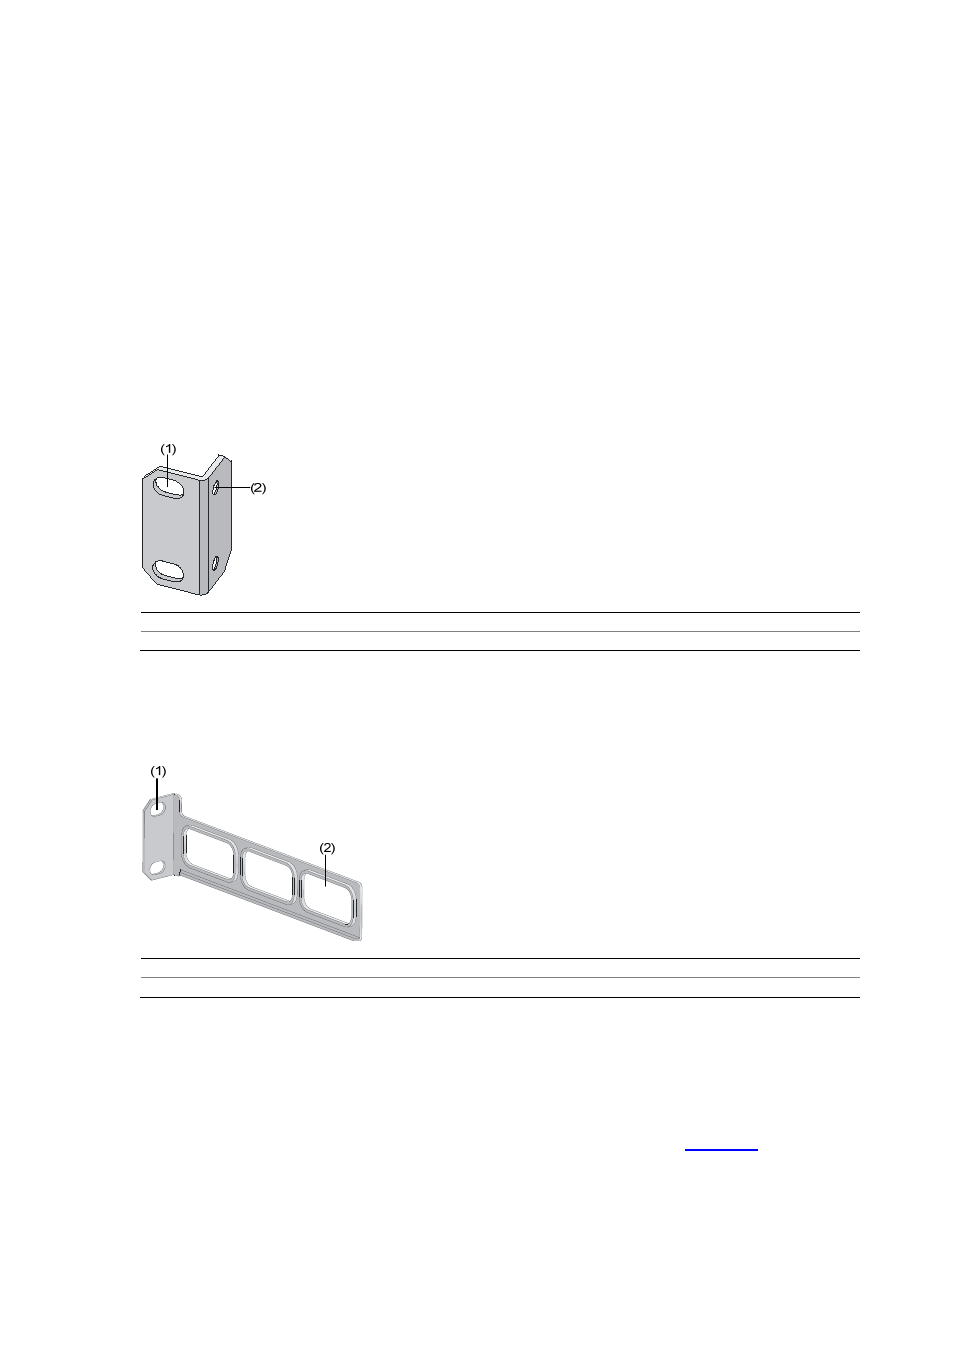
1) Appearance of a front mounting bracket
Figure 3-2
Front mounting bracket appearance
(1) Screw hole for fixing the front mounting bracket to the rack (use M6 screws)
(2) Screw hole for fixing the front mounting bracket to the access controller
2) Appearance of a rear mounting bracket
Figure 3-3
Rear mounting bracket appearance
(1) Screw hole for fixing the rear mounting bracket to the rack (use M6 screws)
(2) Heat dissipation hole
Installation procedure
1) Put on the EAD-preventive wrist strap and check that the rack is sturdy and properly earthed.
2) Take out the screws, which are packaged with the front mounting brackets. Attach the front
mounting brackets to the access controller with the screws, as shown in
.