Assigning channels to channel control buttons, Nected channel (see – Grass Valley M-2100 User Manual
Page 28
2-4
MMCP Installation/Operation Manual
Section 2 — System Operations
The
Channel Control
button color, tally states and their meanings are summa-
.
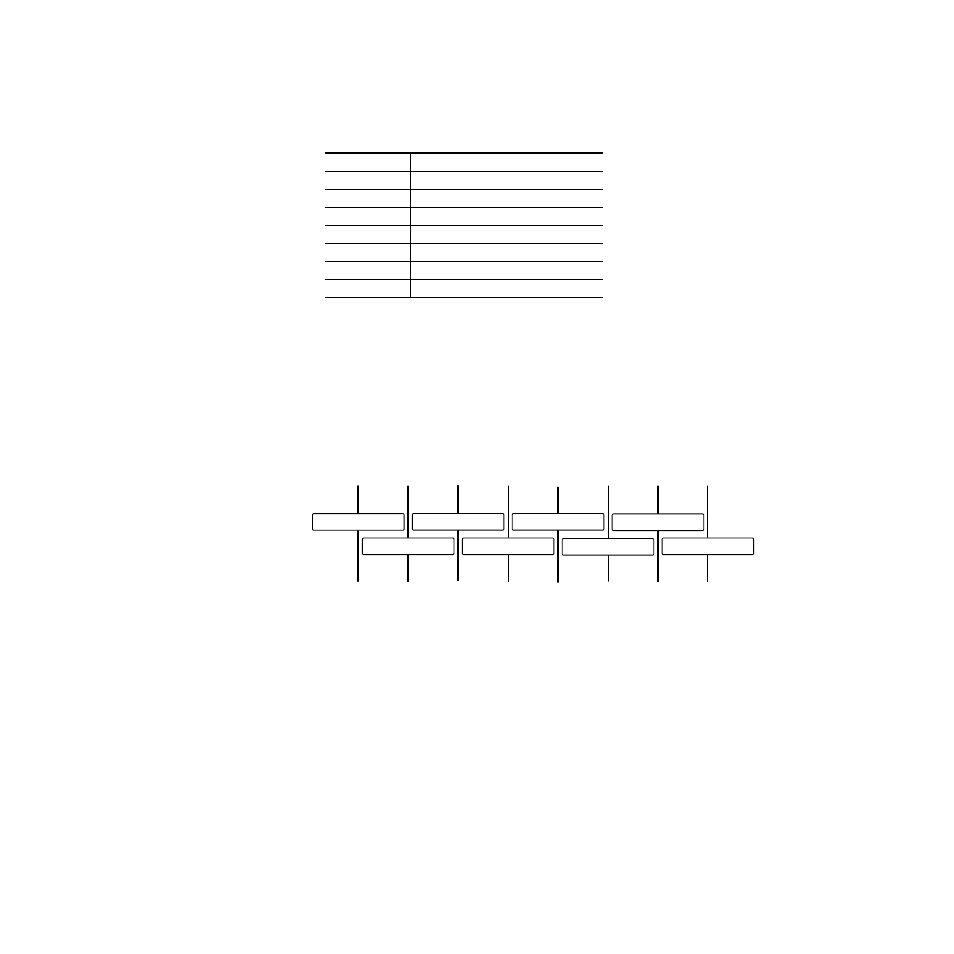
When assigning a channel, you may scroll through the available channels
with the
Take
and
Fade/Fade
Transition Type buttons in the lower left of the
panel (
).The scrolling channel names will appear in
a Source Name display (
) corresponding to the
Channel Control
button being pressed. Once channels are assigned to a button, the channel
names will be displayed in the Source Name displays corresponding to the
Channel Control
buttons.Channel names will only display during the channel
assignment process.
Figure 2-3. Channel Names in Source Name Displays
Assigning Channels to Channel Control Buttons
Each frame (channel) must be currently configured as a valid Equipment
Type in Configuration Manager before it can be assigned to a
Channel Control
button.
Channel Control
buttons can only be assigned when the panel is in a quiescent
state (no Primary active and all panel lights off).
To assign channels, do the following:
1.
Press and hold down the
Mode/Function
button on the far right of the
panel between the PGM and PST Level audio controls (
).
Table 2-1. Channel Control Button Color and Tally States
Color/State
Meaning
Off
Not assigned
Dim Red
Assigned but not available (Busy or No Comm)
Dim Red (blinking)
Assigned pending connection
Dim Green
Assigned and connected
Bright Yellow
Primary channel
Dim Yellow
Secondary channel
Alternating Red
Non-sync
Channel 1
Channel 2
Channel 3
Channel 4
Channel 5
Channel 6
Channel 7
Channel 8
8129_24