Adding an image box – Grass Valley Maestro Master Control v.2.4.0 User Manual
Page 332
MAESTRO — User Manual
328
Visualization Tool
Follow these steps to add Dynamic text:
1.
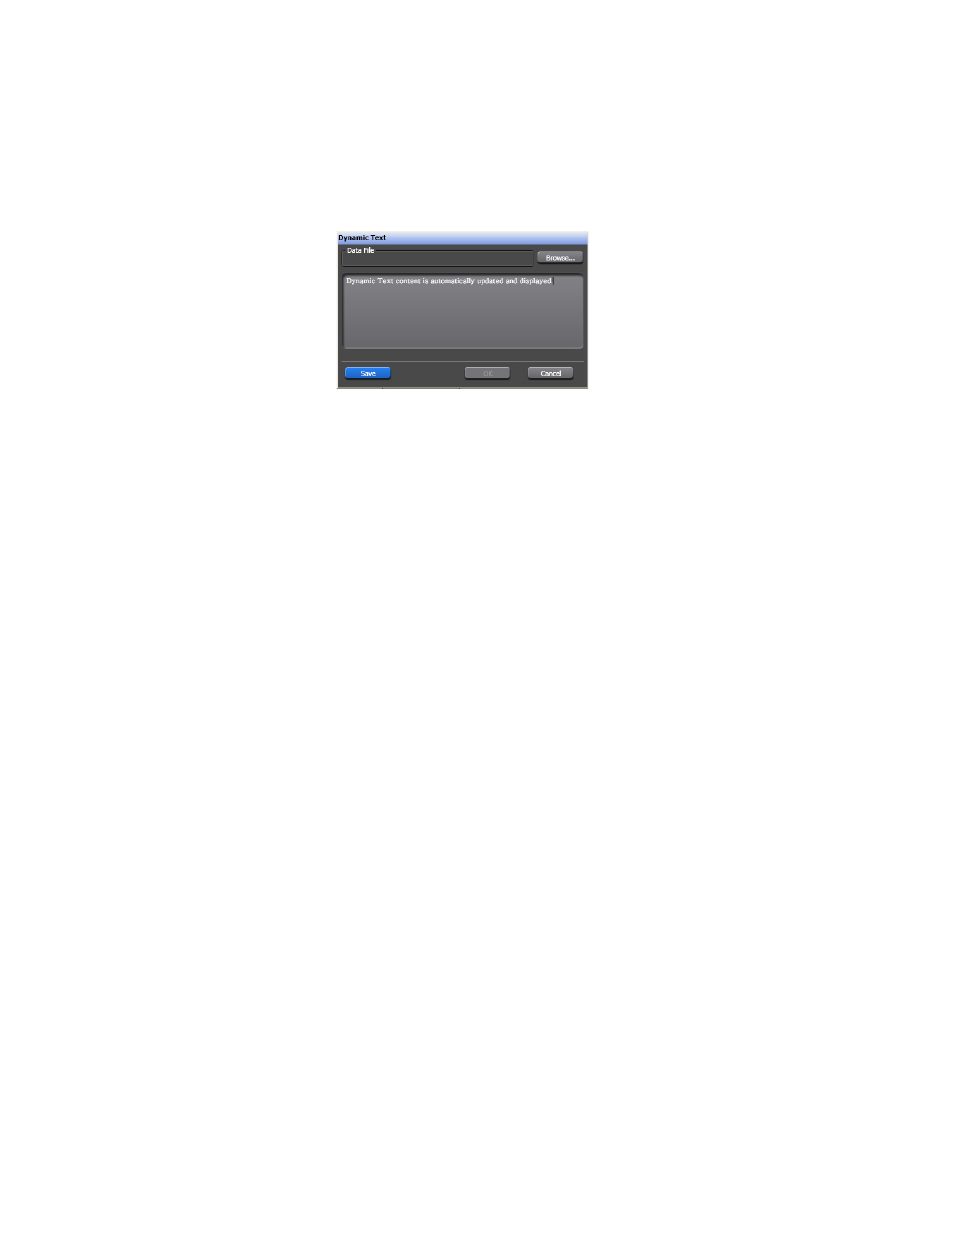
Click the
Dynamic Content
button. The Dynamic Text dialog will then
appear (
).
Figure 222. Visualization Tool - The Dynamic Text Dialog
2.
Enter the text that will be used in the Dynamic text file in the text
section‘.
3.
Click the
Save
button. The Select Data File Name dialog will then
appear.
4.
Enter a name that the file will be called in the File name field and then
click the
Save
button. The Dynamic Text dialog will then reappear with
the
OK
button active.
Note
Dynamic files are named with the .DAT file extension. For example, dynamic
text.DAT.
5.
Click the
OK
button. The location of the Dynamic text file will then
appear in the field next to the
Dynamic Text
button in the Properties
section.
Adding an Image Box
An Image box defines the display area where the images will appear and it
may contain dynamic elements.
Follow these steps to add an Image box:
1.
Select the
Image
option from the Box Content Type drop-down list in the
Boxes area of the interface.
2.
Click the
Add a Box >>
button. The text, “Box1 (Image)” will then appear
to the right of the button and a box will appear in the display screen.
3.
Click the text, Box1 (Image). The Box Configuration section will then
appear. This section has four buttons at the top: Common, Brushes,
Layout, and Brushes (
).