Grass Valley Maestro Master Control Installation v.2.4.0 User Manual
Page 292
292
MAESTRO Installation and Service Manual
Section 7 — Prelude Control System Interface
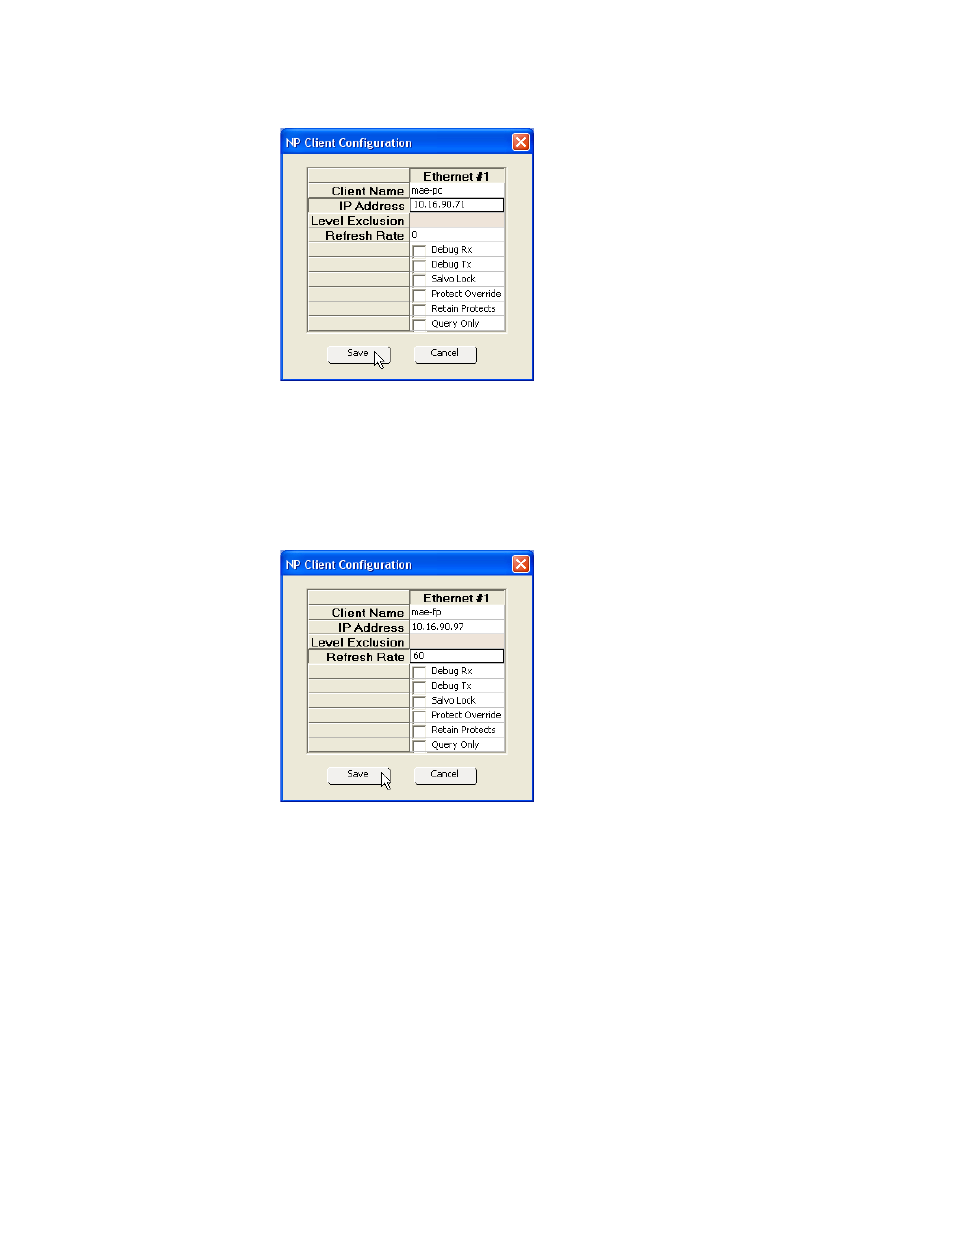
Figure 183. The NP Server Configuration Window
3.
Enter or modify the name of the client. In this example, “mae-pc” is
used.
4.
Click the IP Address field and enter the appropriate address and then
click the
Save
button. An alert may appear, click the
Yes
button.
Figure 184. The NP Server Configuration Window
5.
Right click the Client Name field in the Ethernet #2 column. Select
either new or edit. The NP Client Configuration window will then
appear. In this example, “mae-fp” is used.
6.
Click the IP Address field and enter the appropriate address.
7.
Click the Refresh Rate field and enter “60” in the field (
Click the
Save
button. The window will then close
8.
Click the
Save
button. The Prelude window will then appear informing
you that you must send the config file to the control panel. Click the
Ok
button.
9.
Repeat the above steps for each Maestro frame processor that will be
controlled through this or a redundant panel.