Manually removing the previous version of maestro, Figure 203 – Grass Valley Maestro Master Control Installation v.2.4.0 User Manual
Page 308
308
MAESTRO — Installation and Service Manual
Section 8 — Software Installation
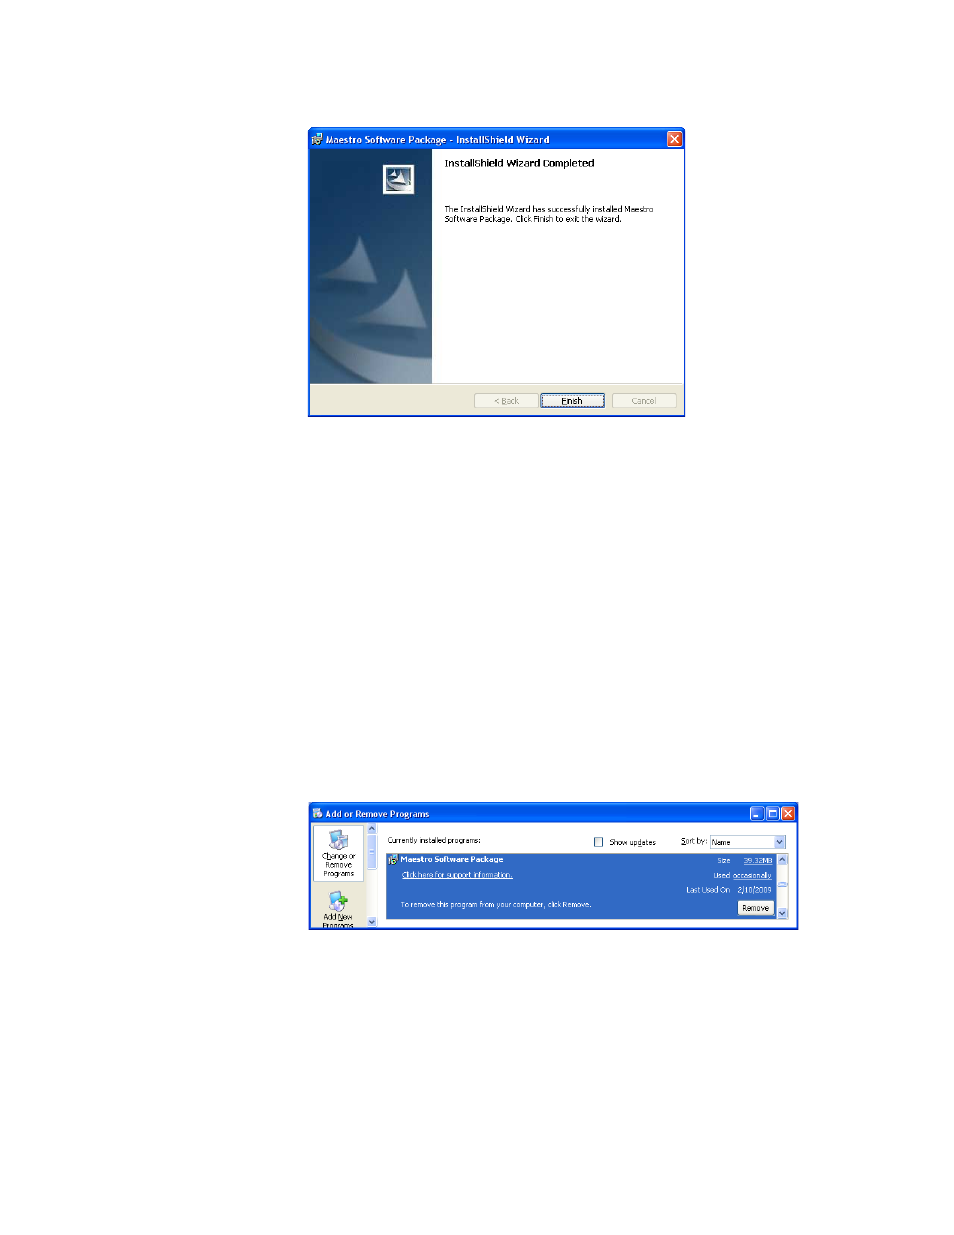
Figure 203. Installation Completed Screen
8.
Click the
Finish
button. The Installation application will then close.
Manually Removing the Previous Version of Maestro
The previous version of Maestro software must be removed from the com-
puter before a new version can be installed. The software can be manually
removed by following the steps below.
CAUTION If you are removing v1.3, v1.4, v1.5, or v1.5.1 software, you must use the
Administrator account (login). If you are removing v1.2 or prior software, you
must use the account (login) used when that software was installed.
1.
Using the Windows Control Panel, select Add or Remove Programs.
2.
Select the Maestro Software Package.
Figure 204. Removing the Maestro Software Package
3.
Click the
Remove
button. This step will not remove user data.
4.
Close the Windows Control Panel.
Note
The previous version of Maestro software can also be automatically removed
by starting a new software installation procedure.