How to set automatic incrementing, Displaying take buttons, Managing inputs and outputs – Grass Valley UniConfi NVISION Series v.1.3 User Manual
Page 101
UniConfig Configuration Application • User’s Guide
89
10. Managing Inputs and Outputs
Setting ‘Connection’ Window Preferences
How to Set Automatic Incrementing
1 Launch UniConfig. (See
2 From the menu bar, select ‘Window > Connections’. The ‘Connections’ window (
) appears with blank fields. The ‘Connections’ window must be active to activated
the necessary menu bar options.
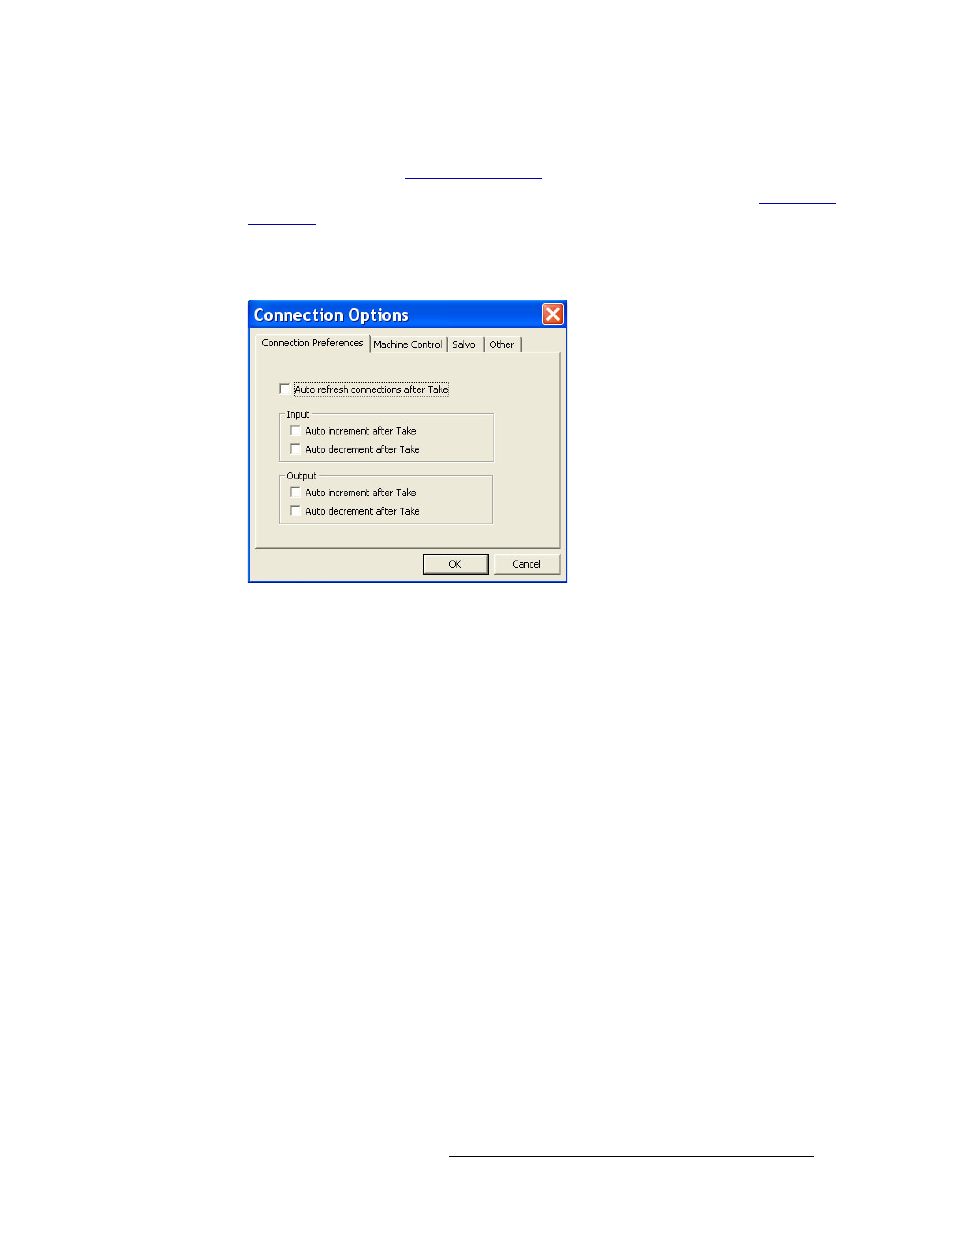
3 Again from the menu bar, select ‘Tools > Options’. The ‘Connections Options’ dialog box
appears:
Figure 10-2. Connections Options Dialog Box with Connection Preference Tab in Front
4 Select the ‘Connections Preferences’ tab to bring it to the front.
5 In the ‘Input’ section, check a check box to increment or decrement the input number after each
‘take’ when the
Read
button in the ‘Connections’ window is clicked:
‘Auto increment after Take’ automatically increases the signal number in the ‘Input’ field by
one.
‘Auto decrement after Take’ automatically decreases the signal number in the ‘Input’ field by
one.
6 In the ‘Output’ section, check a check box to increment or decrement the output number after
each ‘take’ when the
Read
button in the ‘Connections’ window is clicked:
‘Auto increment after Take’ automatically increases the signal number in the ‘Output’ field by
one.
‘Auto decrement after Take’ automatically decreases the signal number in the ‘Output’ field by
one
7 Click
OK
to save changes and close the dialog box.
Or
Click
Cancel
to close the dialog box without saving any changes.
Displaying Take Buttons
When a UniConfig ‘Connections’ window opens, it does not display the ‘Take’ buttons. Once dis-
played, the ‘Take’ buttons enable you to perform a ‘take’ by clicking the button instead of selecting
from the menu bar ‘Action > Take’.