Prepare the duct system for a test, Before beginning the duct leakage test – Retrotec DucTester 200 Series Residential Applications User Manual
Page 28
Page 28 of 91
©Retrotec Inc. 2015
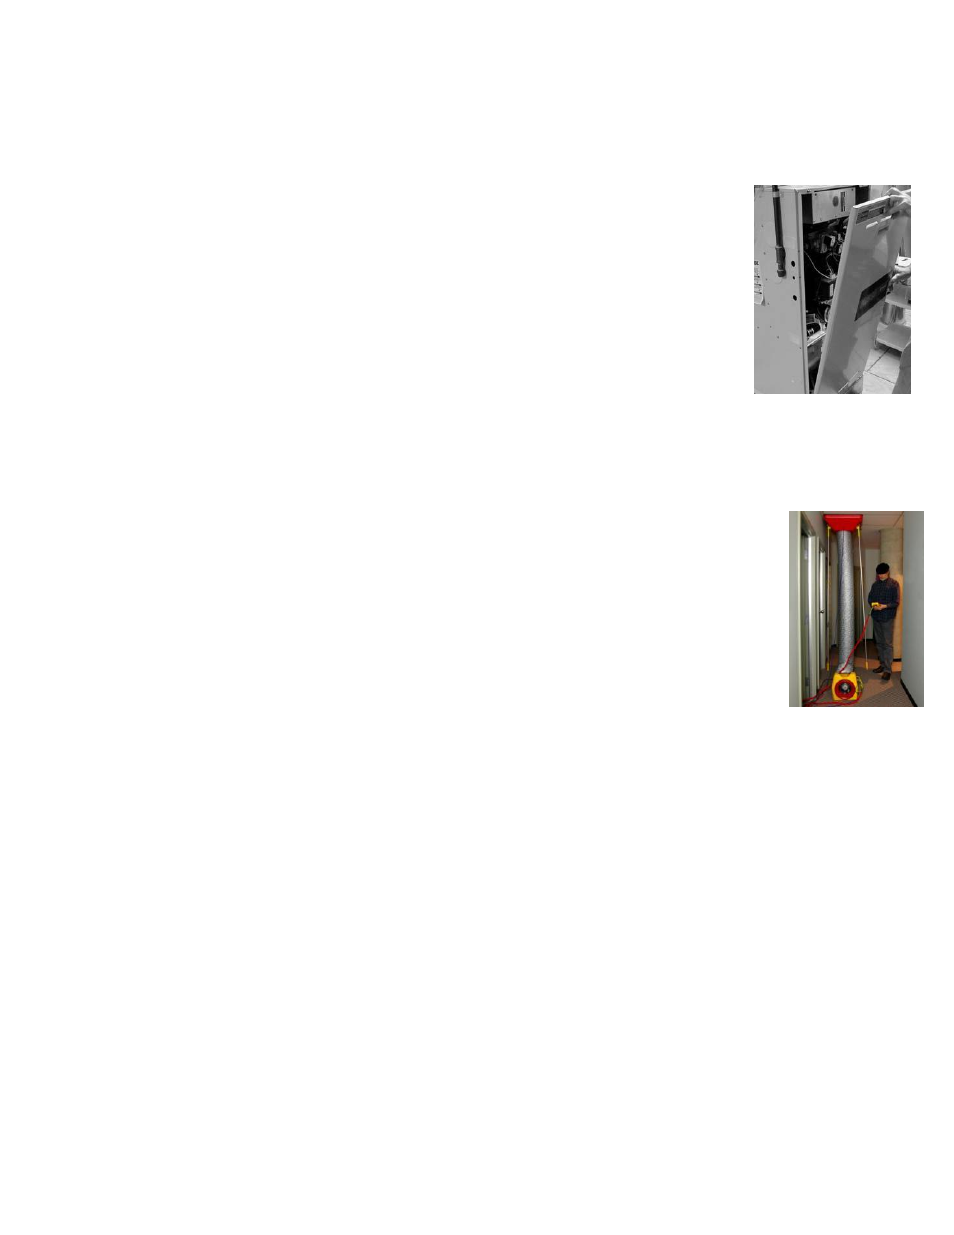
3.8.2. OR Connect the Flex Duct to the air handler cabinet
Alternatively, connect a Flex Duct to the air-handler cabinet. Normally this will give the same results as
connecting to a return. In cases where there is no return ducting installed, or where leaks in the return
system are excessive, connecting to the air-handler might be the only option to measure the supply
section of the ducts.
1. Cut a piece of cardboard the same size as the access panel to the blower
compartment of the air handler unit. Cut a hole in the middle of the piece of
cardboard that is slightly smaller than the square Flange.
2. Put the cardboard piece with the attached Flange onto the opening of the blower
compartment access. Tape the cardboard in place and seal all four sides of the
cardboard panel.
3. Attach the Flex Duct to the Flange and secure it with the Velcro strap. Ensure that
the DucTester has been placed in such a position as to minimize any major bends in
the Flex Duct.
4. Select a location to measure the test pressure that is induced by the DucTester. This
induced pressure will be measured on Channel A of the gauge.
3.8.3. OR Connect the Flex Duct to a ceiling level return using a Flow Hood
The optional Flow Hood is a faster way to connect to a ceiling register. Here the system is
being pressurized from a ceiling level return. It is a Pressure Pan with a hole in it, pre-cut to fit
the Flex Duct and a Flange. The blue tube goes into the supply register closest to the air
handler just as before.
When pressing the Flow Hood over the ceiling register, precautions must be taken to prevent
the black rubber weather-strip from marking light colored walls. Either cover the rubber with
clear tape, or avoid scraping over the painted surface.
Before the registers are covered, and while the air handler is running, the system’s air handler
flow rate can also be measured up to the capacity of the DucTester. For detailed instructions
on how to use a powered Flow Hood to measure system air handler flow, refer to section 9.3.
Higher air flow rates can also be measured when connected to the air handler itself because then the
exclusive @Pressure feature on the Retrotec gauge can be used to establish an exact flow rate at any
required pressure.
3.9 Prepare the Duct System for a test
Preparing for a duct leakage test requires preparing both the duct system and the building. The
following setup procedures are recommended by Retrotec. If the test is being conducted according to a
specific program guideline, you may be required to set up the duct system and building differently than
what is described below.
3.9.1. Before beginning the duct leakage test
1. Adjust the HVAC system controls to ensure that the air handler does not turn on during the test.
2. Remove all filters inside the ductwork including any filter that is behind the return grill (that the
DucTester will be connected to).
3. Seal off all remaining supply and return registers using Grill Mask. A roll is provided with all
DucTester systems.
Figure 24: Preparing to
connect to ducts via air
handler