Retrotec DucTester 200 Series Residential Applications User Manual
Page 65
Page 65 of 91
©Retrotec Inc. 2015
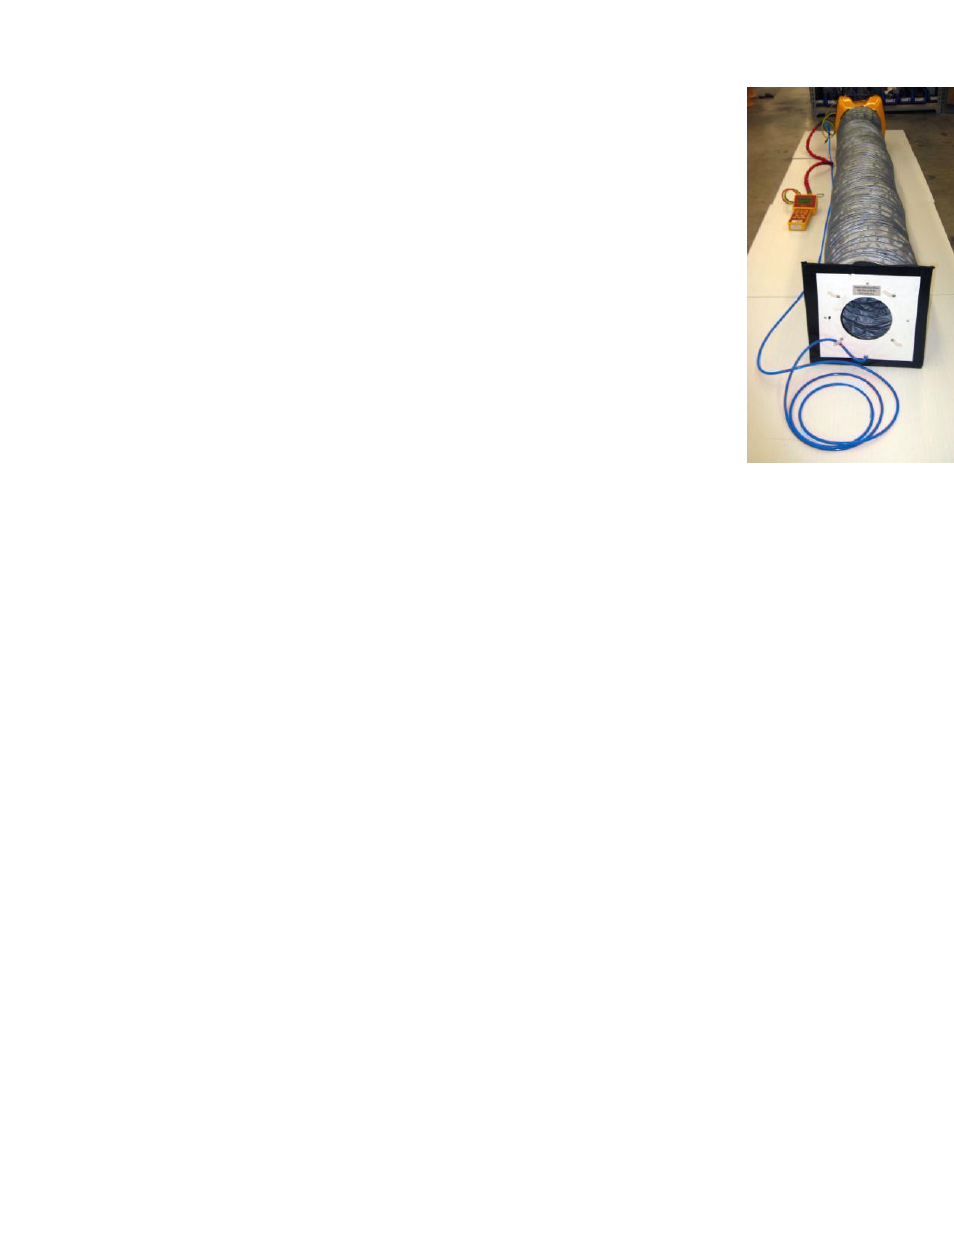
To field check the DucTester calibration
1. Tape the Field Calibration Plate to the Flex Duct Flange, and attach the blue tube to
the pressure pickup or into the small cut hole (if using a homemade one).
2. Set that DucTester in the Mid-Range configuration
3. Attach the Flex Duct to the outlet side of the fan to pressurize the Flex Duct. If
depressurizing ducts normally, you can also check the DucTester in that direction by
attaching the flex to the inlet of the fan where you must connect the green
reference tube.
4. Stretch the Flex Duct to its full length. Set the “Mode” to “Flow”.
5. Press [Set Pressure] [25] [Enter] and the fan will automatically control to 25 Pa.
Press [@ Pressure] to display “CFM @25 Pa”.
6. Compare the measured results with the flow marked on the calibration plate. A
homemade plate with the specified size hole should read within 5% of 105 CFM.
The calibrated fan and flex duct has now been checked as a system, removing that major
source of error.
Figure 50: DucTester field calibration
check setup.