Using the fader to switch the video – Roland V-800HD MKII Multi-Format Video Switcher User Manual
Page 33
33
Basic Operations
When you use the [AUTO] button to switch, the transition effect is applied according to the setting of transition time. Using the
video fader, you can control the transition time manually.
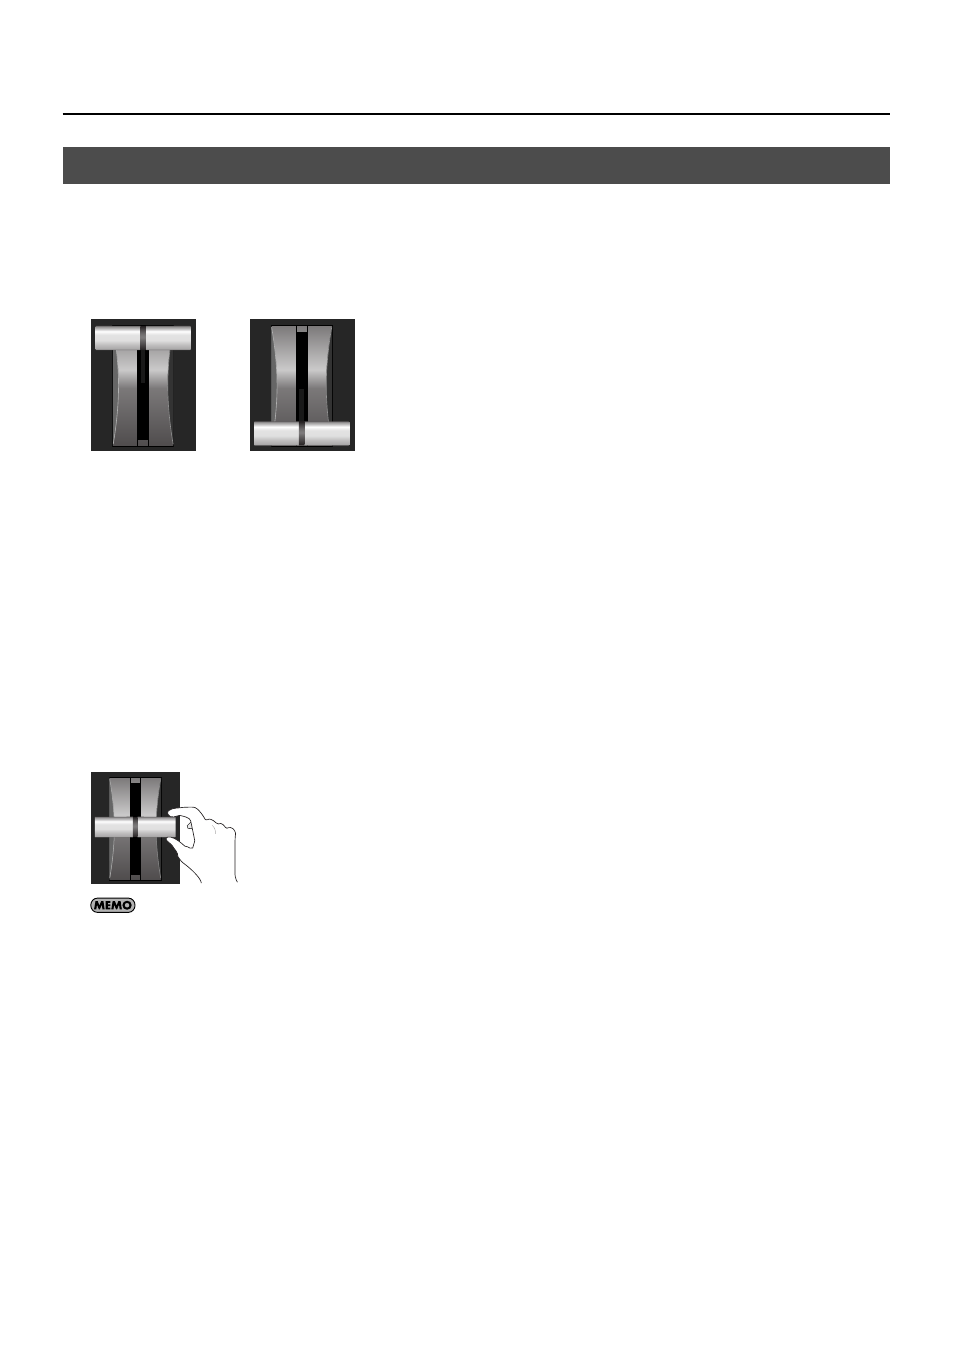
1.
Move the video fader all the way.
Before the transition, move the video fader all the way toward either the front or the back.
fig.fader-max.eps
2.
Select the transition effect.
Use the buttons in the WIPE PATTERN section to choose a transition effect.
3.
Select the channel you want to output next (standby).
Use the cross-points on the [PST/EFFECT] side to choose the channel you want to output next. Pressing the button makes it light
up in green. On the multi-view monitor, the selected channel is displayed with a green border around it. The video on the
selected channel is also displayed in the [PVW] section.
4.
Switch the video.
Move the video fader in the opposite direction of step 1. The button of the channel on [PGM] side lights up in red. On the multi-
view monitor, a red border is displayed around the channel being output. The output video is also displayed in the [PGM] section.
The channel selected before transition on the [PGM] side becomes the selected one on the [PST/EFFECT] side.
* The button lights up while you are moving the video fader. On the multi-view monitor, a red border is displayed around the source video.
fig.move-fader.eps
The channel to output always changes from the [PST/EFFECT] side to the [PGM] side, irrespective of the fader movement direction.
Using the Fader to Switch the Video
or