Switching automatically (auto scan), Freezing input video (freeze), Using imported still images – Roland 6-Channel HD Video Switcher with Audio Mixer & PTZ Camera Control (1 RU) User Manual
Page 19: Capturing a still image from input video, P. 19, Video operations
19
Video Operations
Switching Automatically (Auto Scan)
You can make the video on channels 1 through 6 switch
automatically.
MEMO
5
Any channels carrying no video input are skipped.
5
The still image (channel 7, 8) is not shown in auto scan.
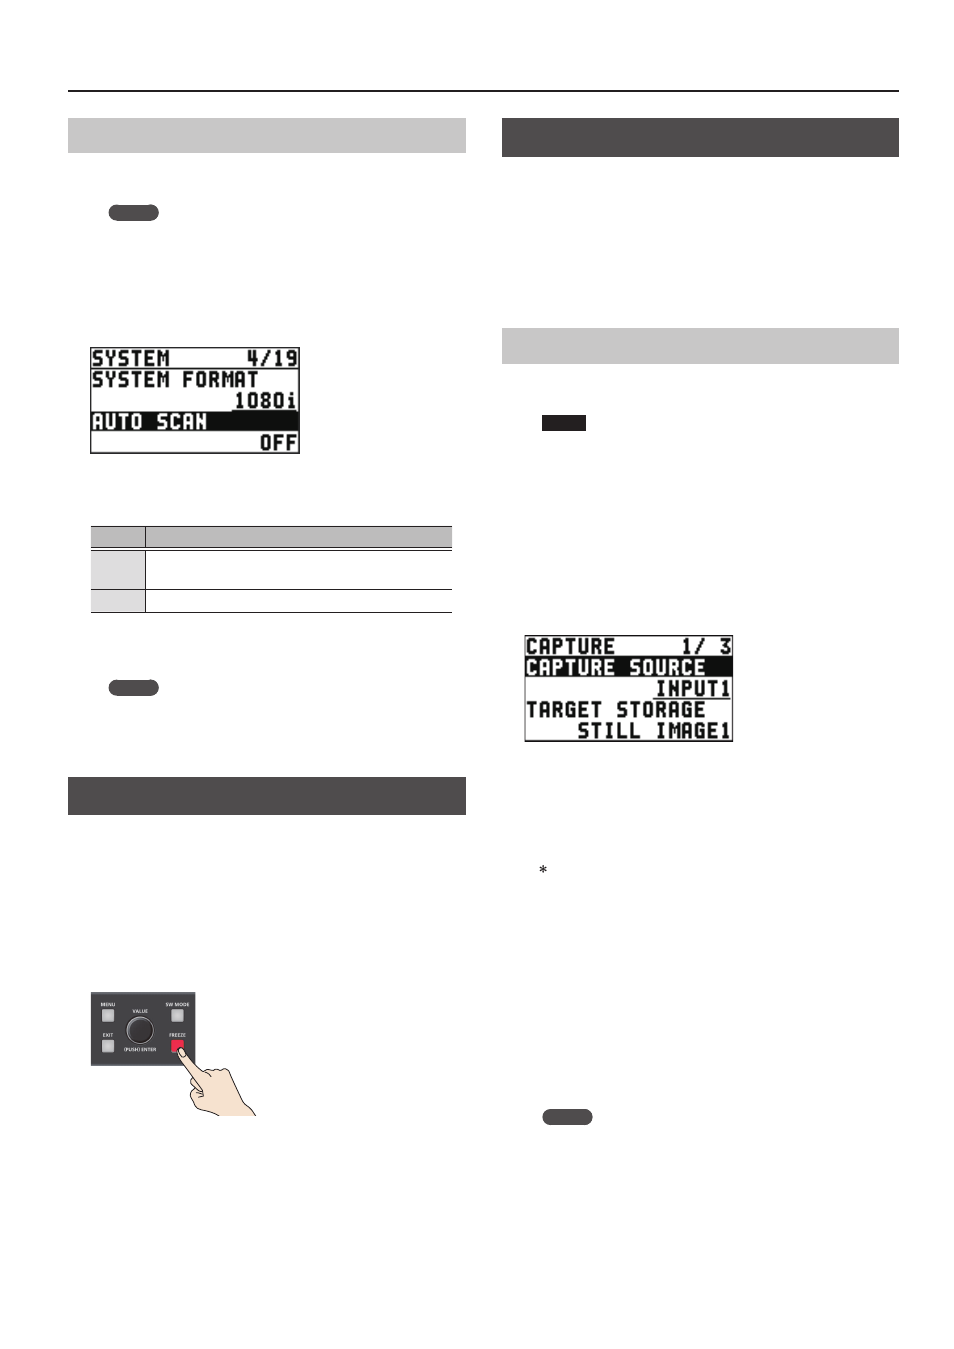
1.
Select the [MENU] button
0
“SYSTEM”
0
“AUTO
SCAN.”
2.
Use the [VALUE] knob to set this to “ON,”and press
the [VALUE] knob.
Value
Explanation
ON
Video automatic switching is turned on. The video
on channels 1 through 6 is switched automatically.
OFF
The video automatic switching feature is turned off.
3.
Press the [MENU] button to quit the menu.
MEMO
You can set the interval for video display within the range of
1 to 120 seconds. Use the [SYSTEM] button
0
“SYSTEM”
0
“AUTO SCAN TIME” to make the setting.
Freezing Input Video (Freeze)
This temporarily pauses the incoming video.
When you are changing the connections between two computers
during output, freezing the output before disconnecting the first
computer and then ending the freeze after connecting the second
computer makes it possible to change the connections without
creating noise in the output.
1.
Press the [FREEZE] button.
The [FREEZE] button is lit red. The input video freezes.
Using Imported Still Images
You can take a still image captured from input video or imported
from a USB flash drive, assign it to channel 7 or 8, and output it
in the same way as video. You can also use it as a source for DSK
compositing (p. 27).
You can save up to two still images in the unit.
* When still images are saved in the unit, startup takes longer
time according to image size and the number of still images
saved.
Capturing a Still Image from Input Video
This captures a still image from input video and saves it in the
unit.
NOTE
5
All video input stops during still-image capture.
5
Depending on the format of the input video, completion of
still-image capture might take some time.
5
Created still images cannot be saved to a USB flash drive.
5
Freezed video (p. 19) cannot be captured.
1.
Select the [MENU] button
0
“CAPTURE IMAGE”
0
“CAPTURE SOURCE,” then use the [VALUE] knob
to specify the input video to use for still-image
capture.
2.
Press the [VALUE] knob to apply the setting.
3.
Select “TARGET STORAGE,” then use the [VALUE]
knob to select “STILL IMAGE1” or “STILL IMAGE2” as
the memory destination for saving the still image.
A “ ” symbol is displayed for memory where a still image is already
saved.
4.
Press the [VALUE] knob to apply the setting.
5.
Select “CAPTURE EXECUTE.”
A confirmation message appears.
If you want to cancel the operation, press the [EXIT] button.
6.
Use the [VALUE] knob to select “YES,” then press the
[VALUE] knob.
Capturing is carried out.
7.
Press the [MENU] button to quit the menu.
MEMO
HDCP-applied Video on HDMI IN 5 and 6
When you have captured from copyright-protected (HDCP)
video, the created still image is treated the same way as
HDCP-applied video.
The still image is switched between displayed and hidden by