Dvd recorder basics, Inserting and formatting a disc, Reformatting a disc – Sony DAR-RD100 User Manual
Page 31
31
GB
DV
D Re
co
rd
e
r B
a
si
cs
DVD Recorder Basics
Inserting and Formatting a
Disc
When you first insert a new disc, the recorder will
ask you to format the disc. Follow the steps below
to format the disc. You can also reformat a
DVD+RW or DVD-RW to create a blank disc.
1
Turn on the TV.
2
Press DVD
&
/
1
.
The recorder turns on.
3
Switch the input selector on your TV so that
the signal from the recorder appears on the
TV screen.
4
Set the AMP/DVD switch to DVD.
5
Press
Z
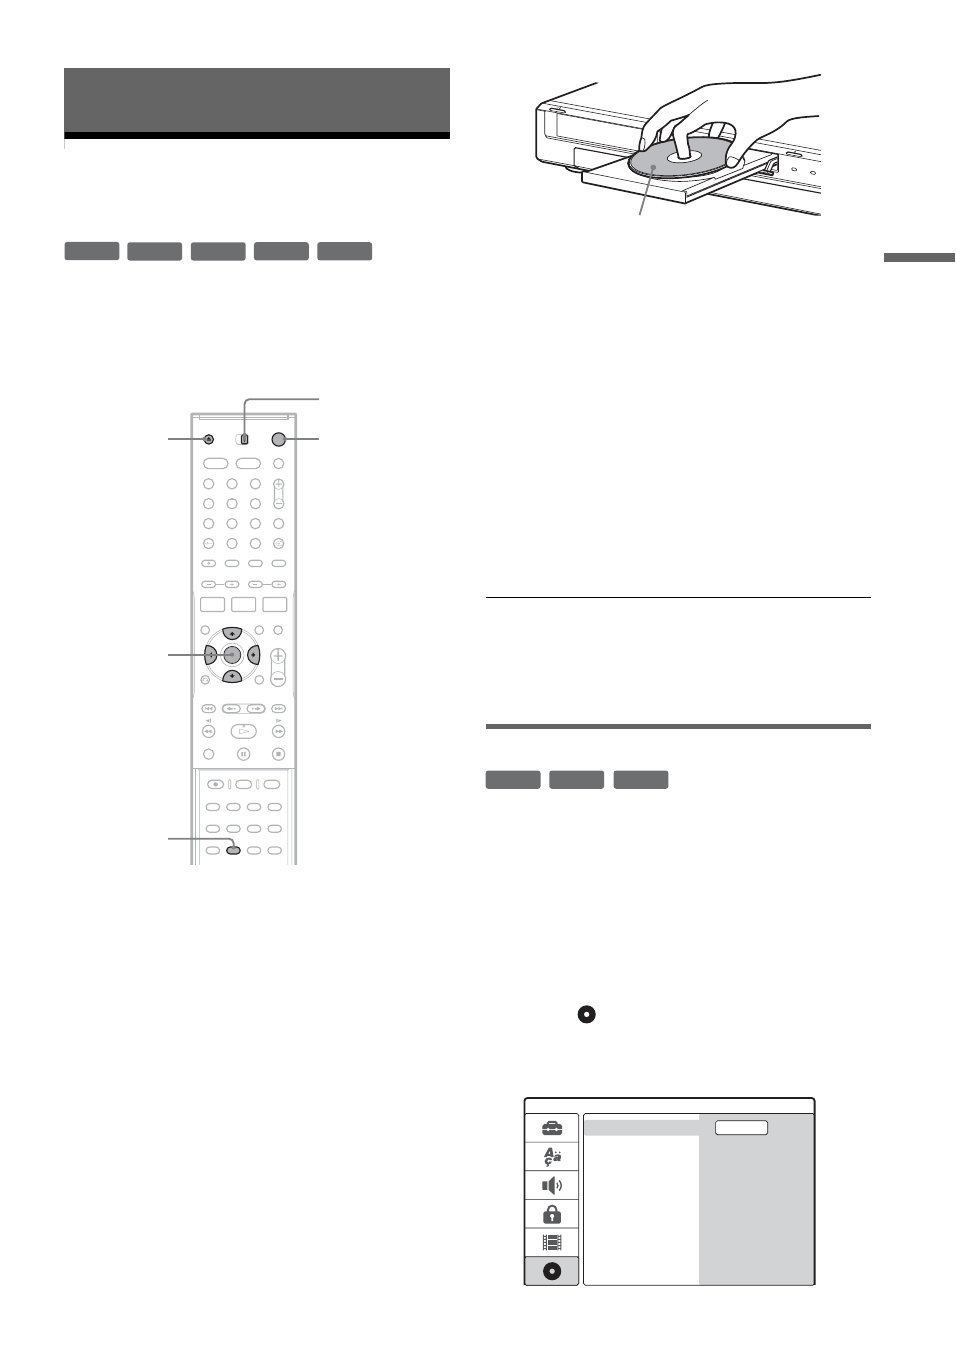
(open/close), and place a disc on
the disc tray.
6
Press
Z
(open/close) to close the disc
tray.
After “LOADING” disappears from the front
panel display, the display asks for
confirmation.
7
Press
<
to select [OK] and press ENTER.
The recorder starts formatting the disc.
The display shows the approximate time
required.
8
Press ENTER when [OK] appears.
• For a DVD-RW, the recorder automatically
formats in VR mode. To format in Video
mode, see “Reformatting a disc” below.
z
Hint
For a formatted disc, you can use the disc after
“LOADING” disappears from the front panel display in
step 6 above.
Reformatting a disc
You can erase all contents of a disc to create a
blank disc. To format a new DVD-RW in Video
mode, reformat the disc.
1
Insert a disc.
2
Set the AMP/DVD switch to DVD, and press
SET UP to turn on the Setup Display.
3
Select
[Disc Info] and press
,
.
4
Select [Format DVD] and press
,
.
+
R
-RW
VR
-RW
Video
+
RW
-
R
AMP/DVD switch
DVD
"
/
1
Z
1
2
3
4
6
7
8
9
0
5
<
/
M
/
m
/
,
,
ENTER
SET UP
Labelled side facing up
+
RW
-RW
VR
-RW
Video
Format DVD
Disc Info
Finalize
Disc Name
Protect
Start
,
continued