Preparation for installation - freestanding – Avalon Firestyles 796-1990 to 1993 User Manual
Page 14
Page 14
PREPARATION FOR INSTALLATION - FREESTANDING
READ THIS ENTIRE MANUAL BEFORE YOU INSTALL AND USE YOUR NEW APPLIANCE. FAILURE TO
FOLLOW INSTRUCTIONS MAY RESULT IN PROPERTY DAMAGE, BODILY INJURY, OR EVEN DEATH.
PREPARATION:
1.
Remove all tape and packaging.
2.
Remove the wood shipping frame from around and under the appliance.
3.
Check that no parts have become loose and the appliance has not been damaged during shipping.
4.
Remove the hardware pack from the appliance.
5.
READ THE OWNER'S MANUAL BEFORE PROCEEDING.
* Appliance should be located such that no doors, drapes, furniture or other combustibles can be placed
closer or swing closer than the minimum stated clearances.
* The appliance must be installed in a level, secure position.
REQUIRED FLOOR PROTECTION:
Minimum size 37 5/8"W x 41 3/8"L of non-combustible
material with a minimum thickness of 26 gauge floor
protection must extend under the appliance.
Front -
16"
Sides -
6"
Back -
6"
Chimney Lengths
Maximum
Minimum
Vertical
33 Feet
15 Feet
If you are going to use a factory built chimney it should be 6"
in diameter and a type suitable for use with solid fuels.
Follow the manufacturer's installation instructions packaged
within the chimney appliance.
Wall, ceiling, or roof penetrations can be made only with U.L.
listed chimney components. NOTE: Your interior single wall
chimney connector or double wall chimney connector must
not pass through an attic, roof space, closet or similar
unsealed space, floor, ceiling, wall or partition of
combustible construction.
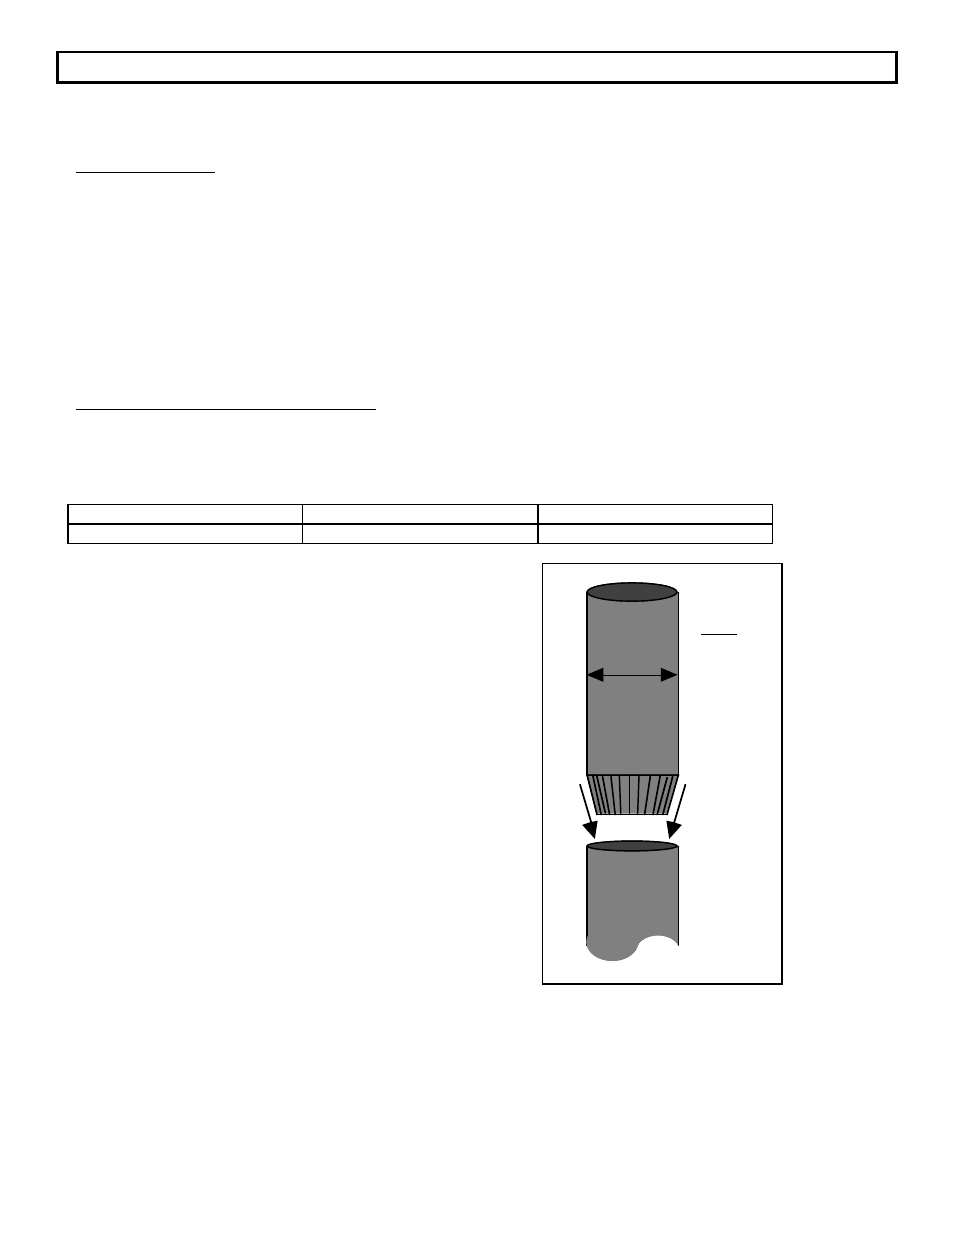
All sections of interior chimney connector should be securely
fastened together by at least three sheet metal screws. The
crimped end must be installed downwards (see drawing to
right).
When lifting the appliance, you may choose to remove the
interior components to make it lighter. Refer to the section
"REPLACEMENT PARTS AND REMOVAL INSTRUCTIONS"
for the proper sequence of removal and replacement of
internal components.
T o p
6"