Masonry fireplace insert installation (cont.) – Avalon Firestyles 796-1990 to 1993 User Manual
Page 37
Page 37
MASONRY FIREPLACE INSERT INSTALLATION (Cont.)
Installation Using a Positive Connection
Using a positive connection between your insert and masonry chimney allows you to use your existing
masonry chimney to support a new factory-built chimney liner. The advantages of a positive connection
are excellent chimney draft and ease of cleaning. A block-off plate is not needed for this type of
installation because the positive connection provides sufficient draft. If one is used, it need not be airtight.
The directions below illustrate one way to install your positive connection. There are several other
alternative methods. Check with your dealer or installer for information on other options available to you.
1. Install the positive connection (full reline) through the masonry chimney according to the
manufacturer's instructions for installation and support. Make sure to follow all of the manufacturer's
safety precautions during assembly. Inspect the masonry chimney and positive connection so that all
of the rules outlined in the section titled "CHIMNEY INFORMATION & REGULATIONS" are met.
2.
If a block-off plate is desired (optional), follow the directions for making a block-off plate in the section
titled "INSTALLATION OF A FIREPLACE BLOCK-OFF PLATE".
3.
Follow all of the regulations and guidelines specified in the sections titled "FIREPLACE INSERT -
SPECIFICATIONS" and "PREPARATION FOR INSTALLATION - MASONRY FIREPLACE INSERT".
4.
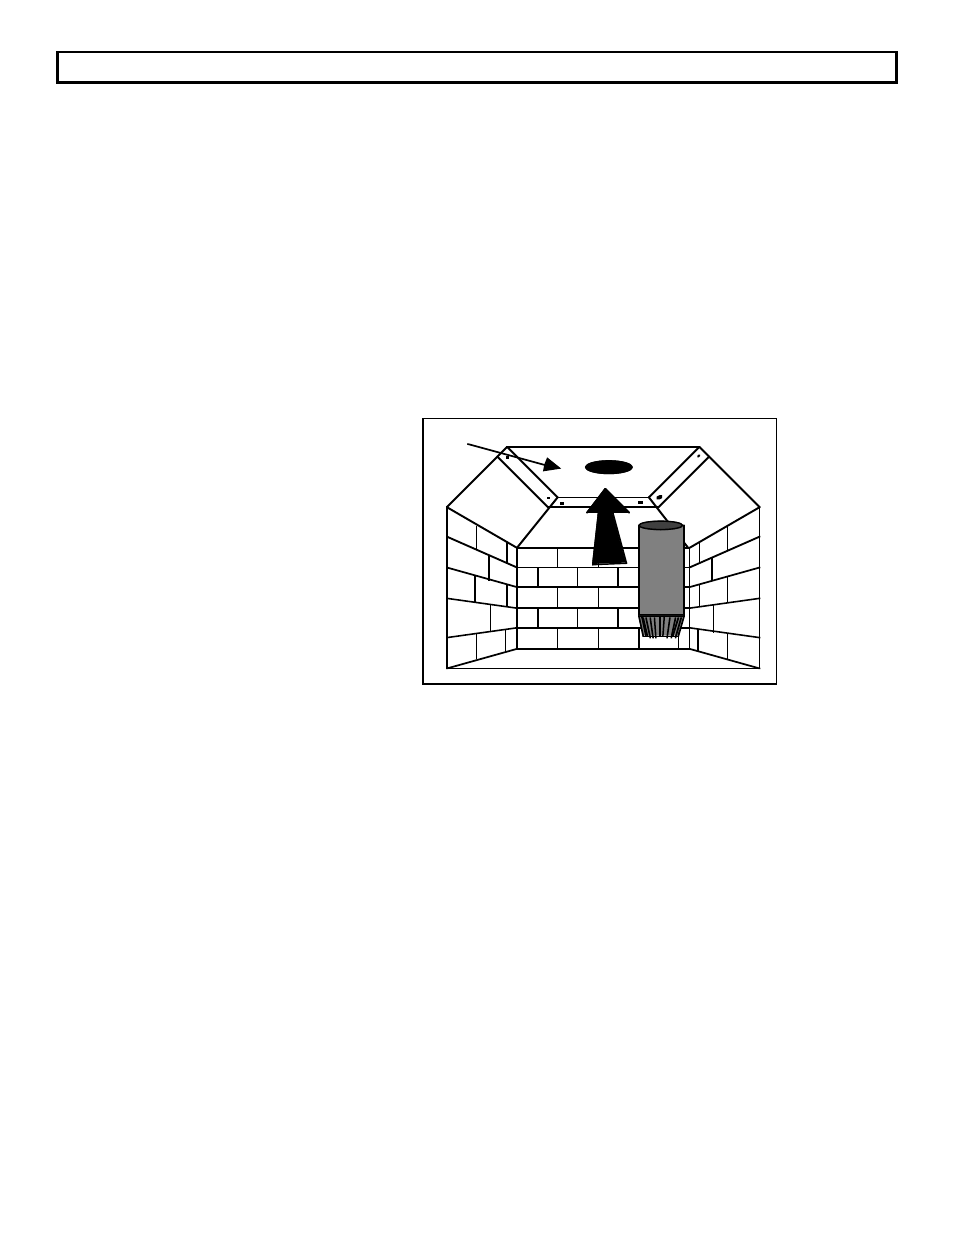
If you are using a block-off plate, slide
the pipe into the plate up through the
damper. If you are not using a block-off
plate, make sure the last segment of the
positive connection will reach the insert
once it is inserted into the fireplace.
5.
You may now place your insert into the
fireplace opening and position the
connector pipe so that it can be easily
pushed into the flue opening on top of
the insert. You may want to use a towel
or blanket to protect the floor or panel
finish while positioning the insert.
Block-off Plate
6.
Once this has been accomplished, reach in and pull the connector pipe down into the flue of the
insert. If ample room between the top of the insert and the fireplace opening does not exist, you will
need to remove the top firebricks by following the directions in the section "REPLACEMENT PARTS
AND REMOVAL INSTRUCTIONS". Then reach inside the appliance and pull the connector down by
placing your hand up through the flue opening of the appliance. The chimney connector should fit
tight and secure into the flue opening.
7.
With the connector in place, you have now completed the positive connection for your insert. It is a
good idea to check your connection by trying to rock the chimney connector back and forth. If it feels
snug, a good connection is established. If you can feel some play when you rock it back in forth,
make sure that the insert is properly aligned and that the connector fits tight in the flue collar on top of
the insert.