Beurer GL 44 (mg/dL) User Manual
Page 24
24
Beurer GL44 mg/dL
Performing a functional test using control solution
Warning
To obtain correct results, the measuring device, the test strip and the control solution must be the
same temperature. For the “Functional test using the control solution”, the temperature is to be be-
tween 20 °C and 26 °C.
1
Hold the blood glucose monitor so that the display is facing you.
2
Insert a test strip into the slot on the blood glucose monitor with the contacts first. Make sure
that the front of the test strip is facing you (see “Test strip” on page 12).
3
The device automatically switches on and briefly shows the start display. The device is ready
for measurement as soon as the hand and the symbol flash.
IMPORTANT: Control solutions and blood react to temperature influences in different ways.
It is therefore of vital importance that control solution measurement is always performed in
control solution mode. If this mode is not used, results may be obtained that are outside the
target range.
Note
Press the rocker switch “+” or “–” to change to the control mode. “ ” is shown on the dis-
play. This means that the result value is not stored in the memory, therefore not influencing
your measured value statistics. Press “+” or “–” again. “ ” disappears from the display and
the value is stored normally in the memory.
4
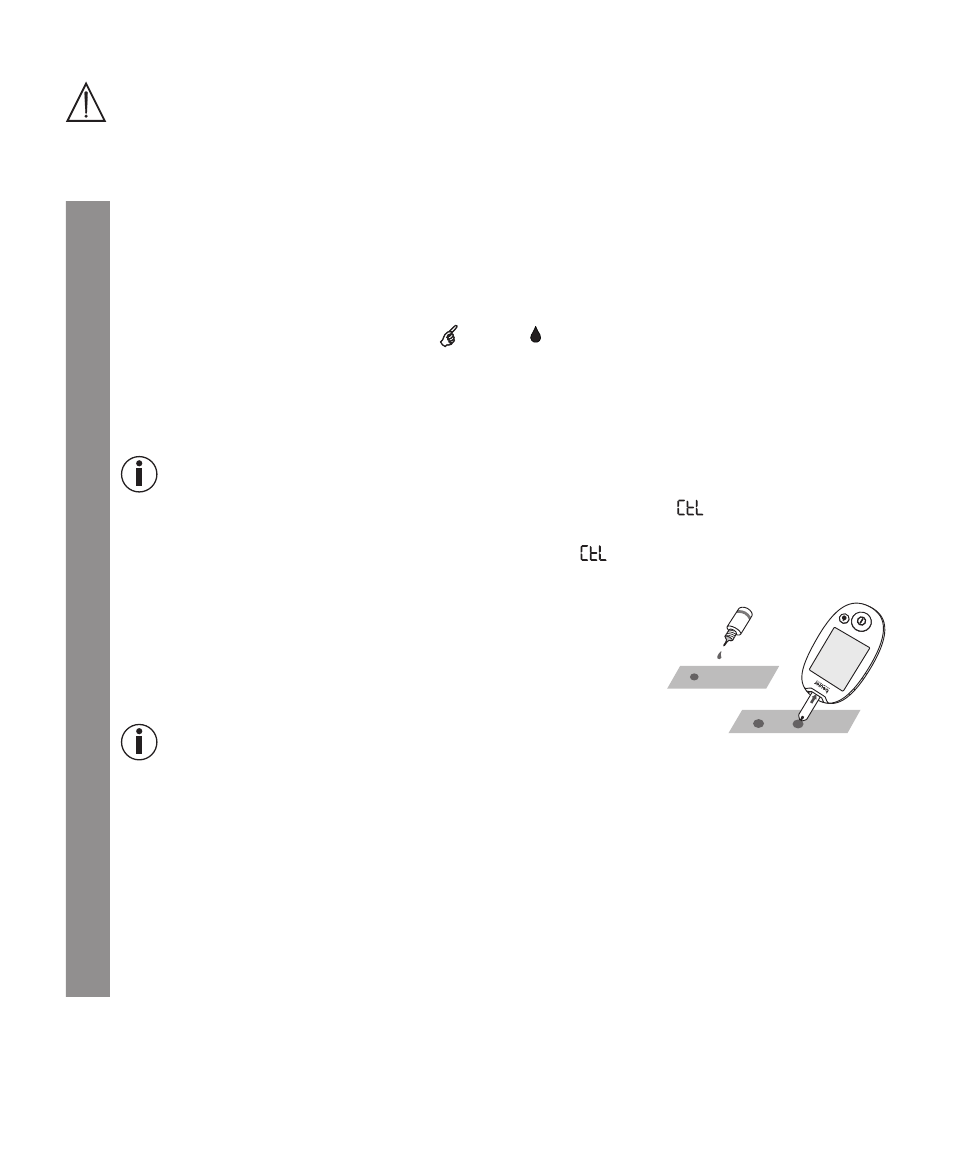
A clean surface is required to perform a correct functional test.
Shake the control solution well before use.
Undo the cap and press two drops next to each other on the
clean surface without touching them. Use the second drop for
the measurement.
Note
Do not apply the drop directly to the test strip to avoid contaminating the remaining control
solution in the bottle by touching the test strip with the tip of the bottle.
5
Hold the input gap (at the tip of the test strip) to the drops of control solution until the gap is
completely filled and the measuring device in the display starts counting backwards.
If the gap is sufficiently filled with solution, the device performs a measurement. The devices
counts down for approx. five seconds. The measured result is subsequently shown on the
display.
6
Check whether the result is within the specified range of results for the control solution. This
range of results is printed on the test strip box.