Fronius Acctiva Professional Flash User Manual
Page 66
64
Starting the
charge accept-
ance test manual-
ly
Retrieving param-
eters during the
charge accept-
ance test
By pressing the info button, the parameters are displayed in the following sequence:
-
actual battery current
-
actual battery voltage
-
amount of charge (Ah) fed in so far
-
energy (Wh) fed in so far
-
time that has elapsed since the start of the test
Charge accept-
ance test finished
- battery OK
The battery is OK, when the charger will switch automatically to standard charging mode
and charge the battery after the charge acceptance test has been carried out.
By pressing the Info button stored test parameters and the actual charging parameters can
be viewed:
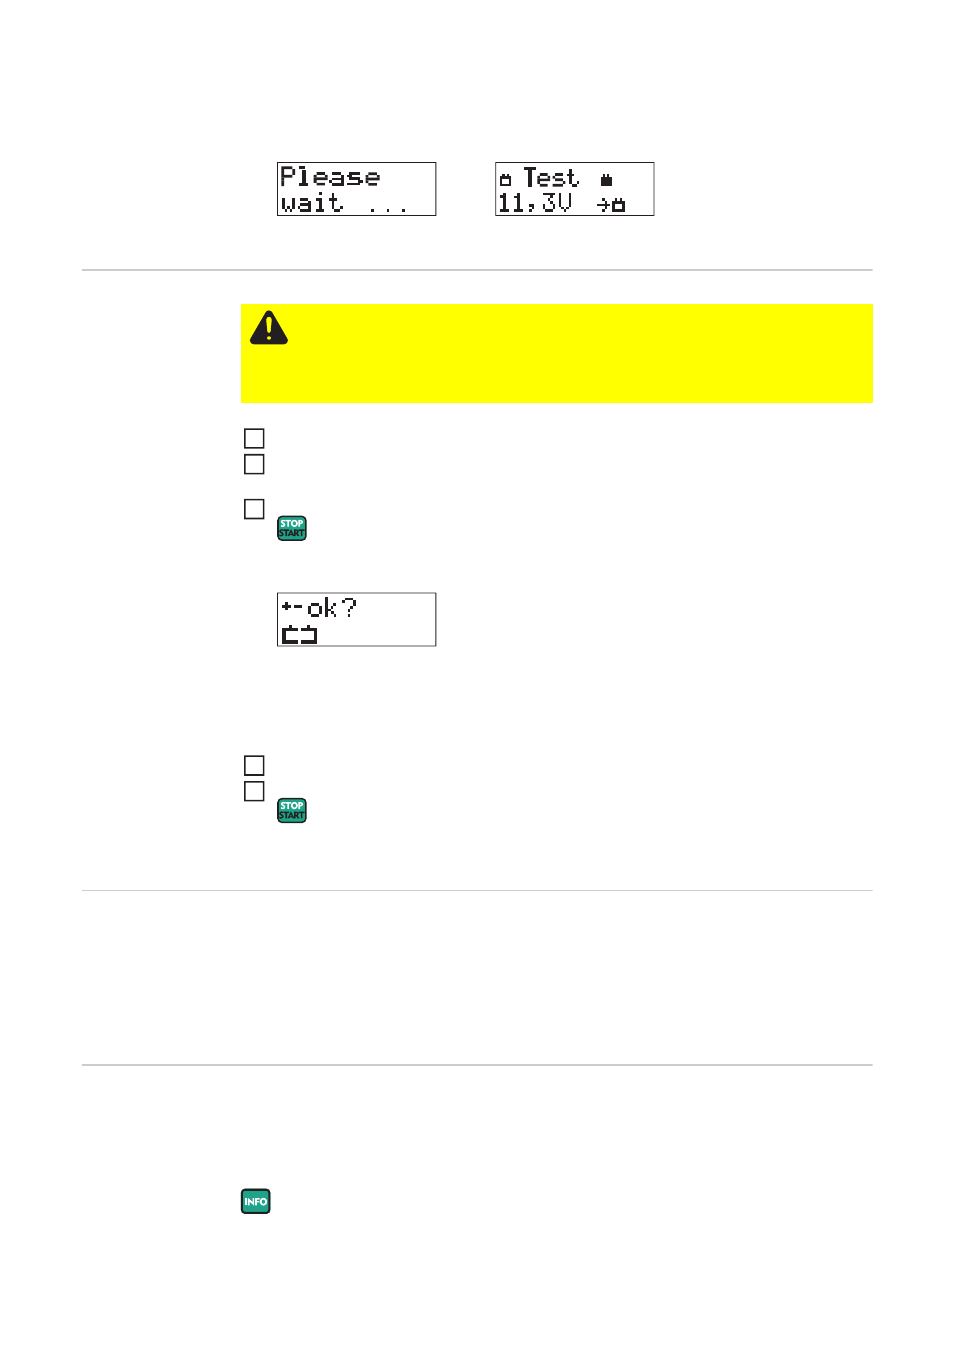
Charger detects that the battery is connected, carries out a self-test and starts the
charge acceptance test.
Self test
Charge acceptance test
CAUTION! Risk of serious damage if the charging terminals are connected incor-
rectly. The reverse polarity protection facility is inoperative if the current input test
is started manually (battery voltage < 1.5 V).
Connect charging terminals to correct poles and ensure proper electrical connec-
tion to vehicle terminals.
Connect (+) charging terminal to positive pole on battery
Connect (-) charging terminal to negative pole on the battery, or to vehicle body (e.g.
engine block) in the case of vehicle electrical systems.
Press start/stop button for approx. 5 secs
A query regarding correct polarity of the charging terminals is displayed:
Starting the charge acceptance test confirms the correct polarity connection. If the-
charge acceptance test is not started within 2.5 secs, the device reverts to menu
mode.
Ensure charging terminals are connected to correct poles
Start the charge acceptance test by pressing the start/stop button
The charger starts the charge acceptance test.
1
2
3
4
5