Infloor Electric Cable Series 386 User Manual
Page 3
3 of 36
Copyright ©2014
Important Safety Information
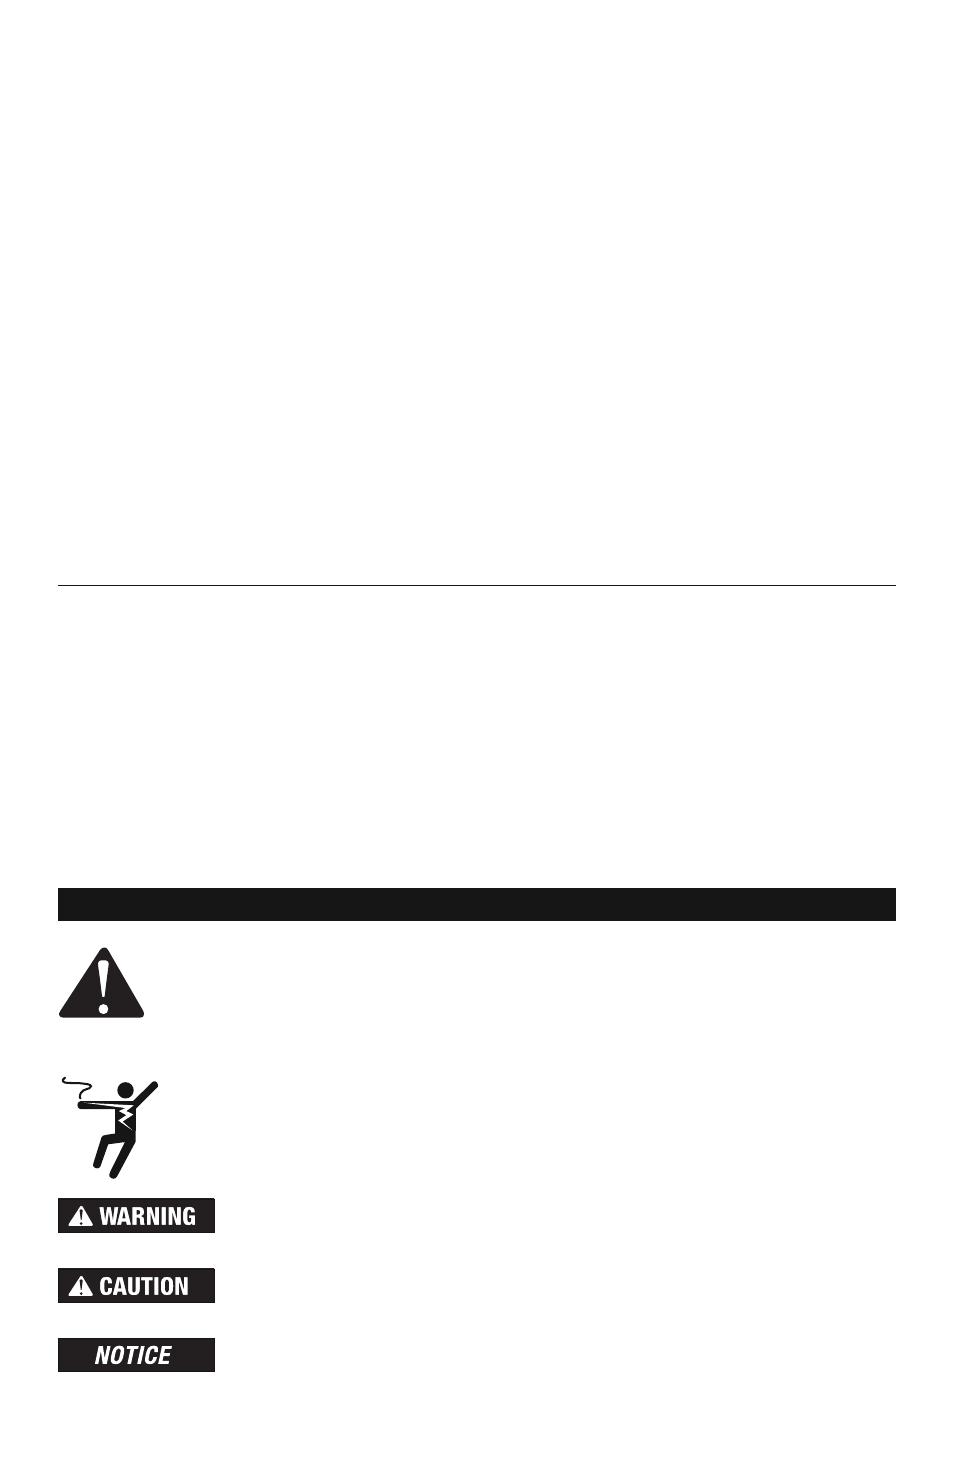
This is a safety-alert symbol. The safety alert symbol is shown alone or used
with a signal word (DANGER, WARNING, or CAUTION), a pictorial and/or a
safety message to identify hazards.
When you see this symbol alone or with a signal word on your equipment or in
this Manual, be alert to the potential for death or serious personal injury.
This pictorial alerts you to electricity, electrocution, and shock hazards.
This symbol identifies hazards which, if not avoided, could result in death
or serious injury.
This symbol identifies hazards which, if not avoided, could result in minor
or moderate injury.
This symbol identifies practices, actions, or failure to act which could
result in property damage or damage to the equipment.
Expected floor temperature
Heating performance is never guaranteed. The floor temperature attainable is dependent on
how well the floor is insulated, the temperature of the floor before start up, and the overall
thermal drain of the floor mass. Insulation is required for best performance. Refer to Phase
6 for important design considerations.
These are the three most common installations:
1. Wood framing: With the cable installed on a well-insulated wood subfloor, and thin-set
mortar and tile on top, most floors can be heated up to 20°F warmer than they would
otherwise be.
2. Insulated concrete slab: With the cables installed on an insulated concrete slab, and
thin-set mortar and tile on top, most floors can be heated up to perhaps 15°F warmer
than they would otherwise be.
3. Uninsulated concrete slab: With the cables installed on an uninsulated concrete slab,
and thin-set mortar and tile on top, most floors can be heated up to perhaps 10°–15°F
warmer than they would otherwise be.
Please consult a designer or the factory if questions remain about the surface temperature
that can be expected from the cables in any particular construction. Please see “Phase 7:
Install Insulation” on page 20.
Table of Contents
Important Safety Information .....................3
Phase 1 - Preparations ..............................5
Phase 2 - Electrical Rough-in ....................9
Phase 3 - Install the Cables ..................... 11
Phase 4 - Finish Wiring ............................17
Phase 5 - Control Installation ..................18
Phase 6 - Install the Floor Coverings .......19
Phase 7 - Install Insulation .......................20
Appendices ..............................................22
Troubleshooting .......................................33
Warranty ...................................................35