Practical use – Ivoclar Vivadent IvoBase Injector User Manual
Page 17
6. Practical Use
6.1 Switching on the injector
Put the On/Off switch (20) on position "I". The injector now con-
ducts an automatic self-test. Make sure that the injector is not
manipulated during that time.
6.1.1 Stand-by screen
If the self-test has been successfully completed, the stand-by
screen is displayed. Now the desired program can be selected with
the program or cursor keys.
Once the flask has been placed in
the injector and the safety door
has been closed, the START
symbol appears in the recommen-
dation section. The selected pro-
gram is started by pressing START.
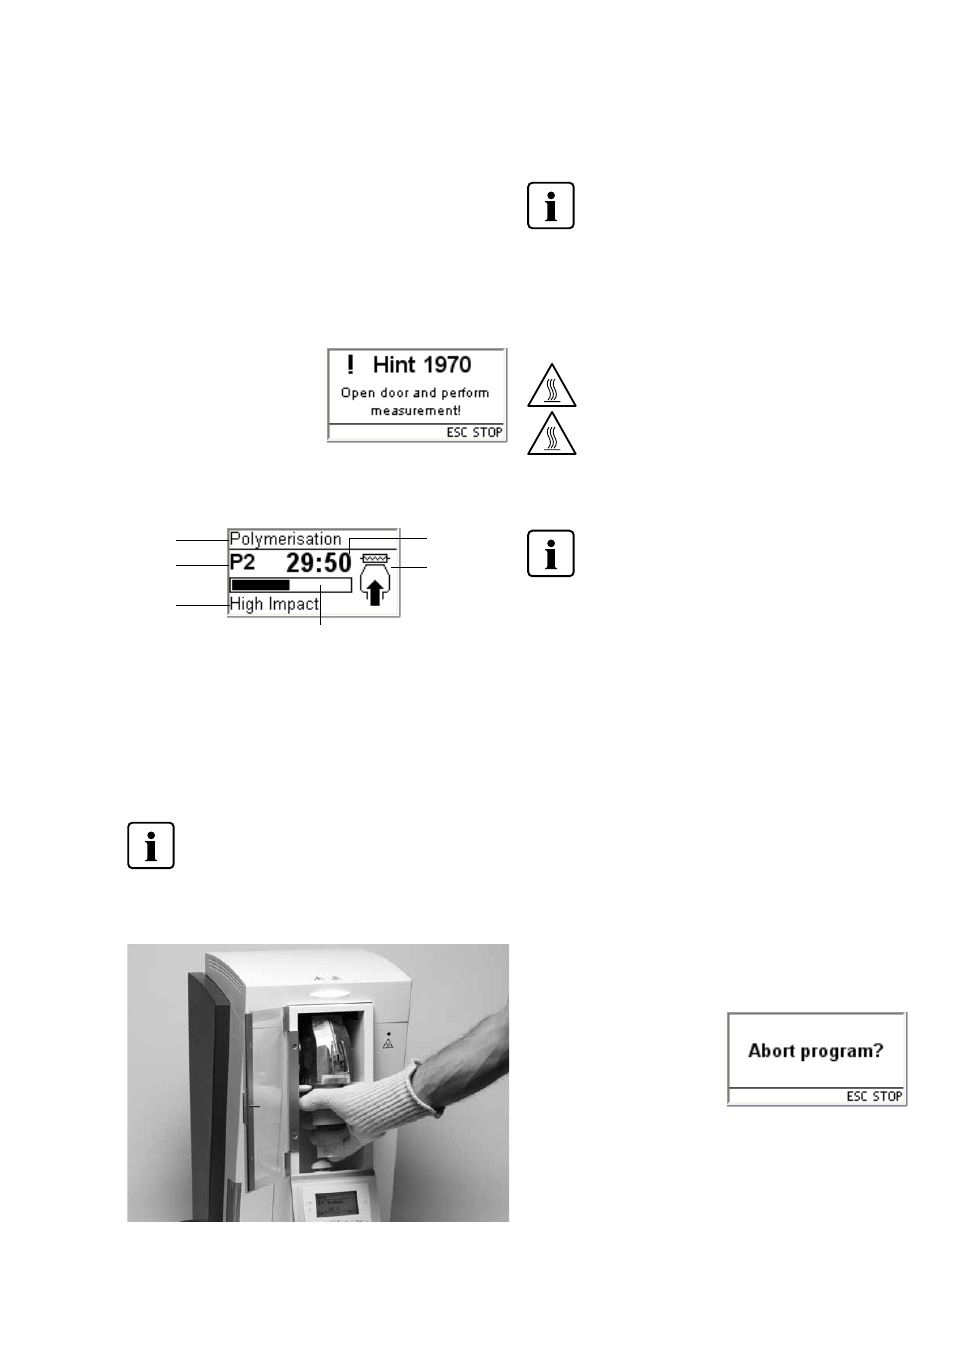
6.1.2 Program progress screen
After the program has been started, the program progress screen is
displayed.
6.2 Loading
To load the IvoBase Injector, proceed as follows:
Step 1:
Open the safety door (16).
Step 2:
Slide the flask into the holder intended for this purpose as shown in
the picture.
Make sure that the flask is securely placed and that it has
been inserted until it stops. The flask perceptibly
snapping into place indicates the correct position.
Step 3:
Close the door. If the OSD lights up green, the injector is ready for
the process.
Please read the following processing notes
carefully.
– Make absolutely sure that both flask halves have cooled to room
temperature before injection. A temperature of >30 °C (>86 °F)
jeopardizes controlled polymerization and might lead to
inaccuracies of fit.
– When working with self-curing materials, make sure that as little
time as possible lies between mixing the material and injection.
A lit warning light (5) indicates that the injector tempera-
ture is high during loading or removal and, therefore,
there is a burn hazard (>45 °C/>113 °F).
Always use the thermal glove supplied when
removing the flask from the injector!
6.3 Starting the injection process
For practical use, please observe the Instructions for Use
of the respective material!
Step 1:
Select the desired program (P1 to P20) using the program or cursor
keys.
Step 2:
Open the safety door and insert the flask into the injector. The flask
perceptibly snapping into place indicates the correct position.
Step 3:
Close the safety door. The injector cannot be started if the door is
open. Press Start to start the program.
The course of the program can be observed on the program
progress indicator.
6.4 Further possibilities and special features of the
injector
6.4.1 General write protection
If the programs are write protected as a whole, a closed, solid lock
is displayed in the parameter list. The setting "Renaming" cannot be
selected if the write protection is active. A hint in the form of closed
lock is shown next to the keyboard symbol.
6.4.2 Stopping the running program
Pressing STOP once results in the
program abort screen being dis-
played.
You can now abort the program
by pressing the STOP key again, or
you can press ESC and the pro-
gram abort screen disappears and the program is resumed.
17
Remaining time indicator
Graphic
status information
Progress bar
Program status
Currently selected
program
Program or
material name