5 cleaning, 6 heater test – Ivoclar Vivadent IvoBase Injector User Manual
Page 21
21
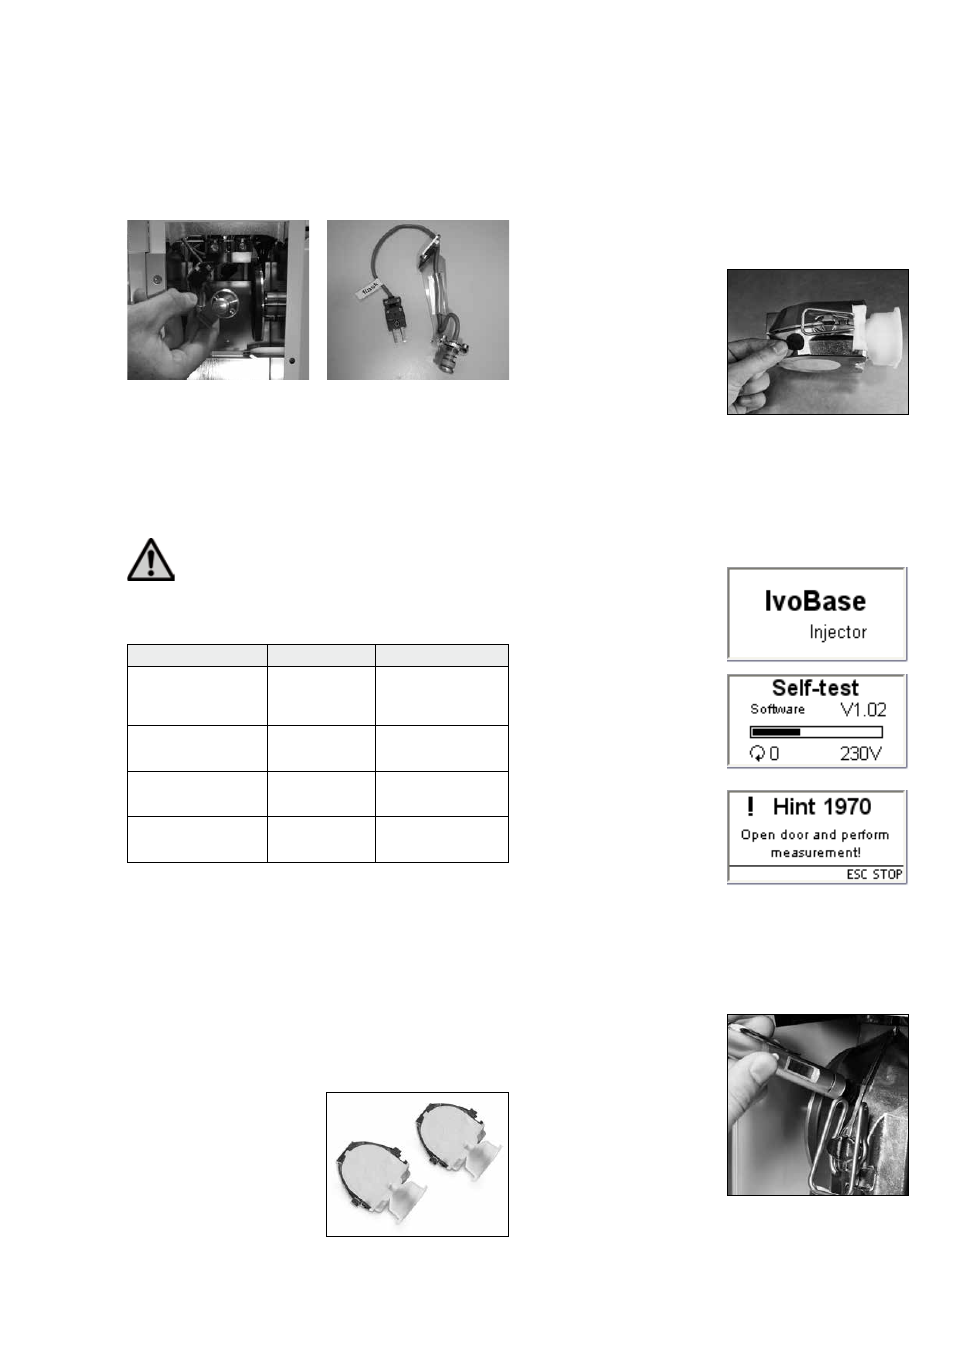
Step 5:
Remove the sensor.
Dismounted sensor:
Mounting the temperature sensor:
Mounting the temperature sensor is carried out in the same way as
dismounting. Simply reverse the order of the above steps (Step 5 to
Step 1).
7.5 Cleaning
The injector may only be cleaned when it is cool, since
there is a burn hazard. Do not use any cleaning
solutions. Disconnect the power to the injector before
cleaning.
The following parts have to be cleaned from time to time:
What
When
Cleaning material
Injector housing and
membrane-sealed key-
pad
if required
soft, dry cloth
Safety door
if required
soft cloth
Polymerization
chamber
if required
soft cloth
Flask and flask
accessories *
after every use
water
* The flask housing may show a dark discolouration, for instance,
when plaster material is left in the flask for a longer period. This
oxide layer can be removed by means of pumice flour. This dark
layer does not influence the usability of the flask in any way.
7.6 Heater test
The heater test is used to check the observance of the temperature
in the IvoBase Injector independently and at regular intervals.
For that purpose, proceed as follows:
Step 1:
Fabricate a test flask that is
exclusively filled with stone
(without model – see Fig. 1). If the
stone in the flask set a longer
while ago and is dry, the flask has
to be soaked in water before the
test.
Step 2:
Clean the IvoBase polymerization chamber, heater and temperature
sensor while they are cold. Please make sure that the contact sur-
faces of the heater and the temperature sensor are clean.
Step 3:
Close the flask with the locking
clamps and attach a measuring
point to the spot on the left flask
half shown in the picture (see
picture). It is important that the
exact position is observed. Only in
this way can correct measuring
values be achieved.
Step 4:
Load the IvoBase Injector with the test flask and close the safety
door.
Step 5:
Select the heater test program with the „Settings“ key. Confirm
your selection with the Enter key.
Step 6:
Start the test program using the
Start key. The flask is heated to
100 °C / 212 °F for approximately
10 minutes. The remaining time is
indicated in the display. The
Operating Status Display is not
illuminated during the heating
phase.
Important: The door must not be
opened during the test. If this is
not observed, the test program is
immediately aborted.
Step 7:
After the program is completed,
the message „Hint 1970“ appears
in the display, with the prompt to
determine the temperature now.
The acoustic signal can be
switched off with the ESC key.
Step 8:
Open the safety door and conduct the measurement. In order to
obtain the most reliable result, conduct several measurements in
close succession. The available time window for that purpose is
60 seconds. This time must not be exceeded, since the flask would
cool down too much and the measurement would be skewed.
Important: The sensor of the
IR thermometer must be held as
closely as possible to the
measuring point (see picture).
However, a small air gap should
be present. Measurements directly
on the metal surface without
measuring point are not
admissible, since these
measurement can be skewed by
reflections.