Kawai MP10 User Manual
Page 31
31
MIDI
F
u
n
c
tio
n
s
MIDI Section
The basic operation of the MP10’s MIDI section is similar to that of the PIANO, E.PIANO, and SUB internal sections
It features an ON/OFF button and a dedicated VOLUME fader, however, instead of controlling internal sounds, this
section is used to control external MIDI devices.
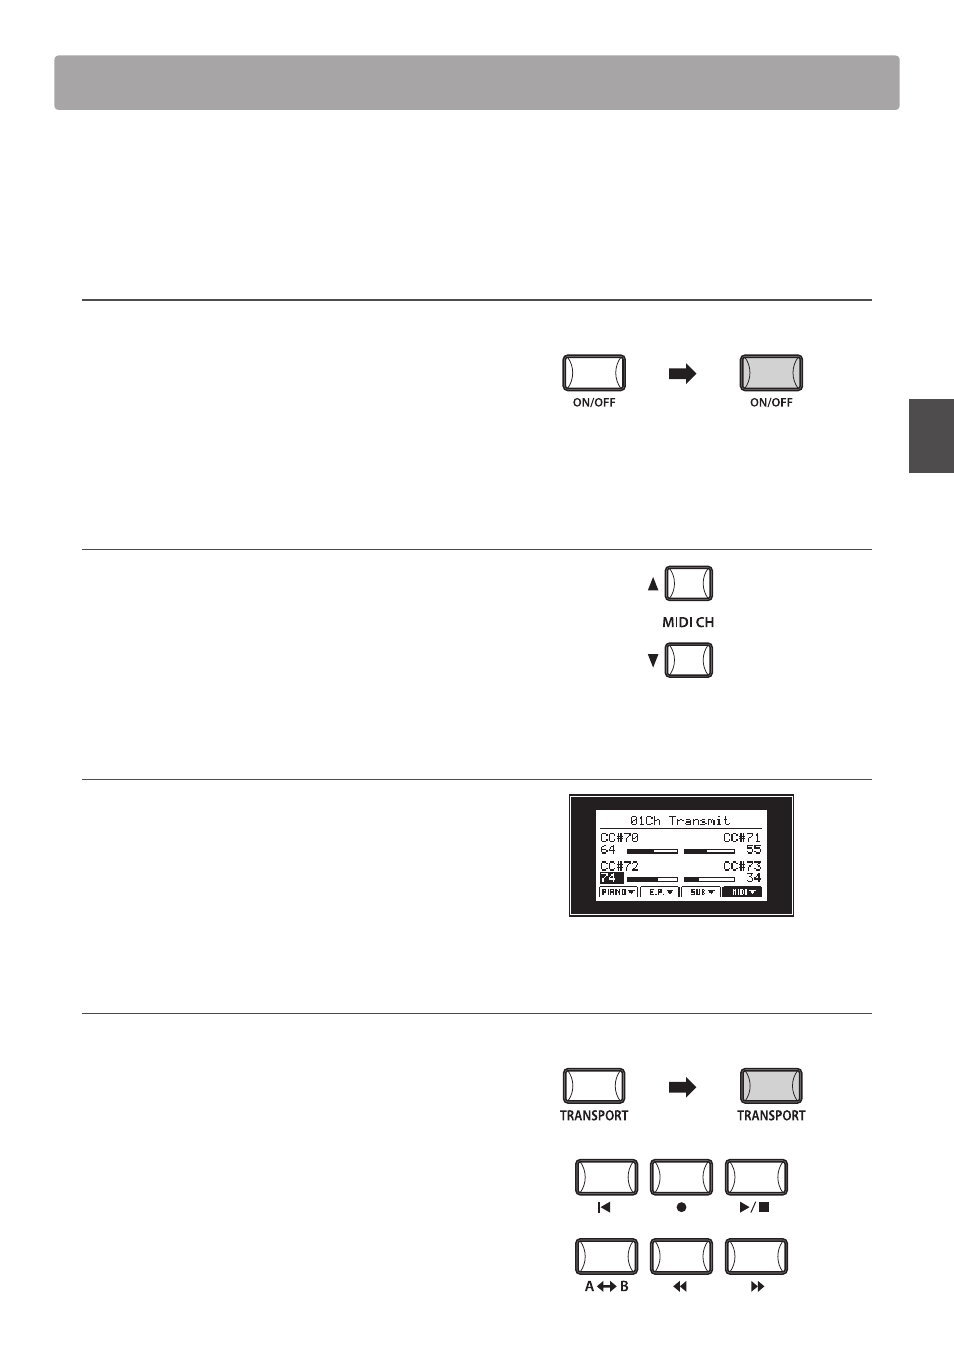
Turning the MIDI section ON/OFF
Press the MIDI section’s ON/OFF button to the section ON/OFF.
The LED indicator for the ON/OFF button will turn ON or OFF to
indicate the current status of the section.
When the MIDI section is turned ON, keyboard and pedal
events will be sent on the selected MIDI Transmit channel via
the MP10’s MIDI jacks or USB to Host connector.
Selecting the MIDI Transmit Channel
Press the MIDI CH
c and MIDI CH d buttons to increase or
decrease the MIDI Transmit channel.
* The MIDI CH can be adjusted within the range of 1-16.
The MP10’s MIDI Transmit channel must match the MIDI Receive
channel of any connected devices.
Using the panel to send MIDI control change messages
Use the VOLUME fader below the ON/OFF button to send the
CC#07 volume message.
Turn control knobs A, B, C, and D to send the control change
messages assigned in the Program page of the EDIT menu
(page 45).
Using the RECORDER CONTROL buttons to send MMC messages
Press the TRANSPORT button.
The LED indicator for the TRANSPORT button will turn ON to
indicate that the RECORDER CONTROL buttons are set to send
MMC messages to an external MIDI device.
Press the RECORDER CONTROL buttons to send MMC messages
to an external MIDI device.
* The function of each RECORDER CONTROL button can be assigned in the
MMC page of the MIDI EDIT menu (page 46).
Section OFF
Section ON
Transport OFF
Transport ON