Setup, Onscreen display menu system – Marantz NR1501 User Manual
Page 21
NAMES AND
FUNCTIONS
17
BASIC
CONNECTIONS
BASIC
OPERA
TION
ADV
ANCED
CONNECTIONS
SETUP
ADV
ANCED
OPERA
TION
TROUBLESHOOTING
OTHERS
SETUP
ENGLISH
SETUP
After all components are connected, initial setup
must be performed.
ONSCREEN DISPLAY MENU
SYSTEM
This unit incorporates an onscreen menu system,
which makes various operations possible by using
the cursor (
3, 4, 1 , 2) and ENTER buttons on the
remote controller or on the front panel.
Note
• To view the onscreen displays, make certain you
have connected the MONITOR OUT jack on the
rear panel to the composite, component video or
HDMI input of your TV or projector. (See page
10, 11)
1.
Press
the
AMP button on the remote
controller. (This step is not needed when
operating the setup menus from the unit.)
2.
Press
the
MENU button on the remote
controller or press the MENU button on the
front panel. The “MAIN MENU” of the OSD
menu system is displayed.
There are 5 items in the MAIN MENU.
3.
Select the desired sub-menu with the
3
or
4 cursor buttons and press the ENTER
button. The display will change to the
selected sub-menu.
4.
To exit from OSD menu system, press the
EXIT button, or move the cursor to EXIT
and press the ENTER button.
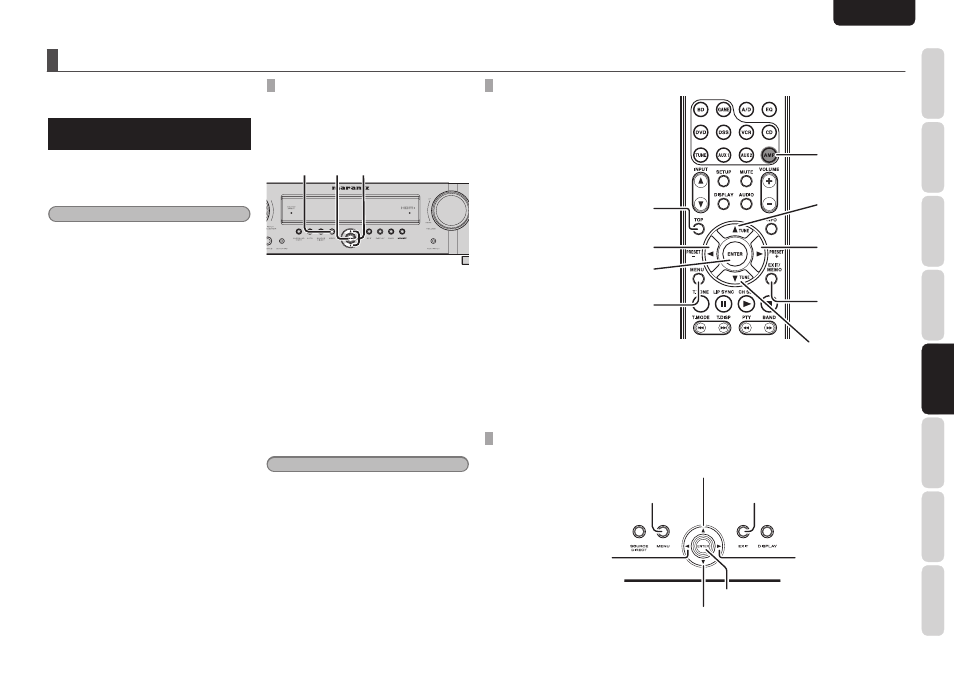
MENU button
Press this button to display the OSD
menu system.
EXIT button
Press this button to exit the OSD menu
system.
UP button
LEFT button
RIGHT button
ENTER button
DOWN button
TOP button
Pressing this button returns you to the
Main MENU of the OSD menu system.
EXIT button
Press this button to
exit the OSD menu
system.
MENU button
Press this button to display the OSD
menu system.
AMP button
UP button
RIGHT button
DOWN button
LEFT button
ENTER button
RC006SR BUTTON CONTROL
NR1501 FRONT BUTTON CONTROL
SWITCHING THE ON SCREEN DISPLAY
OUTPUT MODE
Set whether the on screen display menu is operated
by the monitor connected to the VIDEO OUT terminal
or the monitor connected to the COMPONENT
VIDEO MONITOR OUT terminal.
2.
1. 1.3.
1.
Hold the MENU and ENTER buttons down
simultaneously on the front panel for 3
seconds.
• “PAL” appears on the display.
2.
Press the 3 or 4 cursor button on the front
panel.
• “COLOR OFF” appears on the display.
Menu operation switches to the monitor
connected to the COMPONENT VIDEO
MONITOR OUT terminal.
• “COLOR ON” appears on the display.
Menu operation switches to the monitor
connected to the VIDEO OUT terminal.
3.
Press the ENTER button on the front panel.
Note
When operating the on screen display menu using
the monitor connected to the HDMI OUT terminal,
either setting may be used without problem.