Marantz NR1501 User Manual
Page 32
NAMES AND
FUNCTIONS
28
BASIC
CONNECTIONS
BASIC
OPERA
TION
ADV
ANCED
CONNECTIONS
SETUP
ADV
ANCED
OPERA
TION
TROUBLESHOOTING
OTHERS
ADV
ANCED
OPERA
TION
ENGLISH
ADJUSTING DIFFERENCES IN VOLUME
LEVELS BETWEEN SPEAKERS (WITHOUT
TEST TONES)
Differences in the volume levels between speakers
can be adjusted without using test tones.
2.
3.
3.
1.
4.
1.
Press the CH SEL button on the remote
controller.
2.
Each time the
3/4 cursor buttons are
pressed, the display changes in the
following sequence.
CAL (or AUTO, REF1, REF2)
↔ FL ↔ C ↔ FR
↔ SR ↔ (SBR ↔ SBL) or SB ↔ SL ↔ SUB
↔ (LFE) ↔ CAL (or AUTO, REF1, REF2)
• There is no display for a speaker if NO has been
set for that speaker on the SPEAKER CONFIG
menu.
3.
Press the
1/2 cursor buttons to adjust the
volume level of the speaker displayed.
When
the
2 button is pressed, the volume
level is increased; conversely, when the
1
button is pressed, it is reduced.
4.
When the level adjustments for all the
speakers have been completed, press the
CH.SEL button to exit the settings.
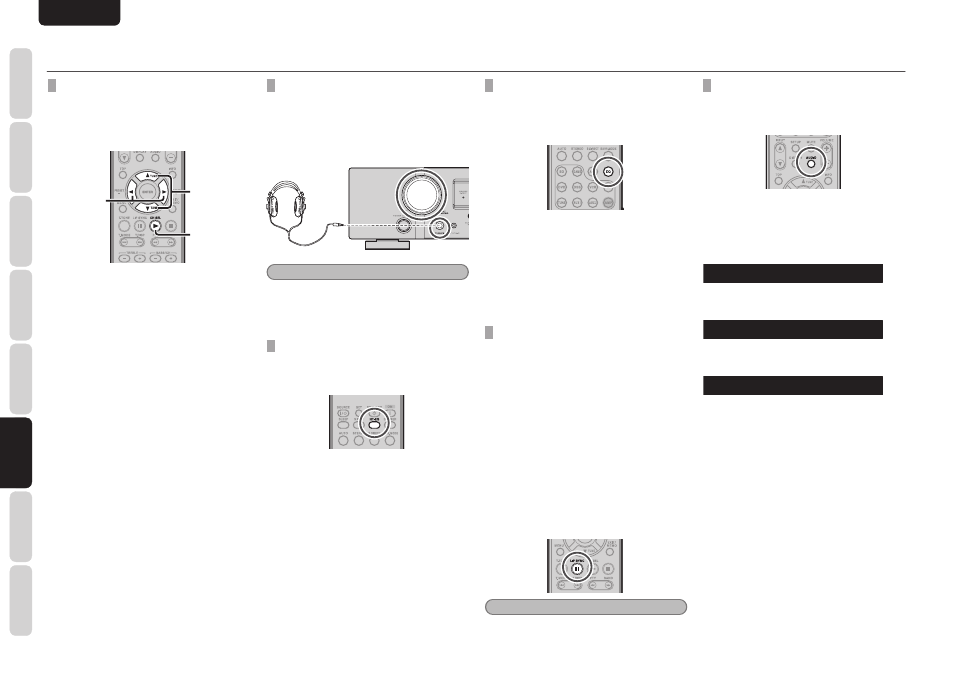
LISTENING THROUGH HEADPHONES
This jack may be used to listen to the unit’s output
through a pair of headphones. Be certain that the
headphones have a standard 1/4” stereo phono
plug.
Note that the speakers will automatically be turned
off when the headphone jack is in use.
Note
The surround mode returns to the previous setting
as soon as the headphone plug is removed from
the jack.
HT-EQ
The remote controller is used for the HT-EQ
setting.
For details on the HT-EQ function, see page 19.
1.
Press the HT-EQ button on the remote
controller.
2.
Each time the HT-EQ button is pressed, the
function is switched between OFF and ON.
ON : The HT-EQ function is used.
OFF : The HT-EQ function is not used.
ADVANCED OPERATION
ROOM EQ
The ROOM EQ (room equalizer) function for
compensating for the acoustic characteristics of
the listening room that was measured by the AUTO
SETUP function is set to ON or OFF.
For details on AUTO SETUP, see page 22.
1.
Press the EQ button on the remote
controller.
2.
Each time the EQ button is pressed, the
function is switched between OFF and ON.
ON : The ROOM EQ function is used.
OFF : The ROOM EQ function is not used.
LIP.SYNC FUNCTION
The LIP.SYNC function adjusts the difference in the
timing between the video signals and audio signals
by delaying the audio signals before outputting
them.
For details on LIP.SYNC, see page 21.
1.
Press the LIP.SYNC button on the remote
controller.
2.
Each time the LIP.SYNC button is pressed,
the difference in the timing can be adjusted
in 10-ms increments using the
1/2 cursor
buttons.
The default setting is 0 ms, and adjustment up to
200 ms is possible.
Perform the adjustment while monitoring the
images on the display, projector or other video
component.
Note
This function is deactivated (0 ms) in the SOURCE
DIRECT mode. When the SOURCE DIRECT mode
is released, the value that has been set is restored.
BILINGUAL FUNCTION
When the input source contains Dolby or DTS
bilingual sound, this function enables selection of
the sound to be played.
1.
Press the AUDIO button on the remote
controller.
2.
Each time the AUDIO button is pressed, the
audio mode is switched.
MAIN:
B I L M A I N
The sound of the main channel (left) is played.
SUB:
B I L S U B
The sound of the sub-channel (right) is played.
MAIN + Sub:
B I L M + S
The sound of the main and sub-channels is played.