Creating a new project, Adding decoded files, Loading a .fsb file – NavCom StarPac Rev.A User Manual
Page 12
12
StarPac™ User Guide - Rev A
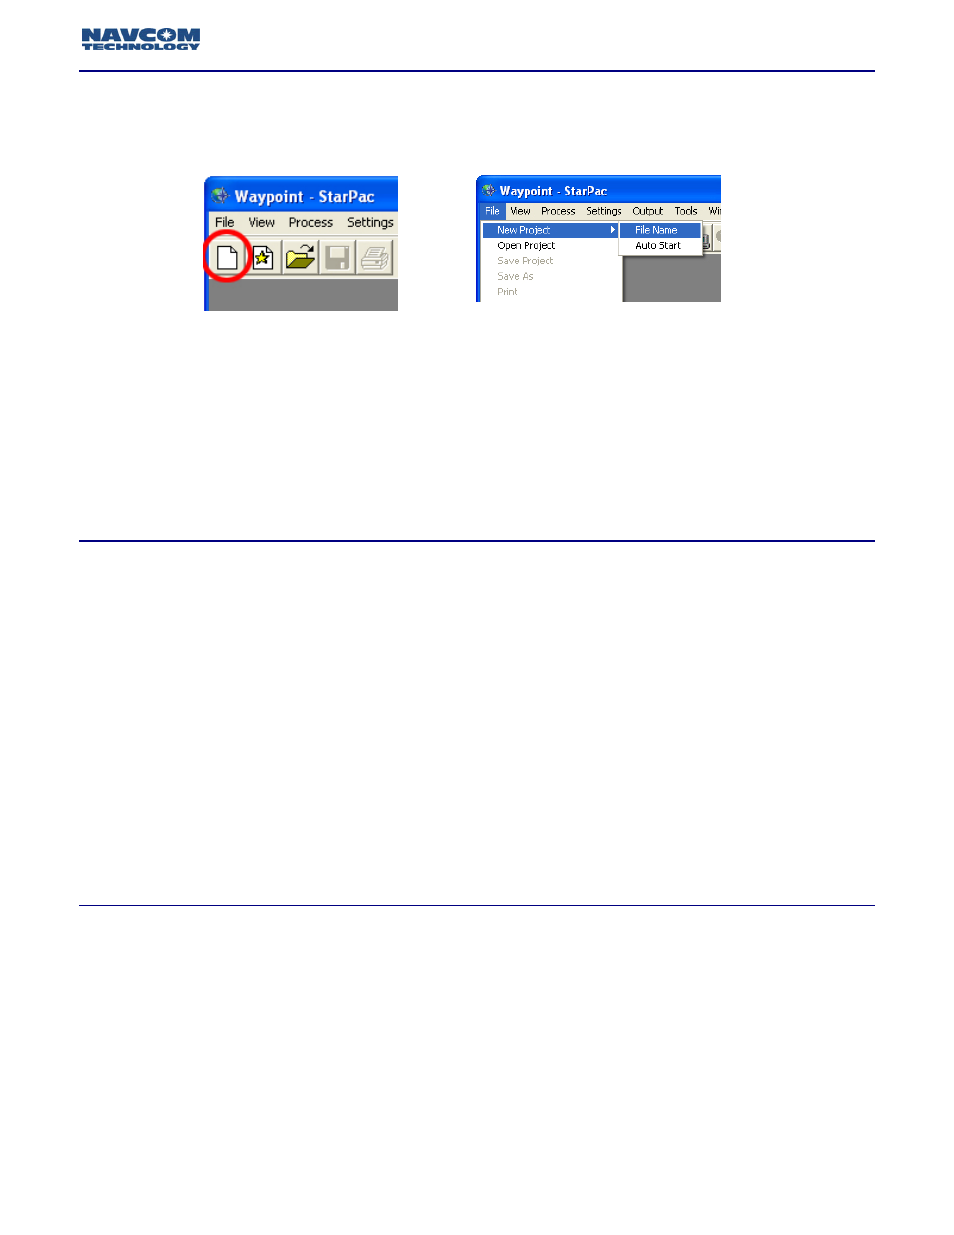
There are two ways to create a new project, either by selecting the new project icon as seen in figure
4.2, or by selecting File > New Project > File Name. (Figure 4.3)
•
Select a directory for the new project file to be stored.
•
Type a name for the new project file.
•
Click SAVE.
Although the new project has been created, the file will not be saved locally on the system until
it is manually saved again. This can be accomplished by selecting File > Save Project or by
clicking the Save icon on the title bar.
Once a new project is selected many features previously disabled are now enabled. Many of these
icons and menu selections are identical to or limited features of options available in the full version of
Waypoint’s GrafNav. Information about these features can be found in the Waypoint User Guide
located under the Help menu.
When VueStar™ receivers are shipped from the factory the receivers are set to log 0xB5
messages by default. Although these messages are not decoded, they are required by
StarPac™ to derive the position quality and must be logged at the time of testing.
If your project requires the use of a .GPB file (0xB0 Messages) skip to the next section; Loading
a .GPB file. .GPB file MUST be uploaded prior to .FSB files.
Once a NavCom binary data file has been decoded, the decoded file can be uploaded into StarPac™
for analysis and export.
•
Select File > Add StarFire™ Trajectory
•
Select the appropriate .FSB file that was created after the decoding the original data file.
•
Select OK.
StarPac™ will now display a StarFire™ forward map featuring the positions for all epochs. To read an
exact position, click on any displayed epoch.
Creating a New Project
Figure 4.2: New Project Icon
Figure 4.3: New Project Menu Option
Adding Decoded Files
Loading a decoded .FSB file