Ptz camera control, Create ptz preset position, Access camera menu for pelco p & d protocols – OpenEye OE2-E120 User Manual
Page 50
50
PTZ CAMERA CONTROL
SPEED SETUP – 1~8 [Set the speed that PTZ cameras move.]
PRESET SETUP – Move/Set [Create preset PTZ camera
positions.]
PRESET TOUR – [Create a tour of preset PTZ camera positions.]
PATTERN SETUP – [Create a custom PTZ Pattern]
PATTERN TOUR – [Create a Pattern (mimic) tour]
AUTO FOCUS – [Modify Auto Focus settings]
POWER – ON/OFF
LIGHT – ON/OFF
CREATE PTZ PRESET POSITION
1. Set up a PTZ camera in CAMERA > PTZ SETUP.
2. Press EXIT to exit Setup.
3. Press PTZ to enter PTZ Mode.
4. Select a PTZ enabled camera.
5. Press SETUP to display the PTZ setup menu.
6. Select PRESET SETUP.
7. Select MOVE to move the camera to the preset position.
8. Select a PTZ PRESET ID number and select OK to save.
ACCESS CAMERA MENU FOR PELCO P & D PROTOCOLS
To access the menu of a PTZ camera running the Pelco P or D protocols on an E-Series DVR:
1. Press the PTZ key on the remote or the front of the DVR.
2. Press the Setup Key on the remote or the front of the DVR.
3. Select PRESET SETUP and press ENT.
4. Select SET.
5. Go to preset 95 and select OK. The menu should now appear.
Use the arrow keys to navigate through the menu.
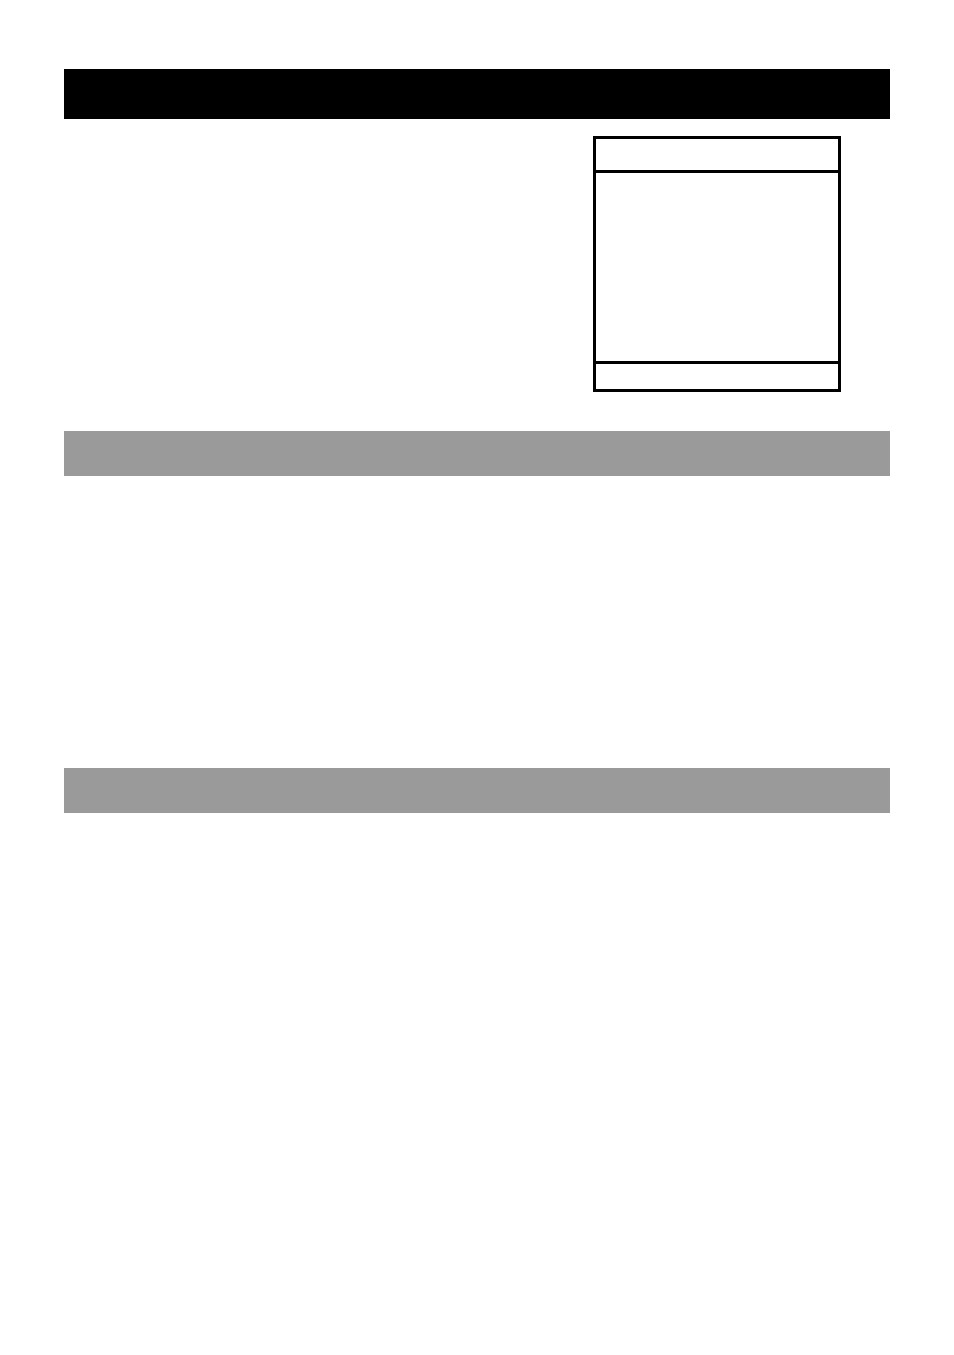
PTZ SETUP CH1
SPEED SETUP
PRESET SETUP
PRESET TOUR
PATTERN SETUP
PATTERN TOUR
AUTO FOCUS
POWER
LIGHT
EXIT SETUP