Timer-controlled playback and recording (2), Timer-controlled recording – Teac AD-RW900-B User Manual
Page 46
46
Timer-Controlled Playback and Recording (2)
6
Set the audio timer to your desired start (power on) and
stop (power off) times.
When this setting is completed, the power to all components
should be turned off.
At this time, do not press the AD-RW900 POWER button.
Leave the button pushed in (the on position). If the
POWER button is in the off position, timer playback will
not function.
When the preset start time is reached, power will be supplied
and playback will start automatically.
< When you do not want to use the timer, set the OFF-PLAY-REC
switch to the OFF position.
Timer-Controlled Recording (
)
< The timer recording source can only be an external device
connected to the LINE inputs. And the timer recording can only
record to cassette tape.
< The recording level is set to 0 dB; it cannot be adjusted.
(Example: Recording a broadcast program)
1
Connect this unit and a stereo system to a commercially
available audio timer (see page 45).
2
Set the power switches of all components to ON.
3
Prepare the cassette tape that you want to record to with
timer recording.
Recording always starts from “side A”.
To record on a single tape side, set the REV MODE switch to u.
To record on both tape sides, set the REV MODE switch to j
or p.
Set the DOLBY NR switch (page 10).
If the erasure prevention tabs of the cassette tape have been
broken off, cover the holes using pieces of adhesive tape.
You can record on Normal (type ) and Chrome (type ) tapes
with this unit.
NOTE
If you have previously used the cassette, and the tape is stopped
part of the way through “side B” of the cassette, timer recording will
then start part of the way through “side A”. Always bear this in mind,
so that you do not accidentally erase any important recordings. You
should take special note of this when recording more than once on
the same cassette using the timer recording function.
4
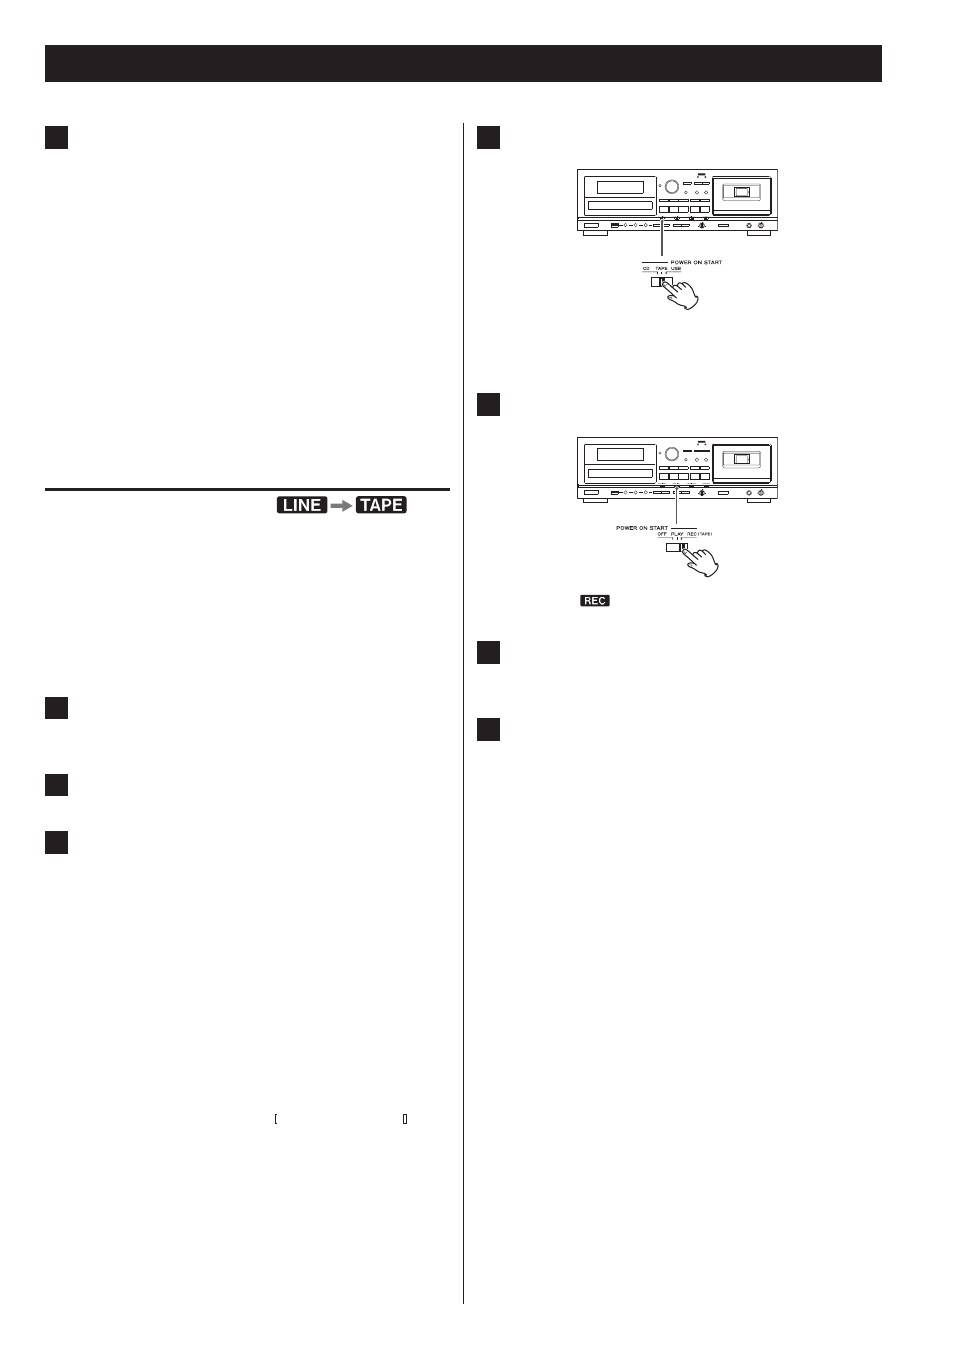
Set the CD-TAPE-USB switch to TAPE.
< This unit cannot record to CDs and USB flash drives with the
timer recording.
5
Set the OFF-PLAY-REC switch to the REC position.
“TIMER” and
appear on the AD-RW900’s display.
6
Tune in the station that you want to record (when
recording from radio).
7
Set the audio timer to your desired start (power on) and
stop (power off) times.
When this setting is completed, the power to all components
will be switched off.
At this time, do not press the AD-RW900 POWER button.
Leave the button pushed in (the on position). If the
POWER button is in the off position, timer recording will
not function.
When the preset start time is reached, power will be supplied
and recording will start automatically.
< When you do not want to use the timer, be sure to set the OFF-
PLAY-REC switch to the OFF position to prevent accidentally
recording over an important cassette tape.