Changing individual direct folder assignments, 6 – direct folder function – Teac CD-200SB User Manual
Page 34
34
TASCAM CD-200SB
6 – Direct folder function
3. Press the main unit SET [AUTO SET] button or the remote
AUTO SET button again.
The unit automatically checks which of the 1–10/0 buttons
do not yet have direct folder assignments and assigns folders
to them.
SETTING
appears on the display while this is happening.
After registration completes,
DONE
will appear on the display
for a few seconds and then the unit will return to ordinary
playback mode.
When the main unit CANCEL indicator is blinking, you can
press the CANCEL button on the main unit or the remote to
cancel assignment and return to ordinary playback mode.
NOTE
• FOLDER/TRACK SELECT (1–10/0) buttons that already
have assignments will not be overwritten.
• Unlike during individual folder assignment, the indicators
for FOLDER/TRACK SELECT (1–10/0) button that do not yet
have direct folder assignments do not blink.
• Assignments are made in the same order as folder searching
as described in see “Folders and tracks on data CDs, SD
cards and USB flash drives” on page 20. However, since
already assigned folders are excluded, the same folder will
not be assigned to more than one FOLDER/TRACK SELECT
(1–10/0) button.
• Assignments are made to FOLDER/TRACK SELECT (1–10/0)
buttons in order starting with the lowest number.
Changing individual direct folder
assignments
When assigning direct folders, indicators light on the main unit
FOLDER/TRACK SELECT (1–10/0) buttons that already have
direct folder assignments.
To change direct folder assignments, you must overwrite them.
1. Press the MEDIA SELECT button on the main unit or the
remote and select the media that contains the folder that
you want to assign as a direct folder. (See “Selecting the
2. Press the main unit SET [AUTO SET] button or the remote
SET button to enable direct folder setting mode.
3. Use the main unit or remote FOLDER g/t buttons to
select the folder that you want to assign.
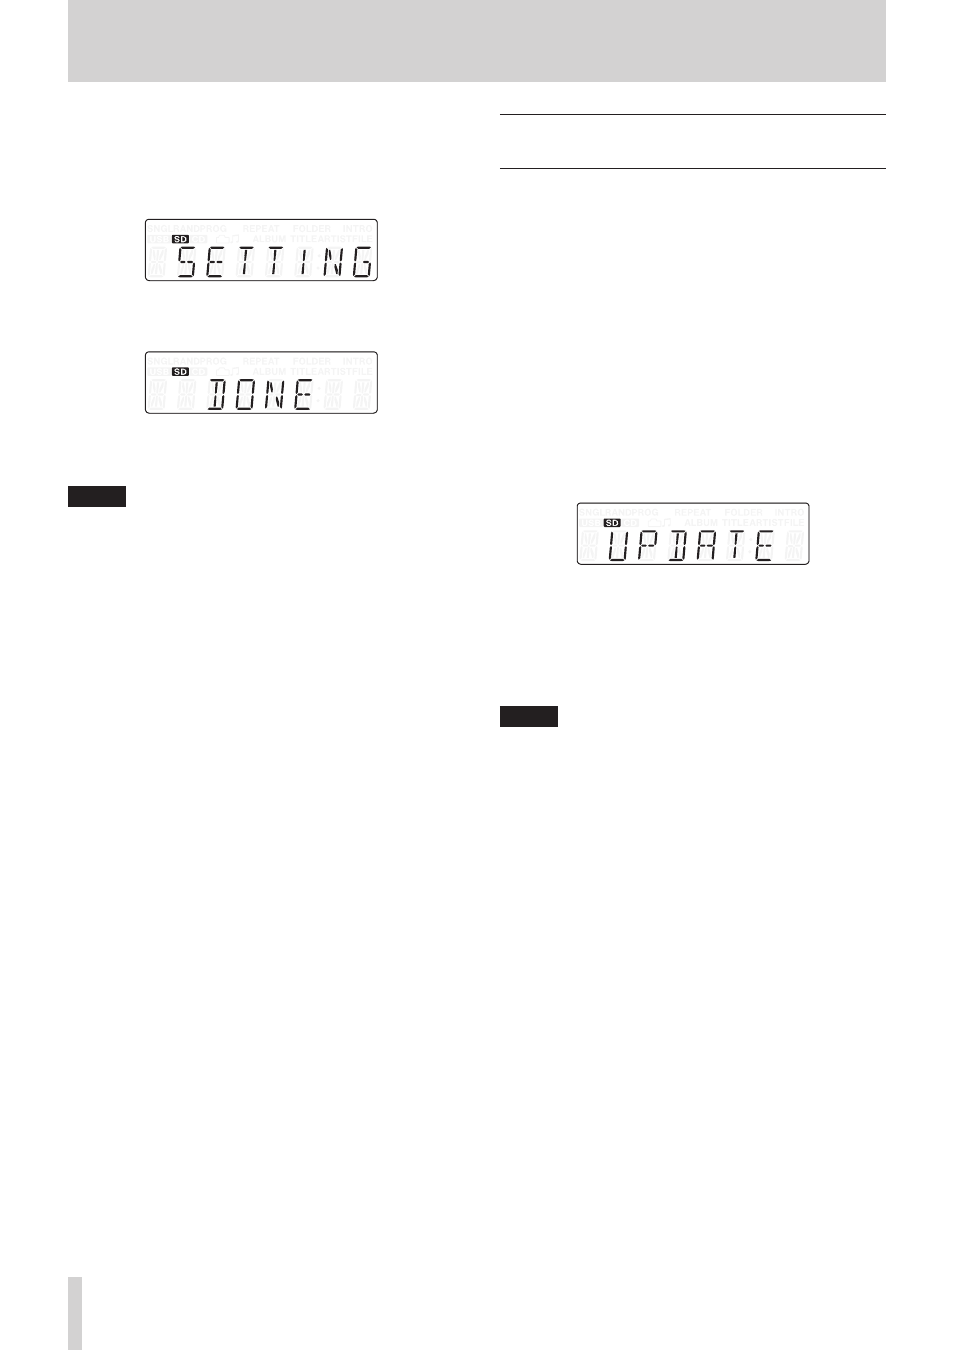
4. Press a FOLDER/TRACK SELECT (1–10/0) button that
already has a direct folder assignment (indicator lit). The
indicator for that button will start to blink. At the same time
the indicators for all other buttons will become unlit.
UPDATE
appears on the display, showing that the unit is
ready to change the assignment.
5. Press the FOLDER/TRACK SELECT (1–10/0) button, which
now has a blinking indicator, again to change the direct
folder assignment.
When the main unit CANCEL indicator is blinking, you can
press the CANCEL button on the main unit or the remote to
cancel assignment and return to step 2 above (direct folder
setting mode).
NOTE
• Changing direct folder assignments never erases folders on
media or audio files within folders.
• You can use the FOLDER g/t buttons on the main unit
or the remote control to select folders and assign them to
different FOLDER/TRACK SELECT (1–10/0) buttons.