Recording formats, Recording (mono/stereo/2mix), Recording formats recording (mono/stereo/2mix) – Teac DR-70D User Manual
Page 15: Recording (mono/ stereo/2mix)
TASCAM DR-70D
15
Recording formats
You can select the format of files created by this unit.
8
MONO recording
The channels selected for recording will be recorded
as mono files.
A file will be made for each channel selected for
recording.
8
STEREO recording
Stereo files will be recorded.
Examples:
If only channel 1 is selected for recording, a stereo
file with channel 2 silent will be created.
If only channels 1 and 3 are selected for recording,
stereo files with channels 2 and 4 silent will be
created.
8
2MIX recording
The input signals set on the BASIC screen will be
recorded as a stereo file.
Even if all four channels are selected for recording, a
stereo file will be created.
Recording (MONO/
STEREO/2MIX)
8
Make recording settings
1. Press the MENU button to open the
MENU
screen.
2. Turn the DATA dial to select
RECORD
, and press
the DATA dial.
The
RECORD SETTING
screen opens.
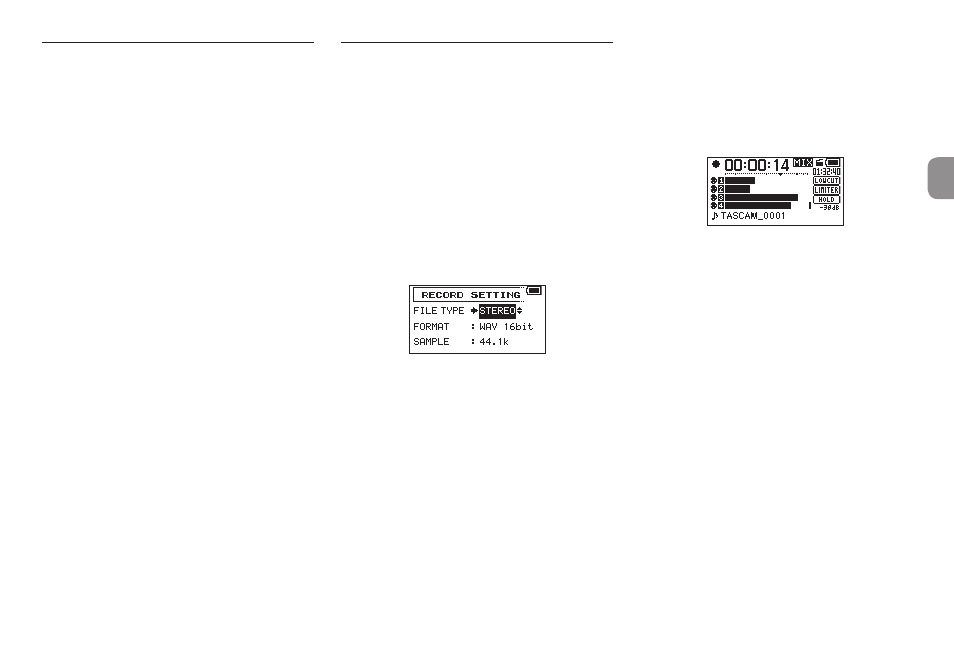
3. Turn the DATA dial to select
FILE TYPE
, and
press the DATA dial.
4. Turn the DATA dial to select the recording
format.
Options: MONO, STEREO (default), 2MIX
5. Press the DATA dial to enable selection of other
items.
6. When finished, press the MENU button to
return to the Home Screen.
8
Setting where to save files
1. Press the MENU button to open the
MENU
screen.
2. Turn the DATA dial to select
BROWSE
, and press
the DATA dial.
The
BROWSE
screen opens.
3. On the
BROWSE
screen, select the folder where
you want to save recorded files, and press the
DATA dial.
This opens the browse menu pop-up.
4. Turn the DATA dial to select
SELECT
, and press
the DATA dial.
5. The Home Screen reopens, and the selected
folder is where recorded files will be saved.
8
Starting recording
1. Press the record (0) button to start recording.
When recording starts, the REC indicator
lights and the display shows the project
name, elapsed recording time and remaining
recording time.
2. Press the record (0) or 1/8 button to stop
recording.