Vinpower Digital Titan Lightscribe Autoloader User Manual
Page 19
17
Counter:
Specify Counter
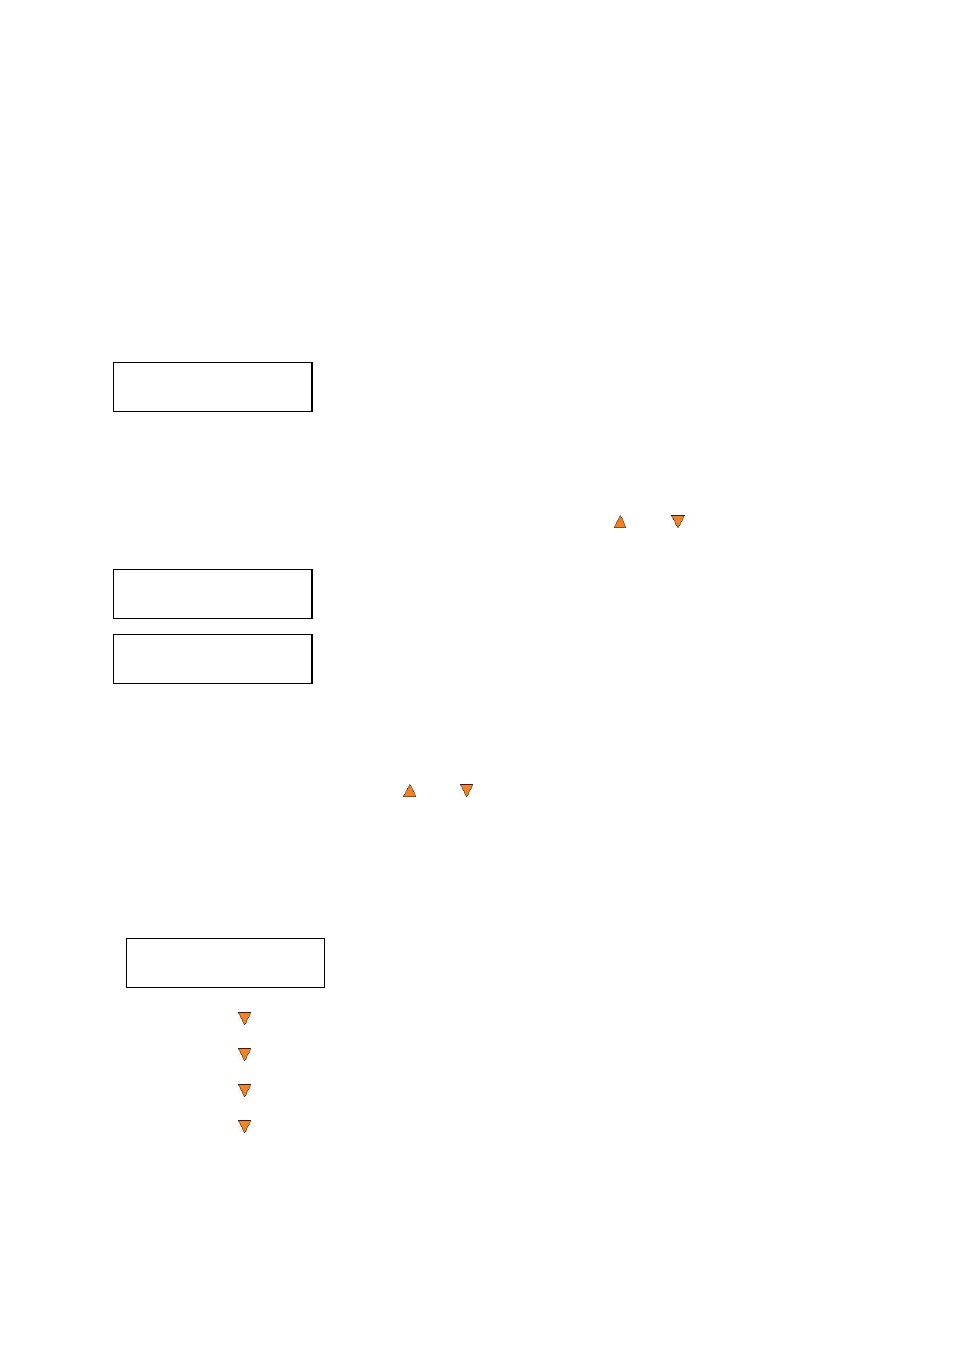
Specify Counter:
[0 ] OK?
Counter:
No Counter
6. Setting Counters and Assigning Names
Two frequently used tasks are setting counters and assigning names to partitions. Directions for these tasks
are given here.
6.1 Setting Counters
The autoloader frequently gives you the option to set a counter so that the machine can keep track of the
number of copies made. Follow these steps when you see the Counter Selection Menu:
The Counter Selection Menu lets you set how many copies you want to
make for your project. The Counter Selection feature tells the autoloader
to count the number of successful copies you have made and stop the job
when the desired number of successfully copied discs has been reached.
You can select “No Counter” if you prefer to copy continuously with no interruption. (It will still count the
number of copies, but it will not notify you when to stop.) To select “No Counter”, simply press the
ENT/Enter button when you see the screen above.
Or, you can select “Specify Counter” between 1 to 9999 by pressing the Up or Down button to go to
the Specify Counter menu:
Press the ENT/Enter button to select this option. You will see the next
Specify Counter menu.
To specify the number of copies for your project, you need to enter/input a
four-digit number.
If you need to specify a number that is less than four digits, fill the leading spaces with zeros (any leading
zeros will be skipped). Examples of four-digit numbers are “0234” (two hundred and thirty four), or “0010”
(ten).
To enter the number, you need to use the Up or Down button to select the number for each digit and
use the ENT/Enter button or the ESC/Escape button to move the cursor position right or left. Once you've
finished, move the cursor to “OK” and press the ENT/Enter button. For example, if you want to specify a
counter value of 21 (twenty one). The 4-digit value would be “0021.” To input the desired quantity, do the
following:
Make sure the cursor is located at the first position (First blinking position):
Press
the Down button repeatedly until “0” is displayed.
Press
ENT/Enter button once to move the cursor to the next position.
Press
the Down button repeatedly until “0” is displayed.
Press
ENT/Enter button once to move the cursor to the next position.
Press
the Down button repeatedly until “2” is displayed.
Press
ENT/Enter button once to move the cursor to the next position.
Press
the Down button repeatedly until “1” is displayed.
Now, “0021” is displayed, press ENT/Enter button once and the cursor moves to “OK”.
Specify Counter:
[0 ] OK?