Pto system – Polaris 2013 BRUTUS Owner's Manual User Manual
Page 76
75
PTO SYSTEM
Removing And Installing PTO Shafts
(Models HD
PTO
)
Removing (Cont’d):
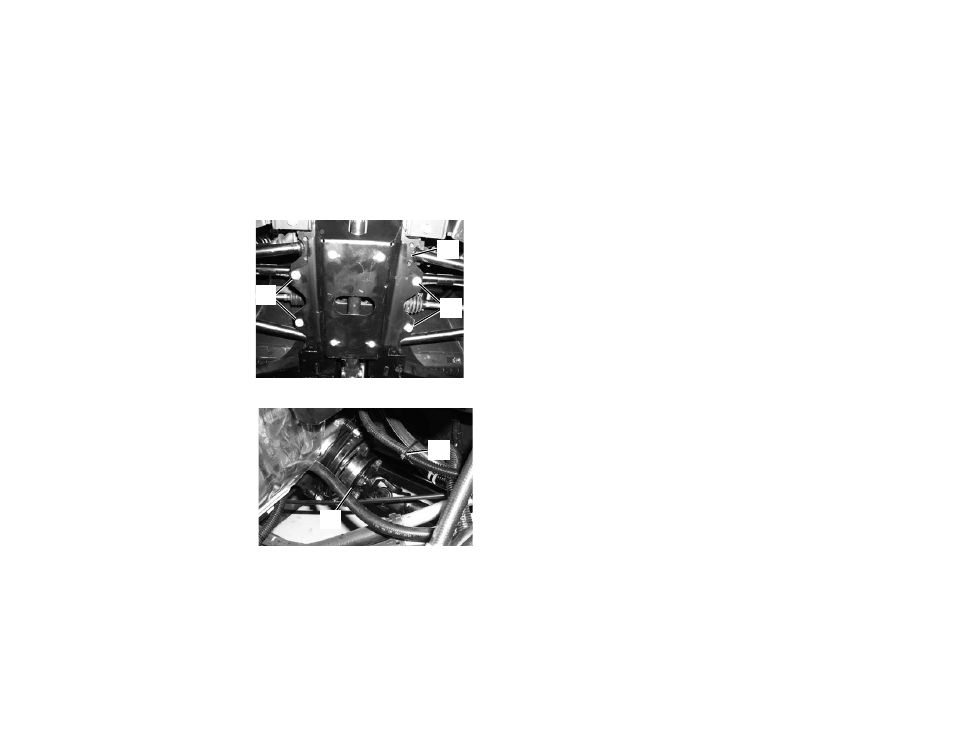
7. Remove the
four bolts and
nuts (Item 1)
and remove the
PTO shaft car-
rier assembly
(Item 2). (The
carrier assem-
bly will nee to
be slide off the
PTO shaft
splines).
Installation:
Tighten the bolts to 32 - 35 ft-lb (43 - 47 Nm) torque.
8. Remove the pas-
sengers seat to
access the bolts
for the rear of
the PTO shaft.
Remove the four
bolts (Item 3)
and remove the
PTO shaft (Item
4) from the PTO
clutch.
Installation: Tighten
the bolts to 18 - 19 ft-lb (24 - 26 Nm) torque.
9. Reinstall the belly pan after the PTO shaft has been
removed.
10. Place all the parts in a secure, dry area for installation at a
later date.
11. Remove the machine from the jack stands. See page 111.
12. The utility vehicle will now have additional ground clear-
ance foe off road use.
Installing:
1. Stop the engine and exit the vehicle. See page 41.
2. Make sure the PTO driveline and all rotating components
have come to a complete stop before exiting the utility
vehicle.
3. Install the utility vehicle on jack stands. See page 111.
4. Apply grease to the driveshaft splines.
5. Remove the belly pan.
6. Install all parts in reverse order.
2
1
1
4
3