Image drum replacement – iSys iTerra Elite II Color LED Plotter User Manual
Page 38
June 2011: Revision 002
38
Image Drum Replacement
The printer contains four image drums: cyan, magenta, yellow and black.
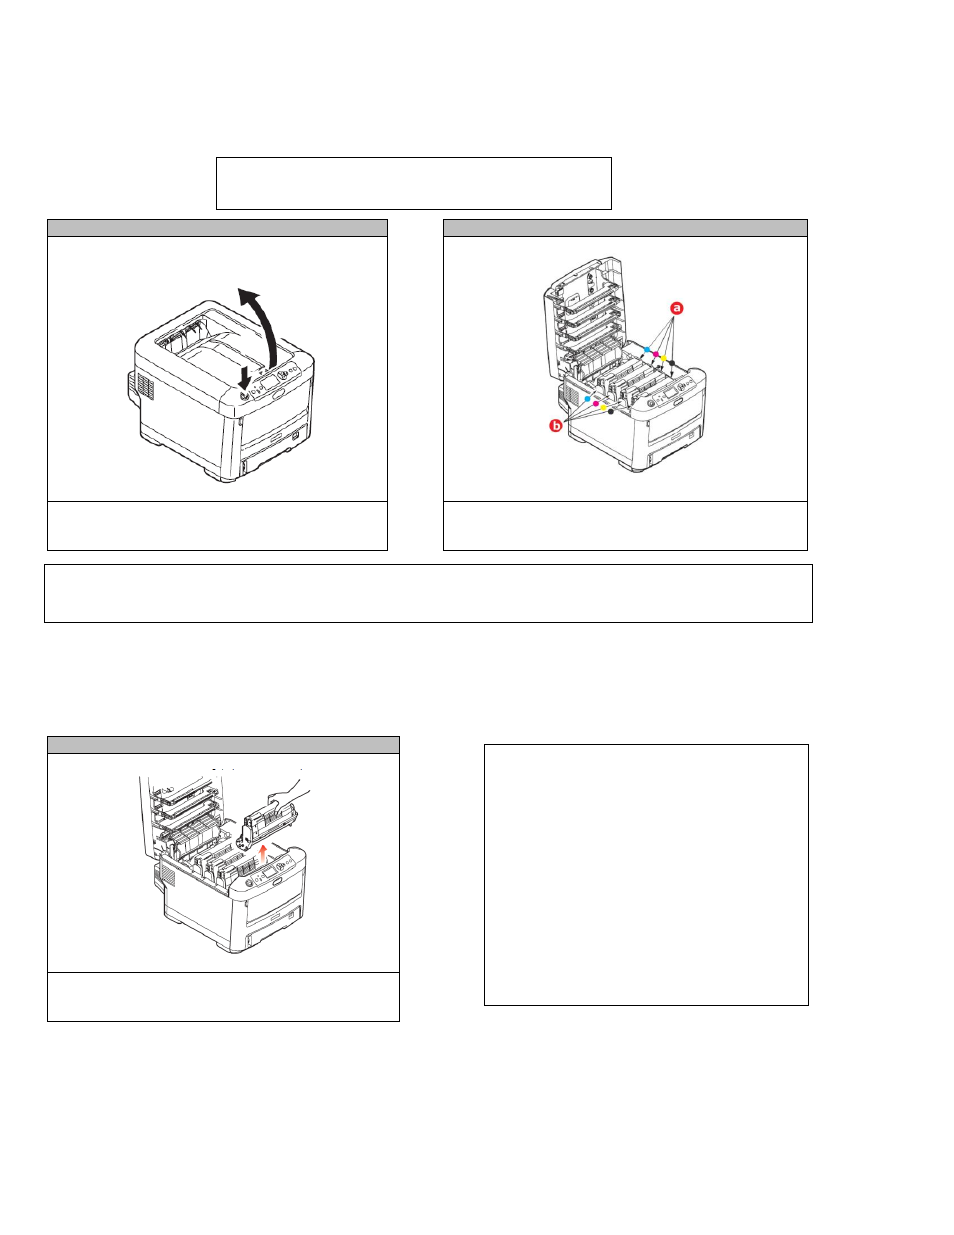
STEP 1
STEP 2
Press the cover release and open the printer’s top
cover fully.
Note the position of the four toner cartridges (a) and
image drums (b) it is essential that they go back in the
same order.
STEP 3
Holding it by its top centre, lift the image drum,
complete with its toner cartridge, up and out of the
printer.
CAUTION! Static sensitive devices, handle with care.
WARNING! If the printer has been powered on, the fuser will be hot. This area is clearly labeled. Do not
touch.
CAUTION! The green image drum surface
at the base of the ID unit is very delicate
and light sensitive. Do not touch it and do
not expose it to normal room light for
more than 5 minutes. If the drum unit
needs to be out of the printer for longer
than this, please wrap the cartridge inside
a black plastic bag to keep it away from
light. Never expose the drum to direct
sunlight or very bright room lighting.