Shooting – Olympus PEN E-PL8 User Manual
Page 29
29
EN
Shooting
2
5
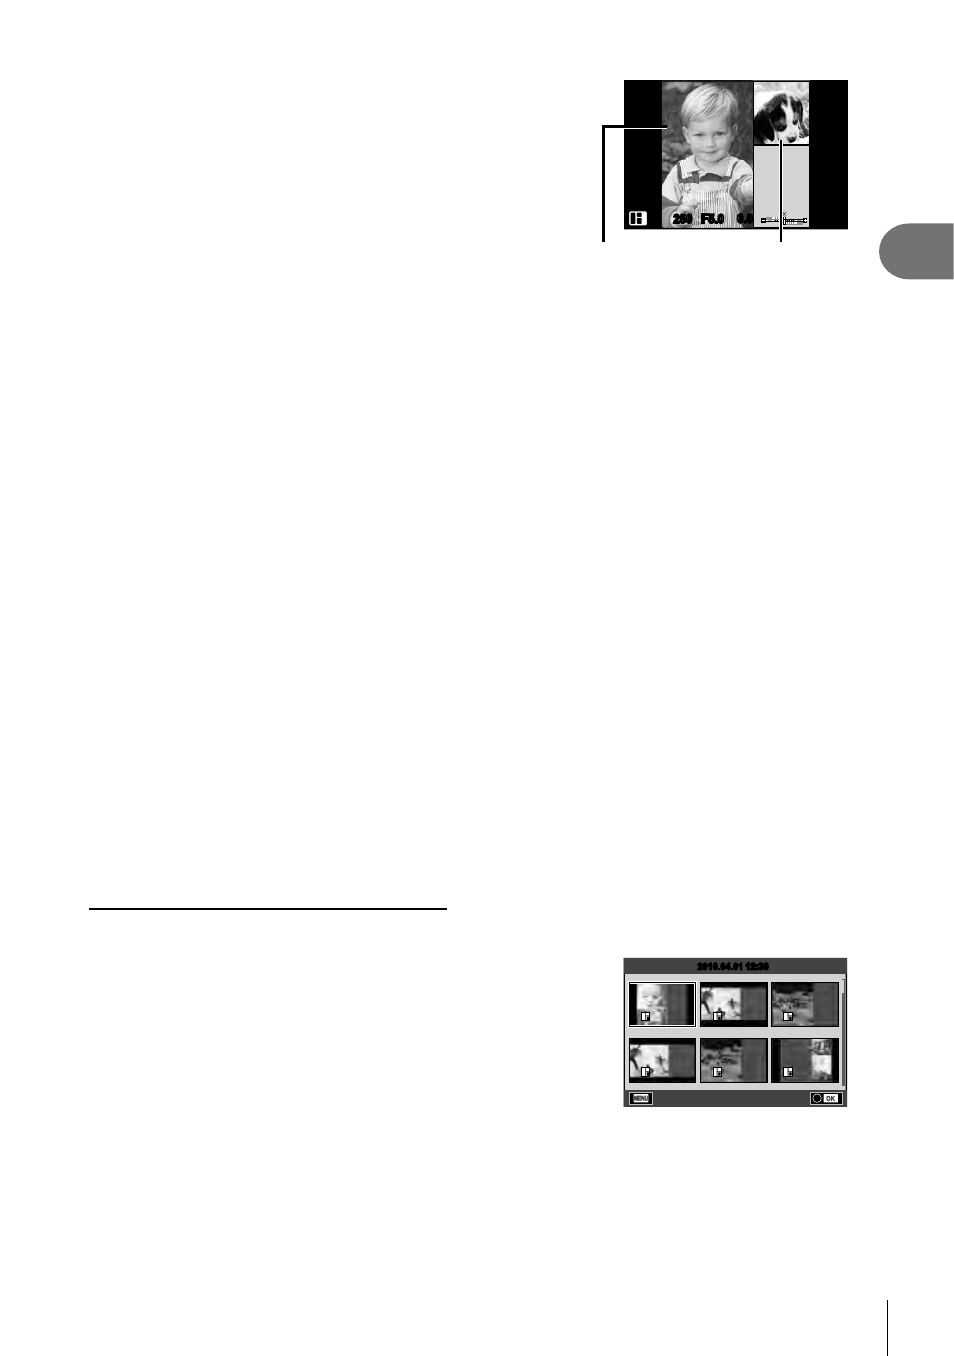
Shoot an image for the next frame.
• View and shoot the subject for the next frame.
• Press
to cancel the image in the directly preceding
frame and retake the shot.
• Touch any frame to cancel the image in it and retake
the shot. Touch the frame, and then touch
O.
F5.0 0.0
0.0
1
ISO-A
200
1023
1023
250
250
Shot image
Next frame
6
Once you have shot all the frames, press z to save the image.
• During the shooting of a PHOTO STORY, the following operations are available.
Exposure compensation/Flash shooting (except when the theme is [Speed])/Live
control settings (P. 44)
• To use Program Shift (
%) (P. 30), assign it to the control dial with the Dial Function (P. 89).
• If the camera is turned off during shooting, all the data for images up to that point is
cancelled and nothing is recorded on the memory card.
• If [RAW] is currently selected for image quality, image quality will automatically be set to
[YN+RAW]. The PHOTO STORY image is saved as JPEG and the images in the frames
as RAW. RAW images are saved in [4:3].
• From among the [AF Mode], [S-AF], [MF] and [S-AF+MF] can be set.
Also, the AF target is fi xed to a single central point.
• The metering mode is fi xed to digital ESP metering.
• The following operations are not available in PHOTO STORY mode.
Movie/Sequential shooting (except when the theme is [Speed])/Self timer/INFO
display/Face priority AF/Digital Tele-converter/Picture mode (except when the theme is
[Layout])
• The following button operations are disabled.
Fn/INFO etc.
• During the shooting of a PHOTO STORY, the camera will not go into sleep mode.
If you temporarily saved partway through shooting, recording space for frames not yet
taken is reserved on the SD card.
Resuming shooting of works in progress
1
Set the mode dial to J.
2
Use
FG to select Works in progress Q.
• Partially saved data is displayed in the index.
• Q appears on partially saved data.
• To display the PHOTO STORY menu, press the
MENU
button.
3
Select the data with which you want to resume
shooting using the arrow pad, and press the z
button.
• Shooting resumes from the previous session.
12:30
2016.04.01
2016.04.01