Saving images to a computer, Previous access points, Preparing to register a computer – Canon IXUS 180 User Manual
Page 76
76
Before Use
Basic Guide
Advanced Guide
Camera Basics
Auto Mode
Other Shooting
Modes
P Mode
Playback Mode
Setting Menu
Wi-Fi Functions
Accessories
Appendix
Index
Saving Images to a Computer
Preparing to Register a Computer
For details on computers that you can connect the camera to via Wi-Fi,
system requirements, and other compatibility information (including support
in new operating systems), visit the Canon website.
•
Windows 7 Starter and Home Basic editions are not supported.
•
Windows 7 N (European version) and KN (South Korean version)
require a separate download and installation of Windows Media
Feature Pack. For details, check the following website.
http://go.microsoft.com/fwlink/?LinkId=159730
Installing the Software
Windows 7 and Mac OS X 10.8 are used here for the sake of illustration.
1
Download the software.
z
z
With a computer connected to the Internet,
access http://www.canon.com/icpd/.
z
z
Access the site for your country or region.
z
z
Download the software.
2
Install the files.
z
z
Click [Easy Installation] and follow the
on-screen instructions to complete the
installation process.
z
z
Installation may take some time,
depending on computer performance and
the Internet connection.
z
z
Click [Finish] or [Restart] on the screen
after installation.
4
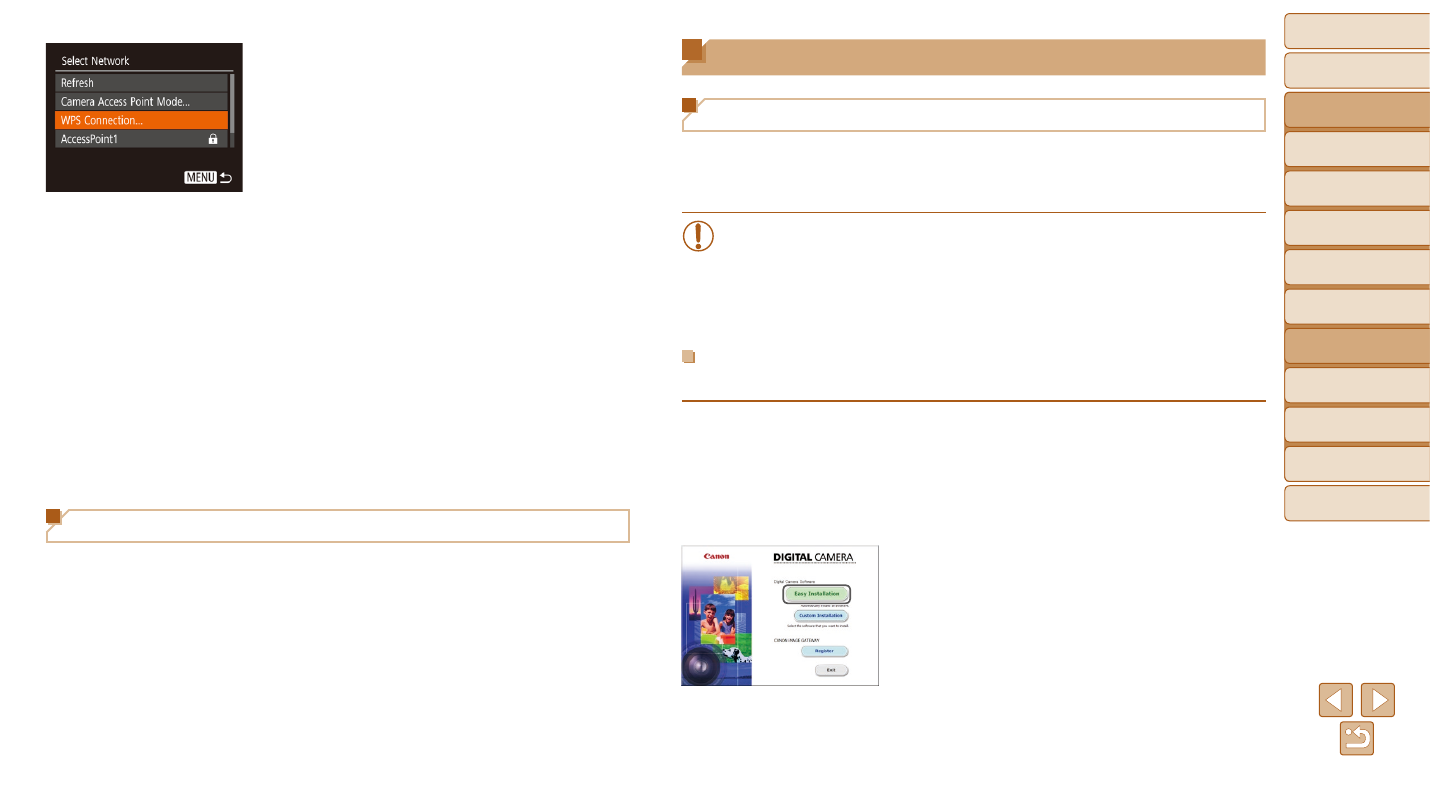
Connect to the access point.
z
z
For WPS-compatible access points,
connect to the access point as described
in steps 5 – 8 in “Using WPS-Compatible
z
z
For non-WPS access points, follow
steps 2 – 4 in “Connecting to Listed
the access point.
5
Select the camera to connect to.
z
z
On the camera selection screen
displayed on the smartphone, choose the
camera to begin pairing.
6
Configure the privacy settings
and send images.
z
z
Follow steps 8 – 9 in “Adding a
) to configure the
privacy settings and send images.
Previous Access Points
You can reconnect to any previous access points automatically by following
step 4 in “Adding a Smartphone” (
•
To use the camera as an access point, choose [Switch Network] on the
screen displayed when you establish a connection, and then choose
[Camera Access Point Mode].
•
To switch access points, choose [Switch Network] on the screen
displayed when you establish a connection, and then follow the