Image sending options, Sending multiple images – Canon IXUS 180 User Manual
Page 89
89
Before Use
Basic Guide
Advanced Guide
Camera Basics
Auto Mode
Other Shooting
Modes
P Mode
Playback Mode
Setting Menu
Wi-Fi Functions
Accessories
Appendix
Index
2
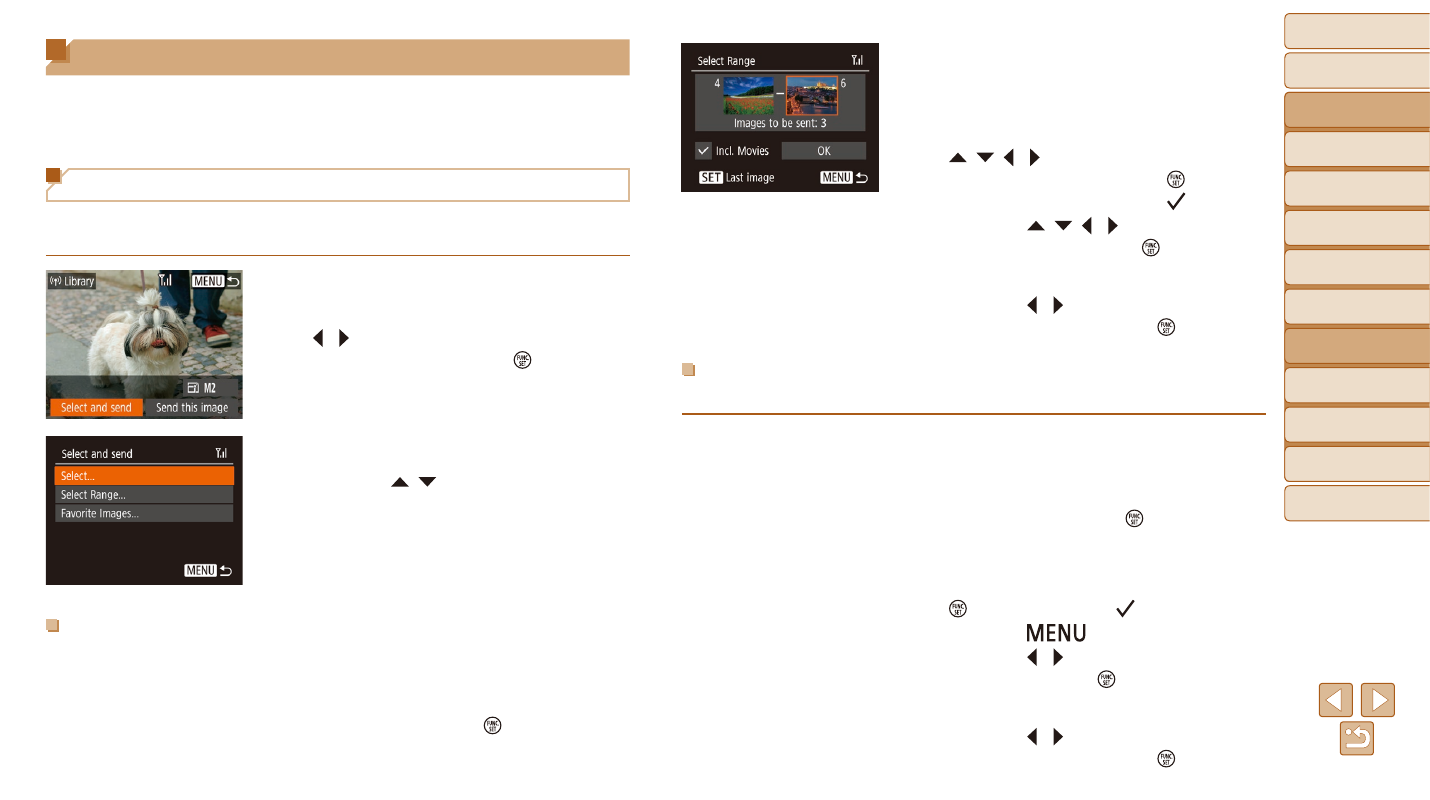
Choose images.
z
z
Follow steps 2 – 3 in “Selecting a Range”
z
z
To include movies, press the
[ ][ ][ ][ ] buttons to choose [Incl.
Movies], and then press the [ ] button to
mark the option as selected ( ).
z
z
Press the [ ][ ][ ][ ] buttons to choose
[OK], and then press the [ ] button.
3
Send the images.
z
z
Press the [ ][ ] buttons to choose
[Send], and then press the [ ] button.
Sending Favorite Images
Send only images tagged as favorites (
).
1
Choose [Favorite Images].
z
z
Following step 2 in “Sending Multiple
Images” (
), choose [Favorite
Images] and press the [ ] button.
z
z
An image selection screen for favorites is
displayed. If you prefer not to include an
image, choose the image and press the
[ ] button to remove [ ].
z
z
Press the [
] button.
z
z
Press the [ ][ ] buttons to choose [OK],
and then press the [ ] button.
2
Send the images.
z
z
Press the [ ][ ] buttons to choose
[Send], and then press the [ ] button.
Image Sending Options
You can choose multiple images to send at once and change the image
recording pixel setting (size) before sending. Some Web services also
enable you to annotate the images you send.
Sending Multiple Images
On the image transfer screen, specify a range of images to send, or send
only images tagged as favorites.
1
Choose [Select and send].
z
z
On the image transfer screen, press the
[ ][ ] buttons to choose [Select and
send], and then press the [ ] button.
2
Choose a selection method.
z
z
Press the [ ][ ] buttons to choose a
selection method.
Selecting a Range
1
Choose [Select Range].
z
z
Following step 2 in “Sending Multiple
), choose [Select
Range] and press the [ ] button.