Chop) – Roland SP-404MKII Creative Sampler and Effector User Manual
Page 48
Editing a Sample (SAMPLE EDIT)
48
Using a Marker to Split and Assign a Sample to a Pad (CHOP)
Splits the sample at the marker positions, and assigns the resulting samples to separate pads.
1.
Follow the steps in “
Marking and Splitting Samples (MARK)
(P.46)” to add a marker where you want to split
the sample.
2.
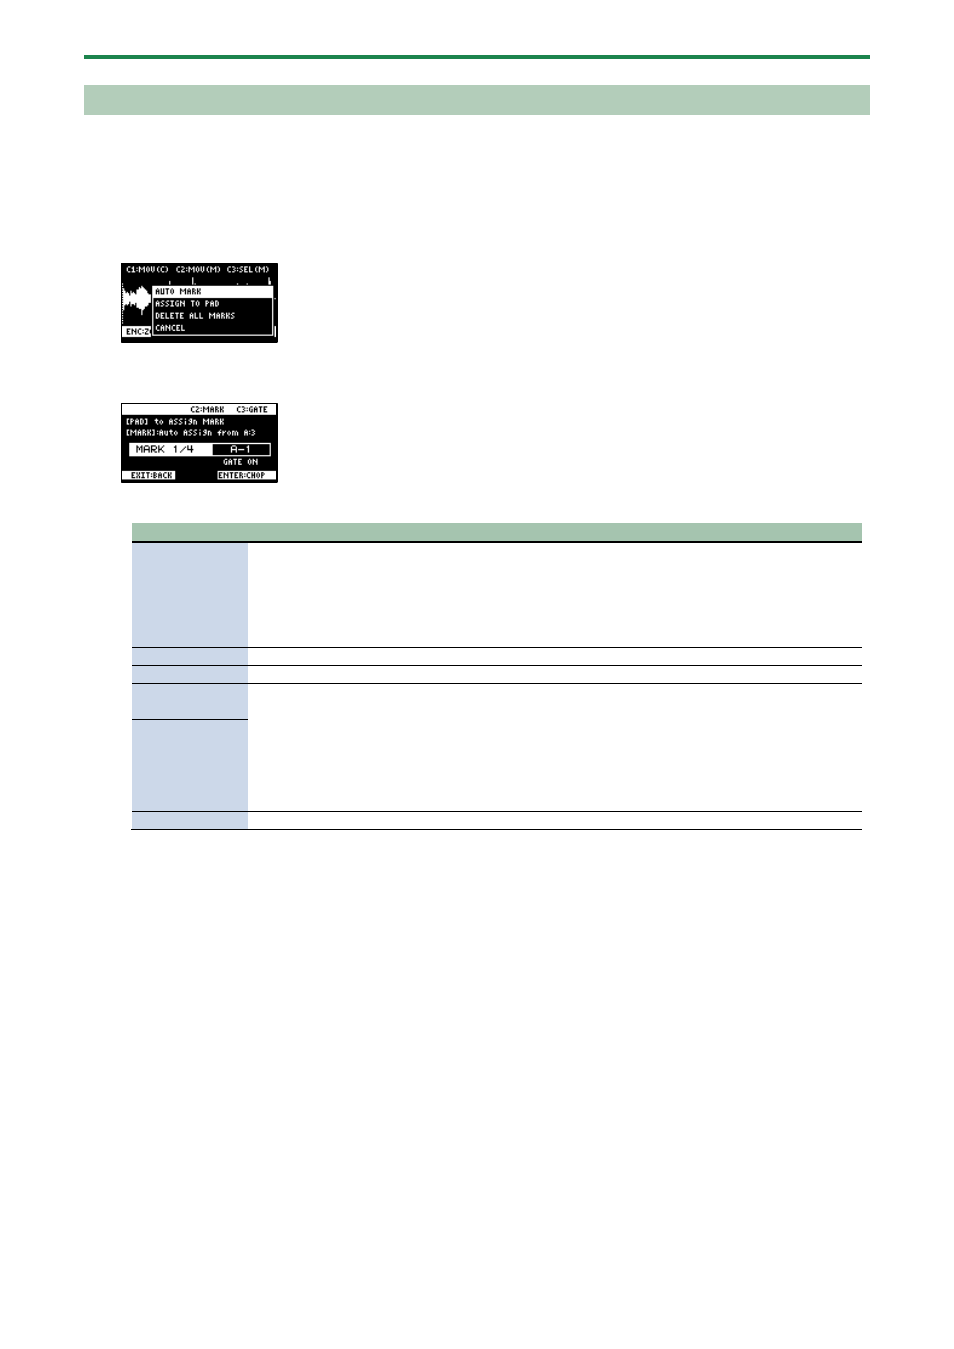
Press the [VALUE] knob.
A menu appears.
3.
Use the [VALUE] knob to select “ASSIGN TO PAD”, and press the [VALUE] knob.
The assign screen appears.
4.
Set the parameters.
Controller
Explanation
Pads [1]–[16]
Selects the pads [1]–[16] to which you want to assign the split samples.
●
The empty pads to which samples haven’t been assigned blink yellow.
When you press the empty pad to which you want to assign the sample, it lights up green.
●
Pads to which samples have already been assigned light up dark orange.
If you press a pad for which a sample is already assigned, the pad lights up red. The assigned sample is
then overwritten.
[CTRL 2] knob
Selects the marker where the sample is to be split.
[CTRL 3] knob
Turns the GATE on/off.
Turn the
[VALUE] knob
Arranges the split samples in order, with the first pad number being the one you selected using the
[VALUE] knob. Press the [MARK] button to confirm the arrangement.
●
This operation only confirms the pads to which the samples are to be assigned, without
actually assigning the samples. To assign a sample to a pad, you must press the [VALUE] knob
last.
●
Before pressing the [MARK] button, you can switch the pad bank and change the pad bank to
which the sample is assigned.
[MARK] button
[DEL] button
Cancels the assignment of the sample you selected with the [CTRL 2] knob.
5.
Press the [VALUE] knob.
The split samples are assigned to the pads.