4 shooting photos and videos: advanced settings, 1 brightness, Chapter 2. photos and videos – SIONYX Aurora PRO Night Vision Camera User Manual
Page 44
Aurora User Manual
48
Chapter 2. Photos and Videos
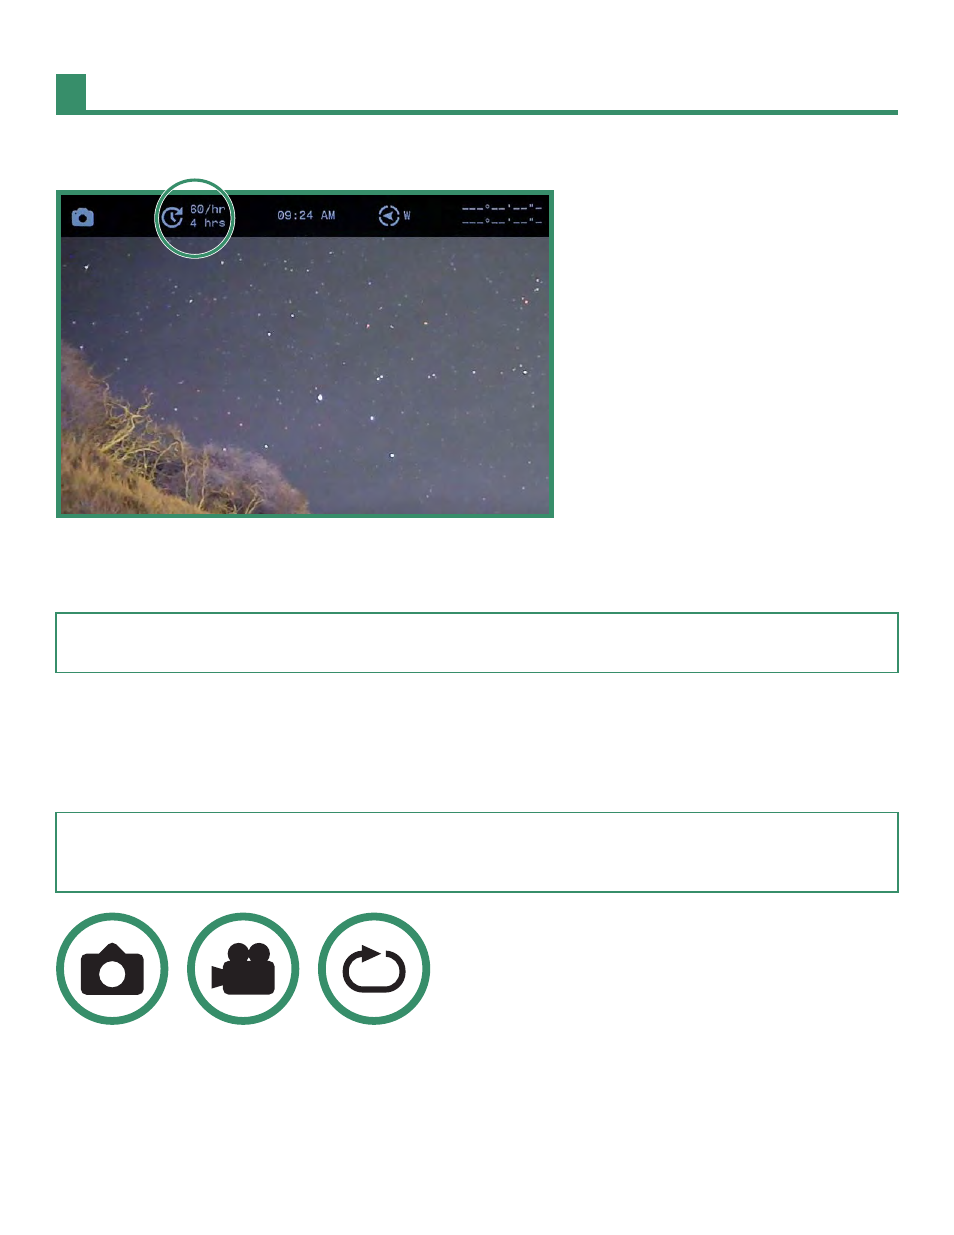
7. The Time Lapse settings will be visible at the top of the screen.
8. To start a Time Lapse session, place the camera in the location that best suits your scene and press the
Shutter button. The camera will start shooting the photos based on your settings.
Note:
All features remain selected when the camera is tur
ned off and then on again.
2.4 Shooting Photos and Videos: Advanced Settings
The camera has some additional settings that should help you with your shooting needs.
Note:
These settings are available in the Photo, Video, and Loop Modes. The Quick Review feature is only available
“Section 2.4.5 Quick Review” on page 62
.
2.4.1 Brightness
You can adjust the brightness of the V
iewfinder using the Br
ightness feature. The default is Auto and you can
change it to high, medium, or low. The brightness level in the V
iewfinder will change with each sc
ene mode:
Night, Twilight, or Day.