Using the dynamic playlist library – BrightSign Network WebUI User Guide v.3.9 User Manual
Page 13
9
b. The item is currently included in the Dynamic
Playlist.
c. The item is not currently included in the
Dynamic Playlist because the validity
End Date
has passed.
10. Save the changes you’ve made to the Dynamic
Playlist by clicking the
Save button.
11. Create a new copy of the Dynamic Playlist by
clicking the
Save Playlist As… button.
12. Click the
Back button if you would like to exit
without saving changes you have made to the
Dynamic Playlist while on the page.
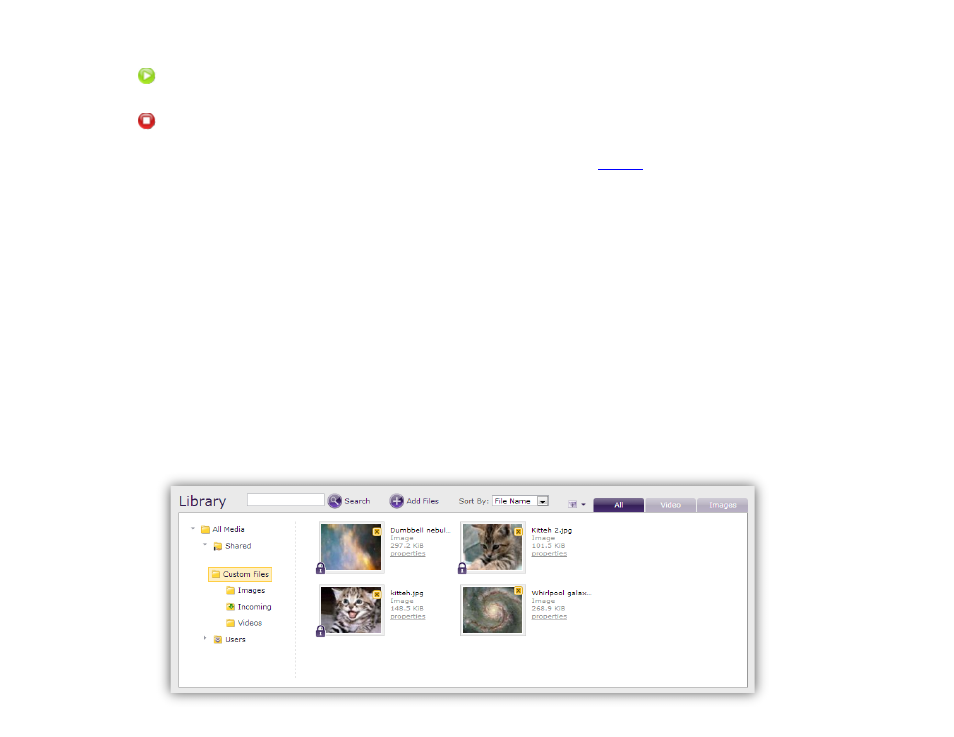
Using the Dynamic Playlist Library
General Managers, Creators
The
Library portion of the Dynamic Playlist edit page
contains many options for viewing, searching, and
changing the media stored on the BrightSign Network.
1. Access content folders using the directory on the
left. By default, all content uploaded using
BrightAuthor is placed in the
Incoming folder.
Note: You can move media files and create custom
folders in the
2. Use the
Search function to find media files
contained within all folders and sub-folders.
3. Click the
X in the corner of an image or video
thumbnail to remove that media file from the
BrightSign Network.
Note: A media file with a lock symbol cannot be
deleted because it is currently being used in another
networked presentation.
4. Click the
Add Files button to add images or video
to the
Incoming folder. You will then be able move
these media files to other folders and add them to
the Dynamic Playlist:
a. Once the
Add/Upload File window opens, click