MacroSystem Akaba – New Concept User Manual
Page 12
12
13
object are marked and you can click on them to
move them in the drawing. To move individual
points or the entire object you can either use
these buttons or click the corresponding point
directly in the drawing.
In the second case the trackball pointer displays
the possible functions.
Note: Some tool functions cannot be edited,
such as Freehand, Fill and Erase.
While a point or all points of a polygon are being
moved, the display will not be exactly correct,
especially if thick, blurred lines are involved. But
after the operation is finished, the display will
once again be correct.
2.) Special
This menu item offers some rarely required
functions and settings.
- Clear image
All drawing operations performed are deleted.
In retouch mode this affects only the current
drawing!
- Set image
The entire screen is filled with the currently
selected color. Any drawing operations already
made are lost.
- Fill options
An additional window is called up in which
you have diverse options for the automatic fill
function (see section 3.5.3 Fill options).
- Grid
You can choose the size of the grid for the
drawing functions (see section 3.1.5 General,
Grid).
3.) Effect
Akaba – New Concept encloses the drawing
with an (invisible) frame. This region, i.e.
everything that was drawn, can be faded and
animated with the functions from the program
PIP Studio.
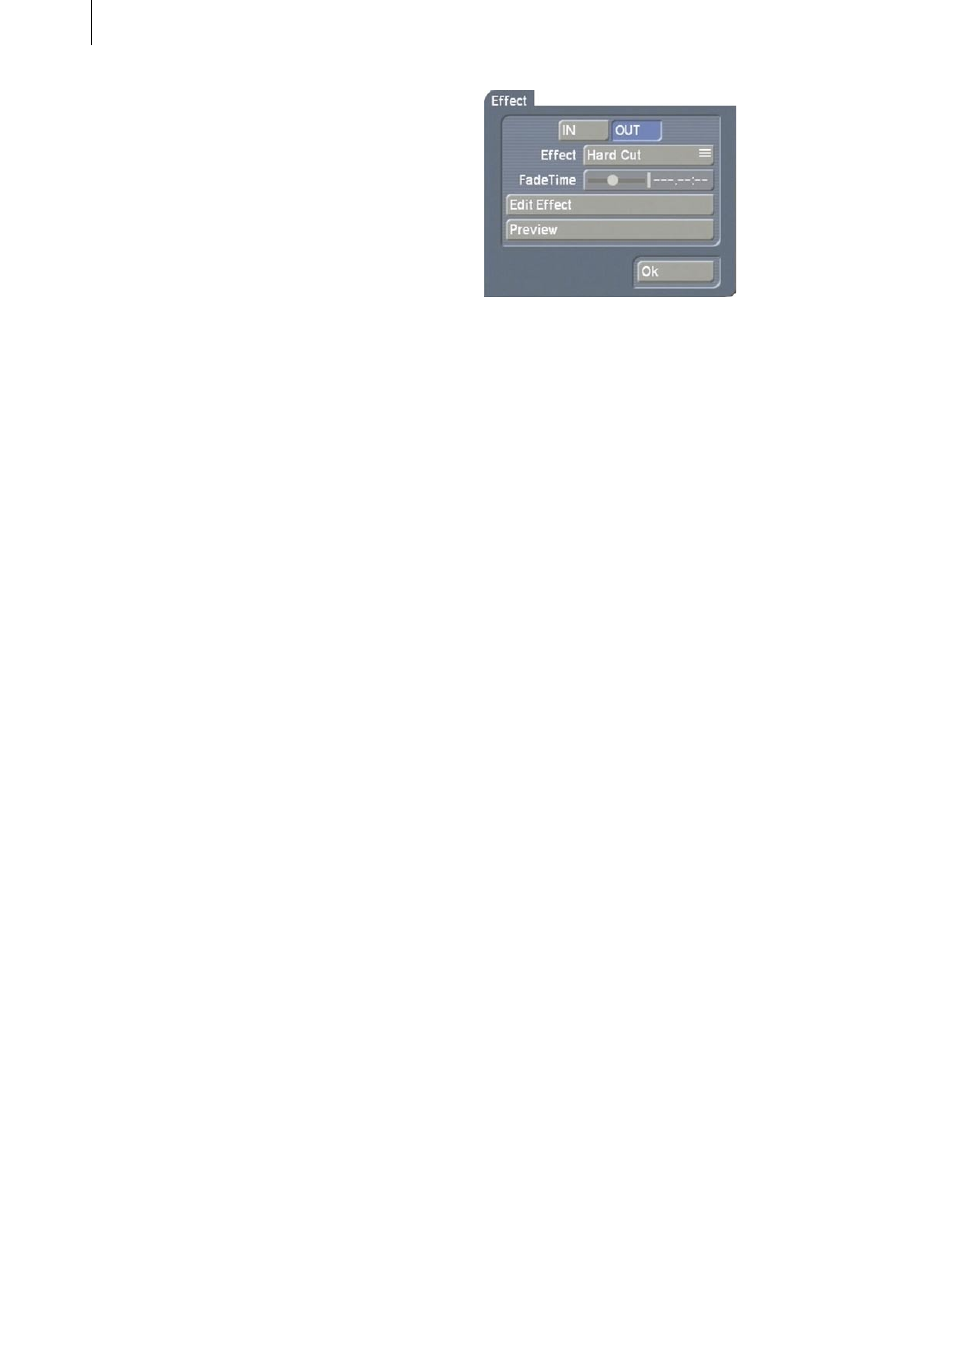
In the Effect window you first see the buttons IN
and OUT. The button you click is activated and
is displayed in blue. An active IN button means
that all further settings relate to fading-in the
drawing. An active OUT button means the that
following settings refer to the fade-out.
Under Effect you have the possibility of
choosing fade-in or fade-out from twelve
different effects.
The first eleven settings work as the name
implies - the setting Custom means that you can
set your own values. If you have chosen another
fade and are doing effect editing, then the
setting is automatically set to Custom.
The button Fade time uses a slider bar to let you
specify the duration of the fade-in or fade-out.
The highest value you can set is the length of
the entire video scene.
For example, if your scene is six seconds long,
then you can choose two seconds for fade-in
and two seconds for fade-out. The remaining
two seconds are calculated as full display time,
i.e. the time the drawing appears in the scene
without a fade effect. After the full display time
elapses the drawing is faded out.
If you set path points during editing (see below),
then the picture position is affected during the
full display time. The last path point of the fade-
in is also the first path point of the fade-out, and
determines the position of the picture during the
full display time.
The Edit effect button opens a new operating
panel. In this menu you can insert path points
that determine the movement of the drawing.