MacroSystem Akaba – New Concept User Manual
Page 14
14
15
that a checkmark appears instead of a dash.
Disabled buttons occur when you have set
intermediate points whose sizes and alpha
values have been calculated automatically using
the start and destination points. The checkmarks
for the first and last points cannot be reset.
In this case a value must be given because
interpolation is not possible.
If a checkmark is visible, then the value specified
to the left is used at this path point. If a dash
appears, then the corresponding value is
interpolated using the neighboring path points.
The interpolated value is displayed. You can
change the desired state at any time.
If the slider bar is completely filled, then there
currently exists just one path point. If it is
possible to click and move the slider bar, then
there are several path points in your video
material that you may activate. You can use the
individual buttons to the right of the slider bar to
exactly pick one path point after another.
IN/OUT: With these two buttons you can choose
whether your settings refer to fade-in or fade-
out.
Simply click on the desired button so that it
turns blue (active) and is selected.
If you would like to switch from fade-in to fade-
out and make further settings (such as e.g.
changing the fade time or the effect), then you
must go to the Effect window.
Each fade has its own curve and of course its
own parameters. It is important to know that
changing the parameters of the large path point
(last point for fade-in, first for fade-out) always
affects the large path point of the other effect.
The point displayed in large is the one at which
the drawing stands still during fade-in and fade-
out.
If you click on the dash next to the Image button,
then it is changed to a checkmark (activated).
This means that you now see displayed not only
a green path point, but also your drawing at the
position of the currently active point.
However, if you have chosen a small size or a
small alpha value, then only a green point is
displayed.
The fully displayed drawing may be distracting,
so you should make it visible only to check that
everything is OK.
In this menu it is also possible to see a Preview.
With the Ok button you confirm your settings,
exit the menu and return to the Effect menu.
Here the Preview button lets you see the
preview in a small window. This function lets
you view the preliminary result in this menu.
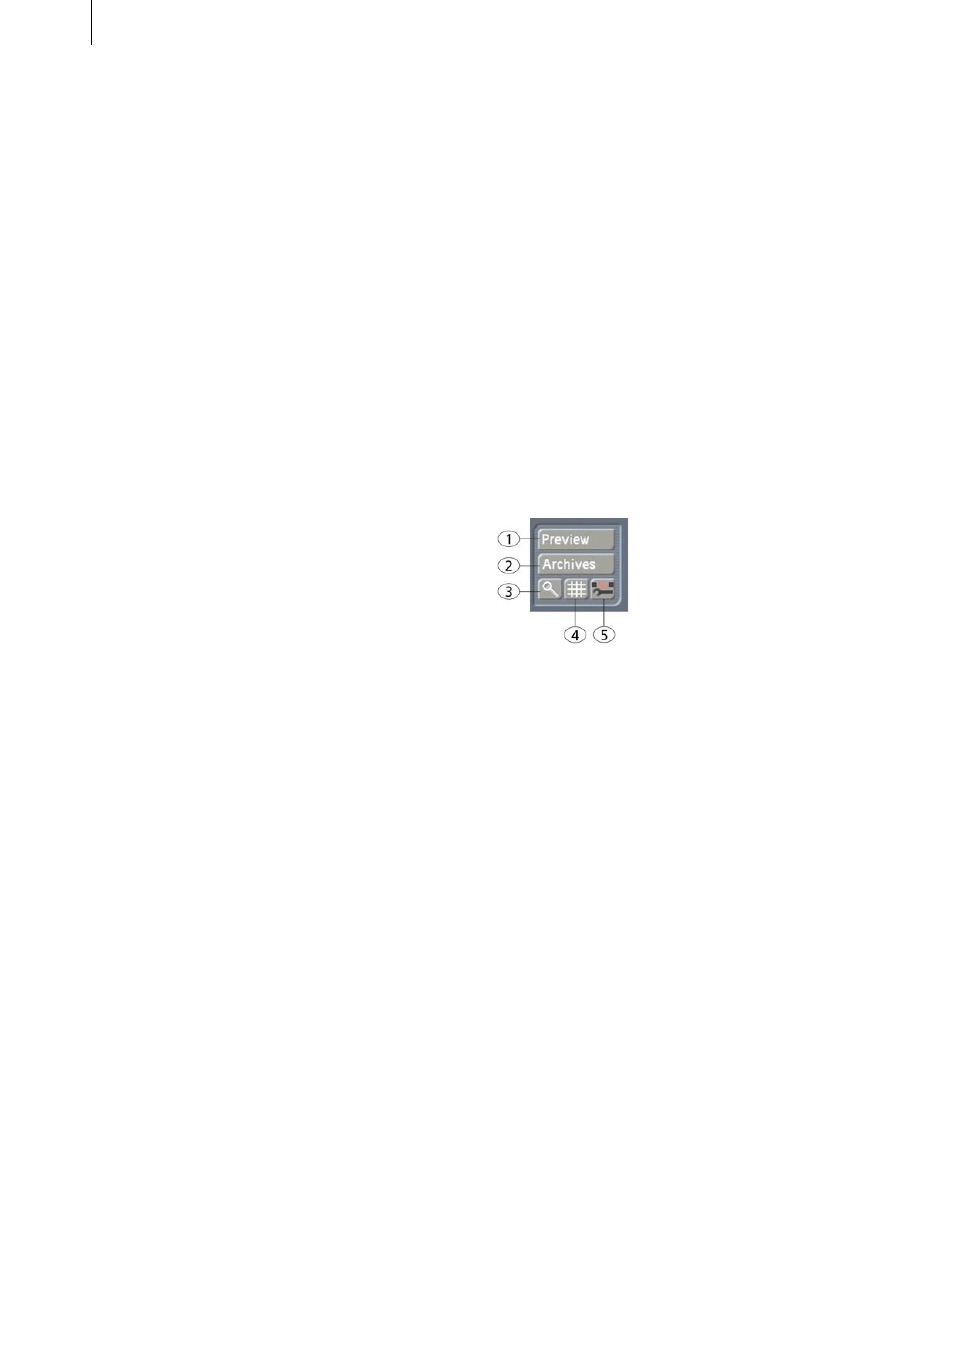
3.1.5 General
1.) Preview
Here you can let a preview be displayed without
having to exit the program.
2.) Archive
The finished drawing (without video frame)
can be archived and later reused (even in other
scenes). The size of the archive is limited to
about 10 to 12 frames. An attempt to archive
more frames results in a warning message.
3.) Magnifying glass
A magnifying glass can be used whenever you
need to draw precisely. Clicking again on this
button turns off the magnifying glass.
The magnifying glass always shows an are
around the cursor position. You can specify the
magnification (factor 4 to 32) at the lower left. To
the right below you see the cursor coordinates
displayed.
It is also possible to move the magnifying
window to the opposite side of the screen and to
turn off the cross hairs.