MacroSystem Akaba – New Concept User Manual
Page 21
20
21
5. Application Examples
We recommend that you work through the
following application examples in order to
familiarize yourself with the way Akaba – New
Concept works.
The exercise examples and tips do not cover all
the functions available in the program, but they
do provide insight so that with a little practice
you will be able to easily use the other functions.
The examples are designed for the new user of
the program and introduce the control elements
one after another. After you have worked
through the examples, we suggest that you
experiment with your own ideas.
5.1 Setting sun
This exercise will show you how to draw
an object in your video material and edit it
afterward. You will create a sun and add it to
your video, and then let it set, as it does at dusk.
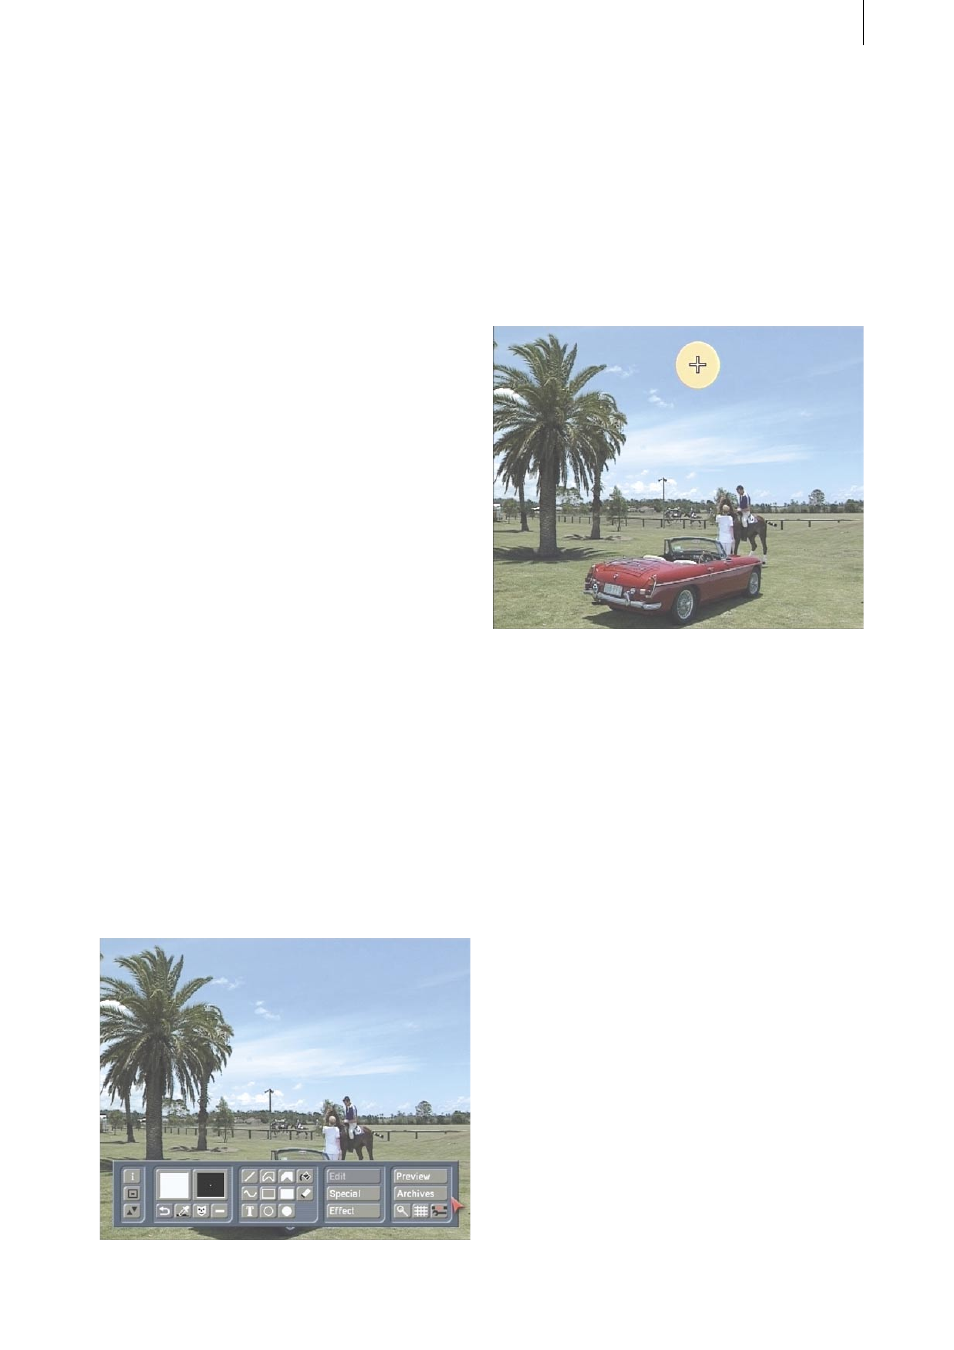
At first, take a suitable video scene of about 5
seconds duration in which the sky is visible.
Activate the scene in the scene bin, start Akaba
– New Concept in the Special menu and go to
Draw mode.
In the lower third of the screen you see the
operating panel. The first frame of your
videoscene is displayed in the background.
Call up the Palette window, click on the Change
color button and select a bright yellow color in
the color box that appears. Confirm the color
selection with Ok and close the Palette window
by clicking again on Ok.
Then click on the tool Circle (filled) and place the
cursor at a spot in the sky, e.g. in the middle at
the upper scene edge.
Confirm this position with the left trackball key
and drag the circle to the desired size for your
sun. The circle initially takes on an oval form. A
change in cursor display lets you know when the
form becomes a circle (not an ellipse).
When you are satisfied with the form and size,
click on the left trackball key and then on the
right key so that the operating panel again
appears.
Now click on the Edit button so that a new
operating panel appears in which you now
select the Palette window.
Activate the Bleed option and click on the first
color field. Set the previously selected bright
yellow in the color box and confirm it by clicking
on the second color field. Here you decide to
use a strong orange. Then click on the Bleed
direction so that a positioning line can be seen
in the video material that you can freely move
and position.
Click on the left key in order to position the
left end of the line. Then drag the line in any