MacroSystem Candy Factory User Manual
Page 10
12
13
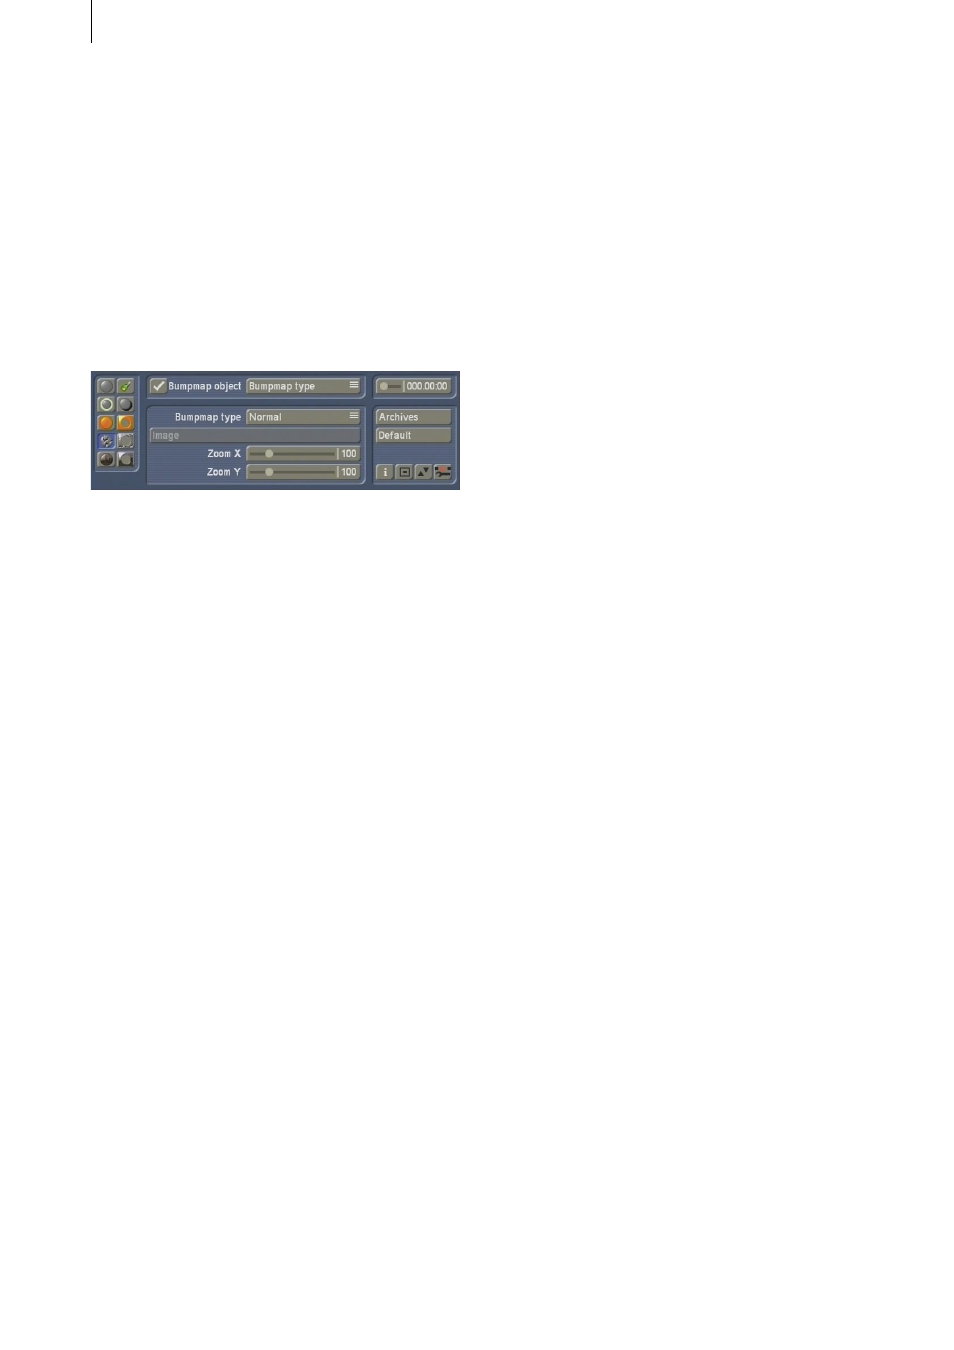
4.7 Bumpmap Object
This menu is used to determine the Bumpmap
settings for the object. Thus, you can define
relief type, three dimensional surface structures.
This is where the object is more or less rounded
off. Bumpmapping refers to the complete object
surface. It hence results in a structure and
plasticity that works well when lit diagonally.
Staying in line with our tiger example, this
function allows you to create the fur.
• Box: Click onto the box to activate the
Bumpmap Object (tick activate, a dash
deactivates). If you do not wish to use these
functions and thus deactivate this box, the
remaining buttons for this feature will remain
ghosted.
• Bumpmap Object: This button unlocks the
three menu points Bumpmap Type, Bumpmap
Settings and Bumpmap Position. First, select
Bumpmap Type to make the following settings:
• Bumpmap type: Here, you can choose from
a selection of shading types. Simply try out
the various options to get a feel for what you
are looking for. There are options for Normal,
Fractal (complex, various sizes), Turbulence
(with sharp changes), Fractal/Turbulence (sharp
changes and varying sizes), Video and Select
image.
If you choose Select image, you will be able to
access the button just below, called Image (see
further down).
• Image: Click onto this button to choose a
shading type for your object. The Image Pool
allows you to select an image. This function
is only available if you previously set the
Bumpmap type to Select image.
• Zoom X / Zoom Y: This button allows you to
zoom into the shading type to make it blockier.
Values between 25 and 400 are possible.
Finally, you can also access the Bumpmap
Settings with the Bumpmap Object button.
More options are:
• Height: This button determines the height.
Imagine looking at the object from above -- the
higher the value, the larger the shading effect or
the embossment. If you set the value to 0, the
Bumpmap will not be visible.
• Clip top: A three-dimension bumpmapped
object consists of parts at the top and parts
further down -- much like a chain of mountains.
If you cut off the tops, they would seem flat
and would no longer have a structure as such.
A value of 255 means that the entire bumpmap
height can be seen. Cutting down the value
corresponds to cutting off the „Mountain top“.
• Clip bottom: This function allows you to cut off
the lower parts of the Bumpmap effect, almost
like removing the mountain valleys. These parts
then look as if they were filled with a colour.
A value of 0 means that you can see all of the
valleys, the higher the value, the more will be
cut away.
Note: If you cut away too much from the top and
bottom, the Bumpmap will disappear!
• Invert: Activate this function by placing a tick
(click into it). The structure will then be inverted.
The previously raging parts will be inverted into
the object and vice versa. This is particularly
easy to see if you have cut away parts of the
bumpmap.
Next, you can choose the Bumpmap Position
button with the Bumpmap Object function. The
following parameters can be set:
• Position X / Position Y: here, you can read the
coordinates of the bumpmap. You can change
the coordinates by clicking into any part of