MacroSystem Candy Factory User Manual
Page 18

20
21
To achieve a minor structure feel, select the
option for Select Image under Bumpmap Type.
Use the button Image via the Image Pool.
There, under Product, then Candy Factory, set
the option Polychromatic under Type. Select
the image Blue Rock (3rd row, 4th column) and
confirm with OK.
At the moment, you will not see much of
the video scene yet. So go to the option for
Bumpmap Settings and change the Height by
setting a value of 40.
You can now address the yellow colour in the
effect and replace it with an image of water for
instance.
Go to Texture Object and activate it. Set Texture
to Select Image and use the Image button to
access the Image Pool. Make sure to have Candy
Factory and Polychromatic selected and choose
the image of Blue Water (3rd row, 6th column).
Display should be set to positive and not
negative. Confirm the selection.
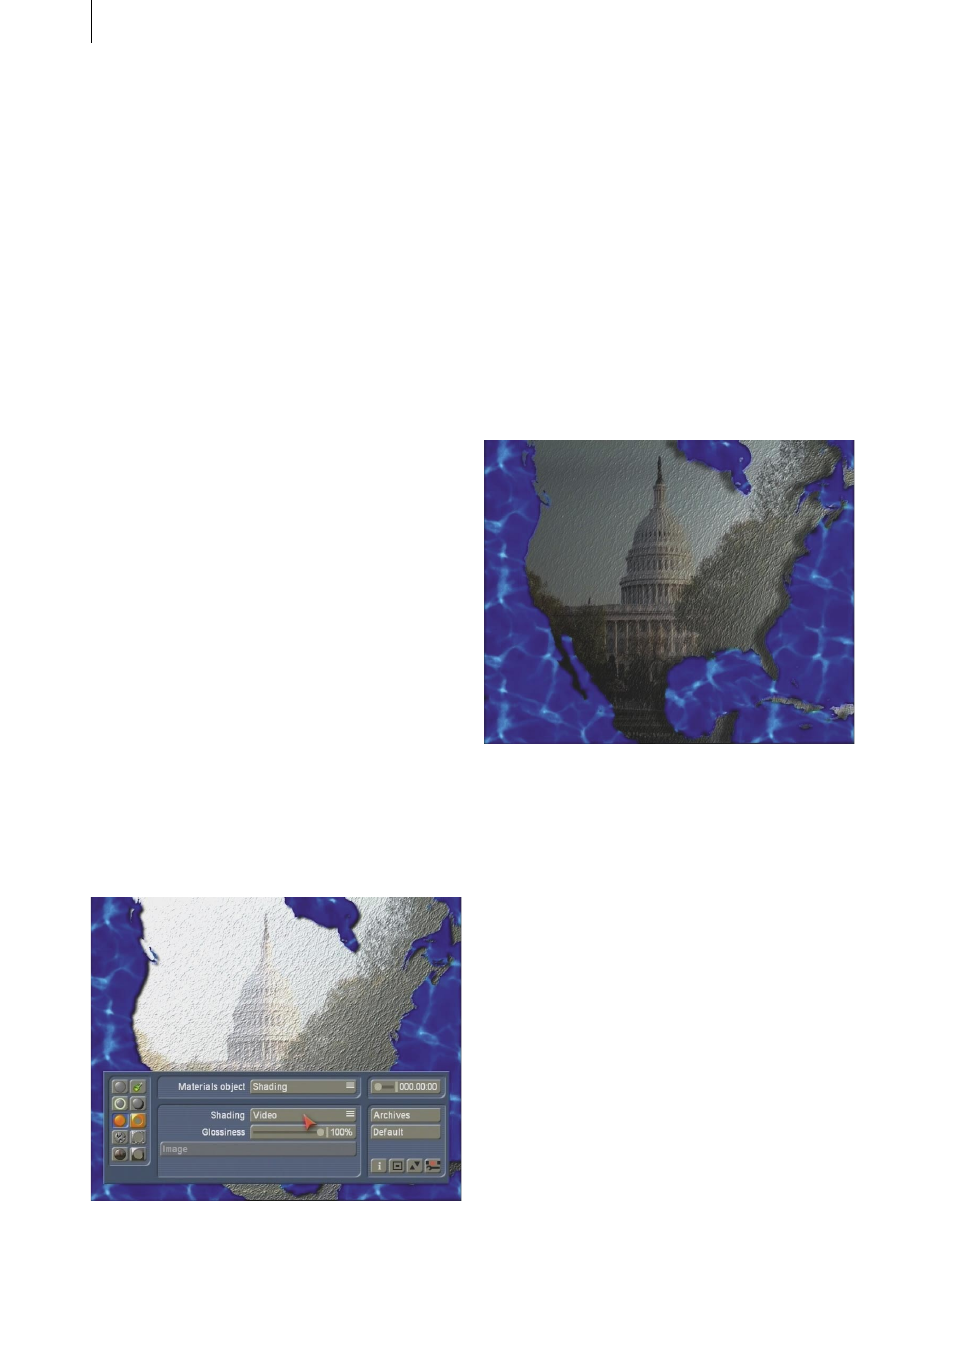
As you can‘t see much of your selected image
yet, go to Material Object and set Shading to
Video. You should now see the image.
Note: If you have used a different scene than
suggested in this tutorial, note that a dark scene
may lead to the structure of the water not really
being visible. In that case, set the Shading to
Select Image in Material Object. If the Blue
Water is not selected automatically, select it
using Image.
Now let‘s move on to the details. Go to the
Light menu and change the position of the light
source using the Set Position and Distance
buttons. Set the parameters as you wish.
Next, go to the Shadow menu and change
the settings so that the image is treated to a
plasticity of kinds in contrast to the background.
For example, set the Intensity to 65, Smooth to
9 and Distance to 54.
Finally, save the settings so that you can retrieve
them any time and continue working using your
previous parameters.
Quit Candy Factory and create the effect.
Further going tutorial: To expand on this
previous tutorial, create a new scene from
the effect realised above and add it to the
Storyboard, followed by the original video scene
(Xpress-Maps mask USA), In between the two
scenes, add the Transition effect Crossfade,
length of 2 seconds.
Enter the Titling menu and add the effect Fading
Pages to the Candy Factory scene. Enter the text
`USA 2006´ or similar.
The effect time range should now be 3 seconds,
as the last two seconds are used up by the
transition effect. Therefore, change the effect
length using the Range button to 5 seconds,
using the OUT approach. Create the scene. You
will now have a newly created USA map with
a title (as a static scene), cross fading into your
video. The film can now begin.