MacroSystem Candy Factory User Manual
Page 9
10
11
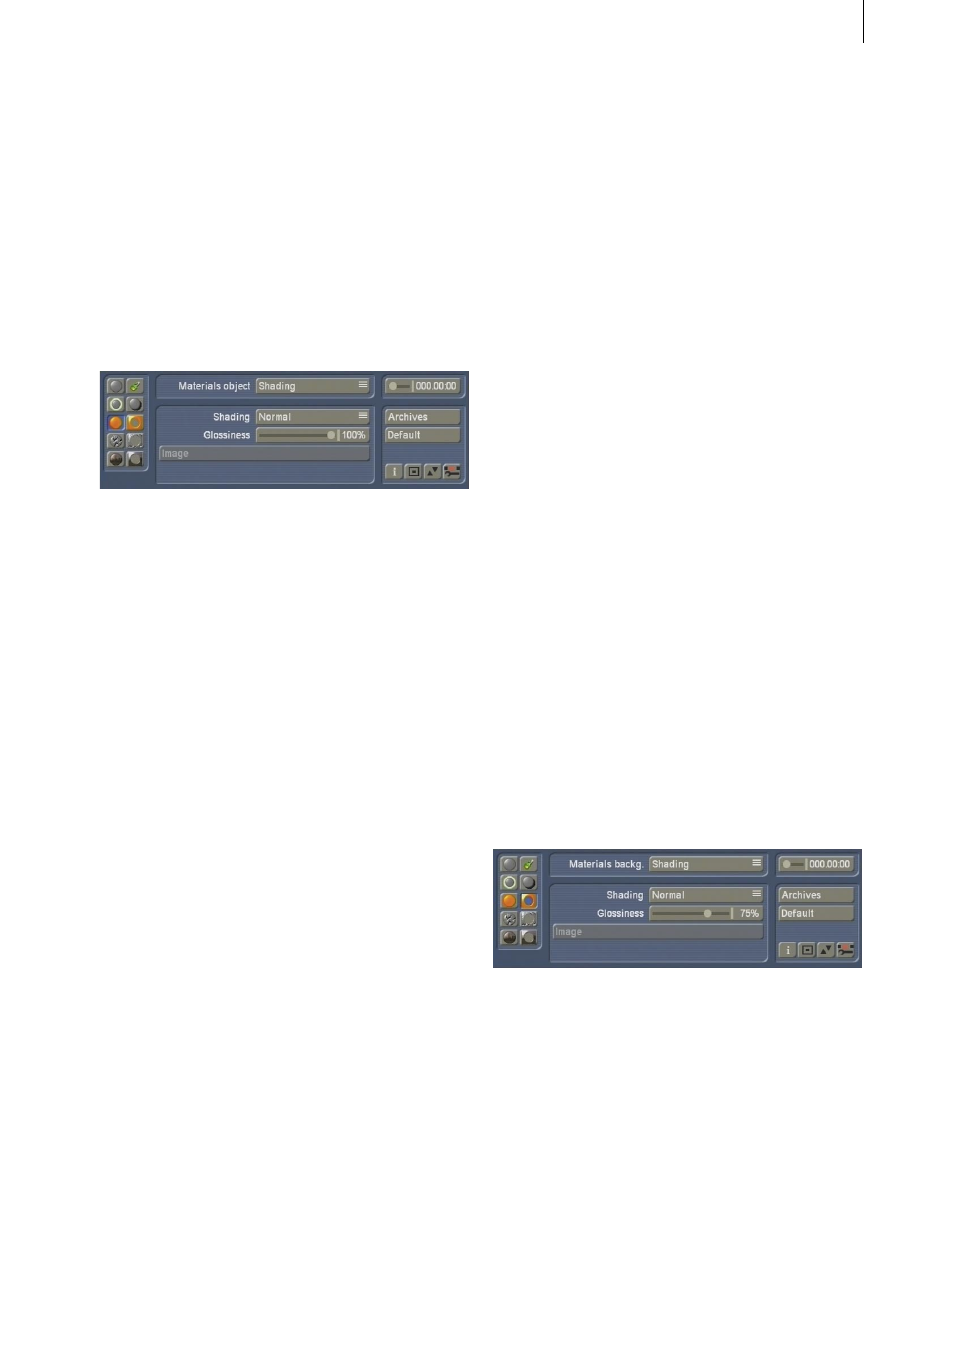
4.5 Materials Object
In this menu, you can determine the material for
the object. In other words, you are adding the
look of the surface.
This function does not affect the structure or
the surface itself, but merely the material itself.
Imagine that you are working on a picture of a
tiger. With this function, you would be changing
the `pattern´ rather than the actual fur.
• Materials Object: With this object, two more
menu points are available: Shading and Colour
Settings. Choose Shading for a start, to get the
following options:
• Shading: This is an important selection of
shading types for your object.
The None option results in no Shading at all
and thus no three dimensional look. The object
appears to have a very clean smooth surface.
Following this, you can merely select a Colour
from Colour Settings; the other buttons no
longer have a function in that case.
If you choose Normal, a normal kind of Shading
will be used. Further options are possible. If you
select Metal, the object will appear to have a
metallic surface, whereas if you select Video, the
object will be filled out with your video scene.
The option for Select Image allows you to
choose a picture from the Image Pool to be the
shading type (see button Select Image).
• Glossiness: This slider allows you to set the
glossiness of the material via a percentage
value.
• Image: This button is only active if you have
selected Select Image in the Shading options.
Click onto this button to see the Image Pool. You
can now choose a picture as you always do. This
image will then be the material type for your
object.
Next, you can select the Colour Setting from the
Materials Object options. The following colour
options are available using the Colour Box:
• Colour: This will be the main, base colour of
your object.
• Specular Colour: This colour has an influence
on areas directly lit by the light source. As these
parts are usually brighter, the second colour
should be far brighter than the base colour (or
maybe even white), so that -- depending on the
object -- the surface becomes a nice glossy look.
• Ambient Colour: This colour affects the more
dark areas, not directly lit by the light source. It
should usually be dark or even black. A brighter
colour tone will create an effect similar to a
second, weaker light source held up against the
first light source.
4.6 Materials Background
Please note that this menu is only active if you
have opted for a Background as a Texture, rather
than a Scene prior to starting the software!
In this menu, you can determine the material for
the background.
As this menu is similar to the previous menu,
you can easily use the descriptions found in the
previous chapter. The difference is merely that
the parameters made here have an effect on the
background rather than the object. You are in
fact working on the black background of your
black/white scene and the video scene is ignored
for now.