MacroSystem Candy Factory User Manual
Page 7
8
9
to get new options. Setting the Slope can further
adjust the 3D look of the effect. Additionally, a
white transition between light and shadow is
generated.
Options for Slope depend heavily on the
parameters you made for Width. A smaller width
reveals less Slope.
• Slope top: You can set a value between 0 and
10 to increase the Slope above.
• Slope bottom: You can set a value between 0
and 10 to increase the Slope below.
• Carve: This setting switches the look of the
area created. When deactivated (dash), nothing
changes. If activated (tick), areas that previously
looked like they stood out, are turned around.
Thus, they look like they had been carved in.
This function is easily grasped when using large-
area masks or letters with their own surface.
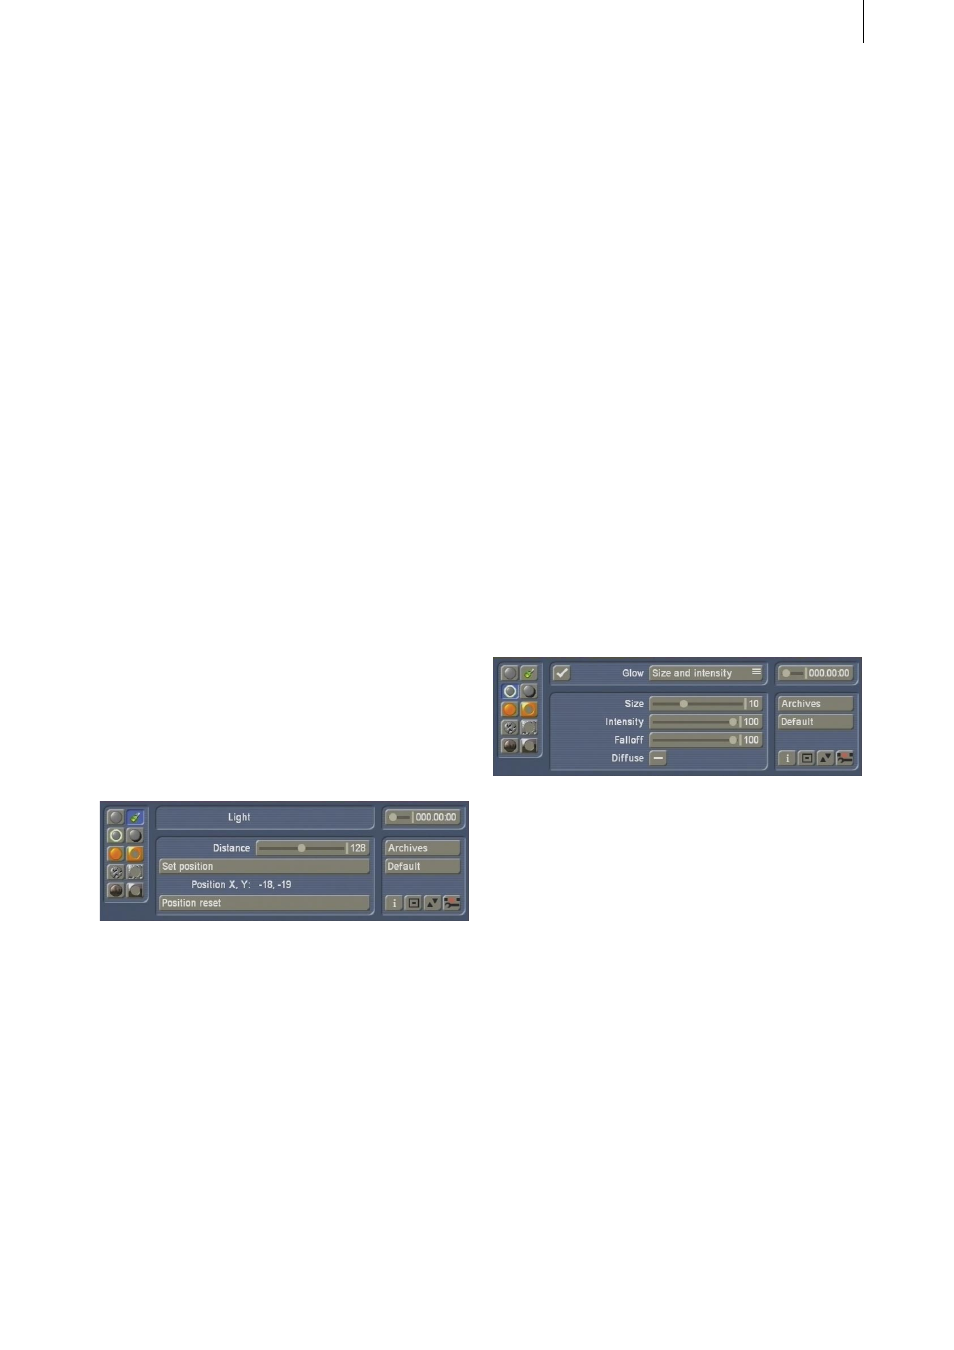
4.2 Light
Press this button to enter the Light menu. Here,
you can choose a light source to position in front
of your video scene. You can decide from where
your object is lit.
• Set position: Click on this button to position
the light source.
The control panel is faded out and you can use
the screen pointer to move the light source to
any position of the screen. You can also see
the co-ordinates on the edge of the screen.
Once you find the right position, press the left
trackball button to confirm the position.
• Position: Here, you can monitor the X and Y
coordinates of your light source. The position
coordinates will not be displayed in the video
material.
• Distance: Decide how far away the light source
is from the object using this function. If the light
source is very close to the object (small value),
the object will be brightly lit. All areas further
away shall fade away in the dark. If you increase
the distance, you will achieve a more diffuse
light, likely to be more useful in conjunction with
larger objects.
• Position reset: One click here resets the
position of the light source to the screen centre
(X = 0, Y = 0).
4.3 Glow
• Box: Click onto this box to activate the Glow
function. A tick activates it, a dash means it’s
deactivated. Glow is a type of aura, as if the
object were illuminated from behind.
If you do not wish to use Glow, and have
deactivated it, all the functions for this feature
will be ghosted.
• Glow: The Glow button activates two further
menu options: Size and Intensity and Colour
Settings.
First, select Size and Intensity to make the
following options:
• Size: This determines the size of the glow
effect. It ranges from a value of 0 to 30. The
glow effect will reach further out from the object
borders is set to a higher value.
• Intensity: This slider allows you to set the
intensity of the glow from 0 to 100. A higher
value increases the intensity. Such a higher
intensity allows you to better differentiate
between the two possible colours (see above).
Set the slider to 0 to switch of the glow entirely.
If you do so, there will be no need to make
further settings for Glow as they all depend on