MacroSystem Candy Factory User Manual
Page 16
18
19
Now enter the menu for Glow and activate this
function by placing a tick in the box. The title will
now be surrounded by a kind of aura.
Under Size and Intensity, place a tick in the box
for Diffuse. You will notice that the glowing aura
around the title has become finer.
Set the Size to a value of 20 and leave the
Intensity value at 100.
Colour settings can be left as they are.
Now enter the menu for Shadow. This function
should already be active. Set Intensity to 70 to
weaken the shadow a little.
The value for Smooth should be left as it is.
Click onto the button for Distance and move the
slider to the right. You will see that the shadow
is moving further down and left – the higher
the value. You have defined this yourself with
the light source a little earlier. Set the value for
Distance to 45 and leave the colour as black.
Some final adjustments: Go to Material
Background and set the toggle button to
Colour Settings. Select a nice red colour for
the top colour tone. This will replace the grey
background.
Ignore the remaining menus, which should have
their functions deactivated already.
Save the setting made in this tutorial and exit
the program via the menu symbol at the bottom
left of the panel.
Create the effect and you are ready!
Tip: If you wish to have a video scene instead of
the red background, replace the first of the two
scene with a video. The video scene should be
at least five seconds long so that the text can be
seen for the complete period of time.
Before starting, set the option Background to
Scene. Now start Candy Factory again and you
will no longer see the red background, instead
the effect will feature your chosen video scene.
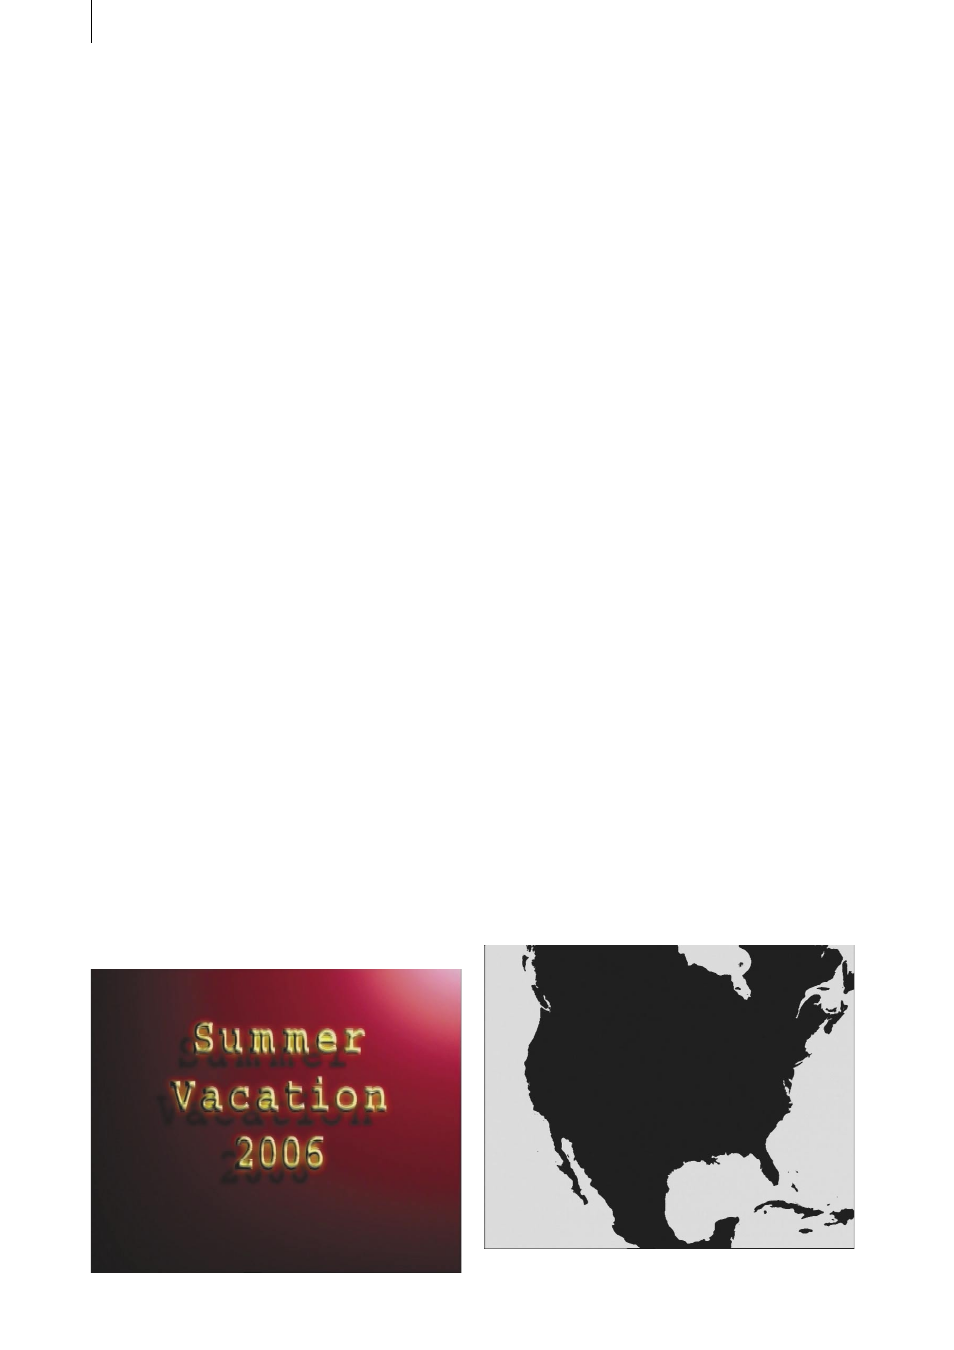
5.3 Text background for a vacation film
For this tutorial, you will require the add-on
software Xpress-Maps 1.
We will go about creating a text background for
a vacation video, for example in North America.
Click onto the button New in the Edit screen and
select the effect XPress-Maps 1.
Click onto this button Select Map and choose
the option Masks under Type. This will result in
a black/white display. Select the mask USA.
Set the Mode to Negative. This will achieve
better results. But more about that later. Confirm
your selection with OK.
Next, deactivate the display of Cities, Names
and Borders. All relevant boxes should have a
dash.
Set the effect length to 5 seconds and create the
scene by pressing OK.
You will see a scene in the Edit Bin, with a black/
white representation of Northern America.