MacroSystem Candy Factory User Manual
Page 14

16
17
If you have been experimenting with Candy
Factory before, the colours and patterns may
reflect the parameters you set up earlier.
Make sure that the preset parameters are back.
To do this, press the Default button and confirm
the requester with Yes.
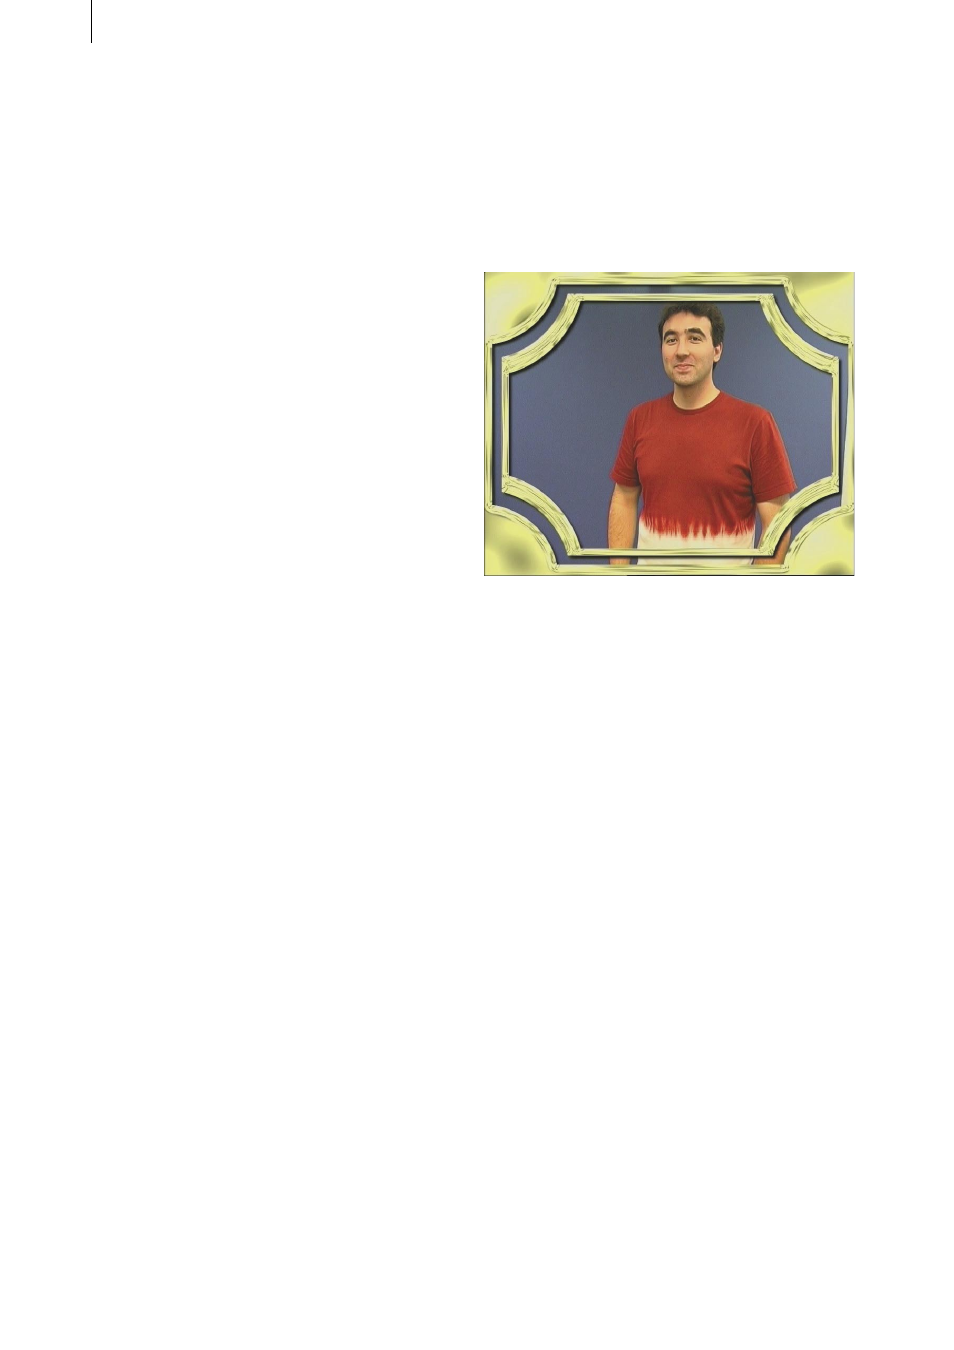
You will see that the frame now glows in yellow.
Let us now take a look at the single parameters.
This example is only meant to explain some
specific functions, so please enter the menu for
Bevel.
Set the Bevel selection button to the function for
Extent.
Increase the value for Width to 12 so that the
edges of the frame become somewhat softer.
Leave the Height at value 100.
Then, set the Smooth slider to 12 to get softer
edges.
The function Invert Mask must remain inactive,
as this would result in the video being placed
inside the frame, rather than the space inside!
For this tutorial, there are no further settings.
The default settings for the menus Light, Glow
and Shadow need not be changed. Select the
menu Material Object in order to do some
changes on the material, i.e. the frame.
Select the button for Materials Object and
choose the Shading setting.
Then, in Shading, choose Metal, and leave the
Glossiness level at 100%. The selected material
gets a visible 3-D type look.
The two following menus Bumpmap Object and
Texture Object can be ignored.
Now that you have made the required settings,
save. To do this, click onto Archives and press
Save. The next screen Save File will show you
previously saved files.
Enter a title for your new project, for example
the name of the filmed person.
Click Ok twice to confirm the name and then to
save the file to the Archives. You can return to
this file anytime and access it from now.
If you wish to return to the Transition Effect
menu, you can‘t do that via the right trackball
button. Instead, use the Menu symbol found in
the bottom right corner of the interface panel.
Let the project be created (rendered) in the
transition Effect menu and voila!
5.2 Title effects
Note: For this example, you will require the
Scene function of Smart Edit. If your machine
does not run the Pro Pack, or if you have not
purchased it separately, you will have to skip
this tutorial please. Please ask your dealer if
you are unsure. Some MacroSystem editors are
shipped with this function per default.
In this tutorial, we will be creating the intro
sequence for your vacation video. For this, you
will need a 5 seconds long scene (minimum)
that must be added to the Storyboard.
The colour is not important, as the content of the
scene is irrelevant. Next, generate a black scene
of 5 seconds, add it to the Storyboard and insert
a titling effect, namely the Scrolling Title.
Make sure that the effect is on for the whole
scene length.
Enter the text generator menu, select the
Archives and load the text called Candy Factory.
This is to ensure that your text is of a pure white.
Delete the text, choose a font of your choice and
size and enter a suitable text such as `Summer
Vacation 2006´.