MacroSystem PiP-Studio 3D User Manual
Page 10
10
11
change the position of the PIP.
If you select a specific axis from under Rotation,
you will only see these rotation options.
Just try the different settings, but make sure that
the desired settings are not changed again. You
can reset them by selecting Additional options
(see below).
In this case if you set Object: x axis or Camera:
x axis, the vertical axis is activated. In a
coordinates system, it is in fact the y axis. In the
PIP-Studio 3D program, the image is tilted using
the vertical line. The image therefore revolves
around its own axis.
Note: The axes are displayed around the route
point, which makes it possible to rotate the
image. The red outline cannot be selected, it
has the same significance at the Rotation: Free
setting, so that you can rotate the scene in all
directions at the same time.
If you want to rotate the scene by 90°, then use
the value or grid. The coloured marks on the
circle line do not mirror the rotation angle!
• Convert waypoint: If you want to change the
route guide into a route point, activate it (so that
it changes to green) and click on this function.
The point is displayed in a larger format and can
now be edited. The start and finishing points
cannot be changed, since these are route points
which are already to be edited.
Use this button to change a route point back into
a route guide.
• Del waypoint: Click on this button to delete the
route point which is currently active (green). The
start and finishing points cannot be deleted.
• Option reset: This button is at the bottom left
of the toolbar. Click on it to access the additional
options, where you can reset the rotation and
size, if you have accidentally rejected these
settings.
The Maximum image size function is used to
reset the PIP to the full size in the middle of the
image. This function for example is useful when
the PIP is to fill the image from the start or end.
If however the maximum image size is to be
identical to the size of the next storyboard
scene, then you should do the following: When
selecting the scene (Style menu), the whole
scene (Full) must be selected whilst taking into
consideration the Aspect ratio (Keep ratio). This
means that because of the maximum image size,
the scene also has the size and position to be
able to easily set the subsequent scene.
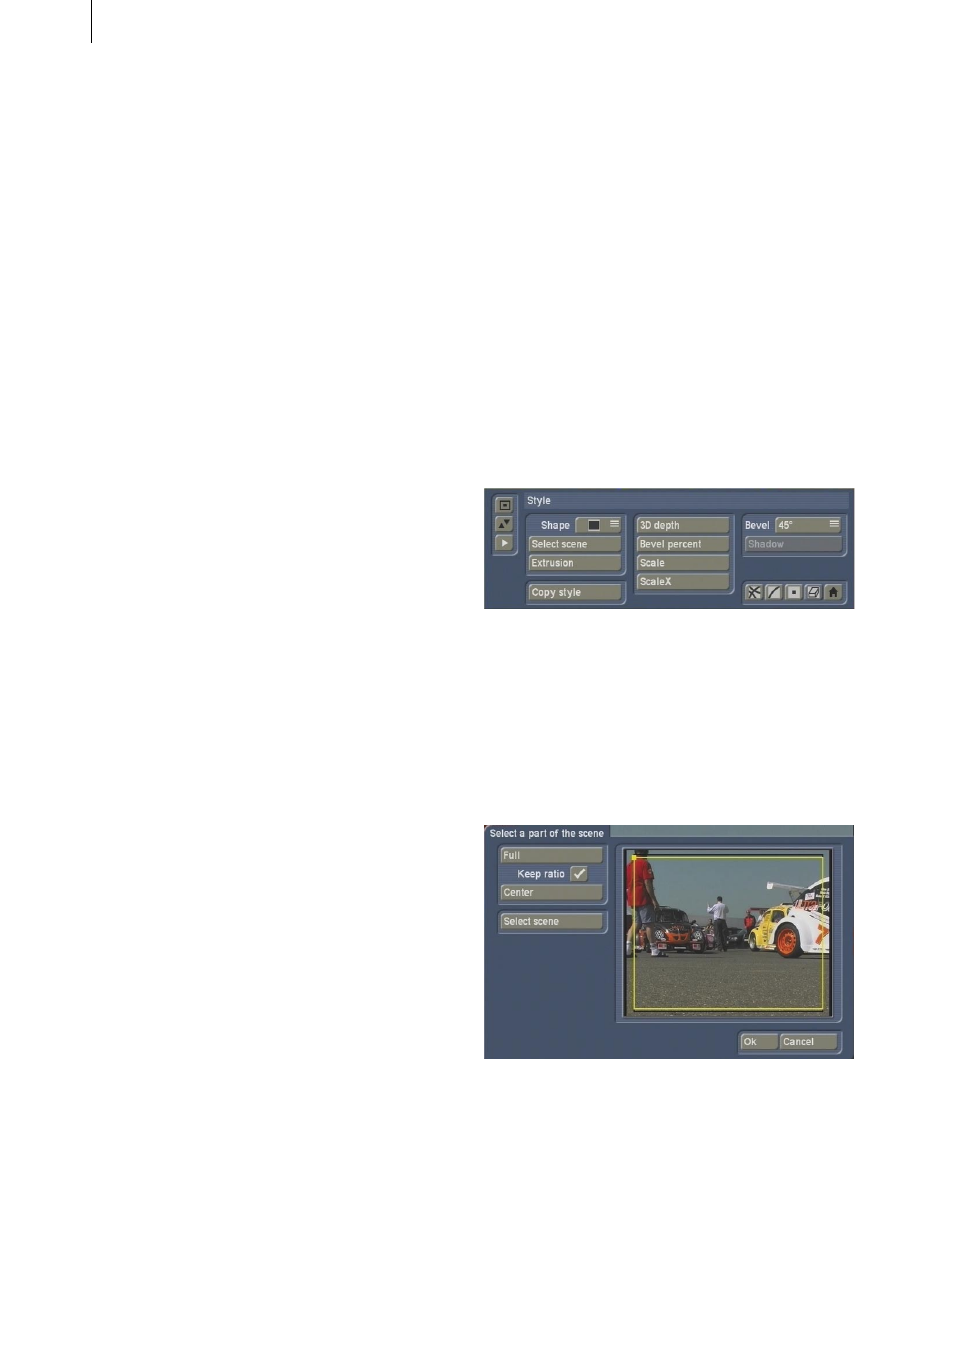
4.2.4 Style menu
Use this menu for the global creation of the
PIP. Here you can determine for instance
which scene is to be used as a PIP and what
appearance it should have.
• Shape: Use this selection button to define a
form for the PIP.
• Select scene: Once you have clicked on this
button, another window appears where you can
select a scene or an extract from a scene, which
is to be used as PIP.
In the preview box on the right you can see your
current PIP scene, which is surrounded by a
yellow frame.
Use the screen pointer to select one of the lines,
which then changes from yellow to green and
you can click on the left trackball button. The line
changes to blue and you can move it by moving