MacroSystem PiP-Studio 3D User Manual
Page 6
6
7
• MID position: Use this function to determine
the central point of the path. The red preview
box changes to blue and you can move it by
moving the trackball pointer. Once you have
found the desired position for the central point,
click on the left trackball key to confirm.
• OUT length: Use the slider control to select
the time at which the PIP should fade out. Make
sure that the length set here, along with the IN
length, is actually the same as the overall length
of the scene. The maximum length which is
possible in this case therefore depends on the IN
length which has already been entered.
• OUT select: Use this function to select the fade-
out path. This takes you to a menu where you
can set the behaviour of the path. Select Preset
Type to set a more accurate definition of the
path property. You can either select Simple or
Zoom. Once you have selected your option, this
changes the settings in the list above it which
can be selected.
Select Mirror to mirror the selected path and
change it as such. The red box in the preview
always shows you the path which has been set.
Once you have set the behaviour of the path,
click on Ok.
Once you have created the progress of the PIP,
click on Next in this menu which takes you
to a new menu where you can determine the
appearance of the PIP.
A preview is shown again in the right hand
side of the window, which displays your scene.
Furthermore, the PIP is now no longer displayed
as an outline but it shows a scene – it is the
scene currently selected in the scene bin.
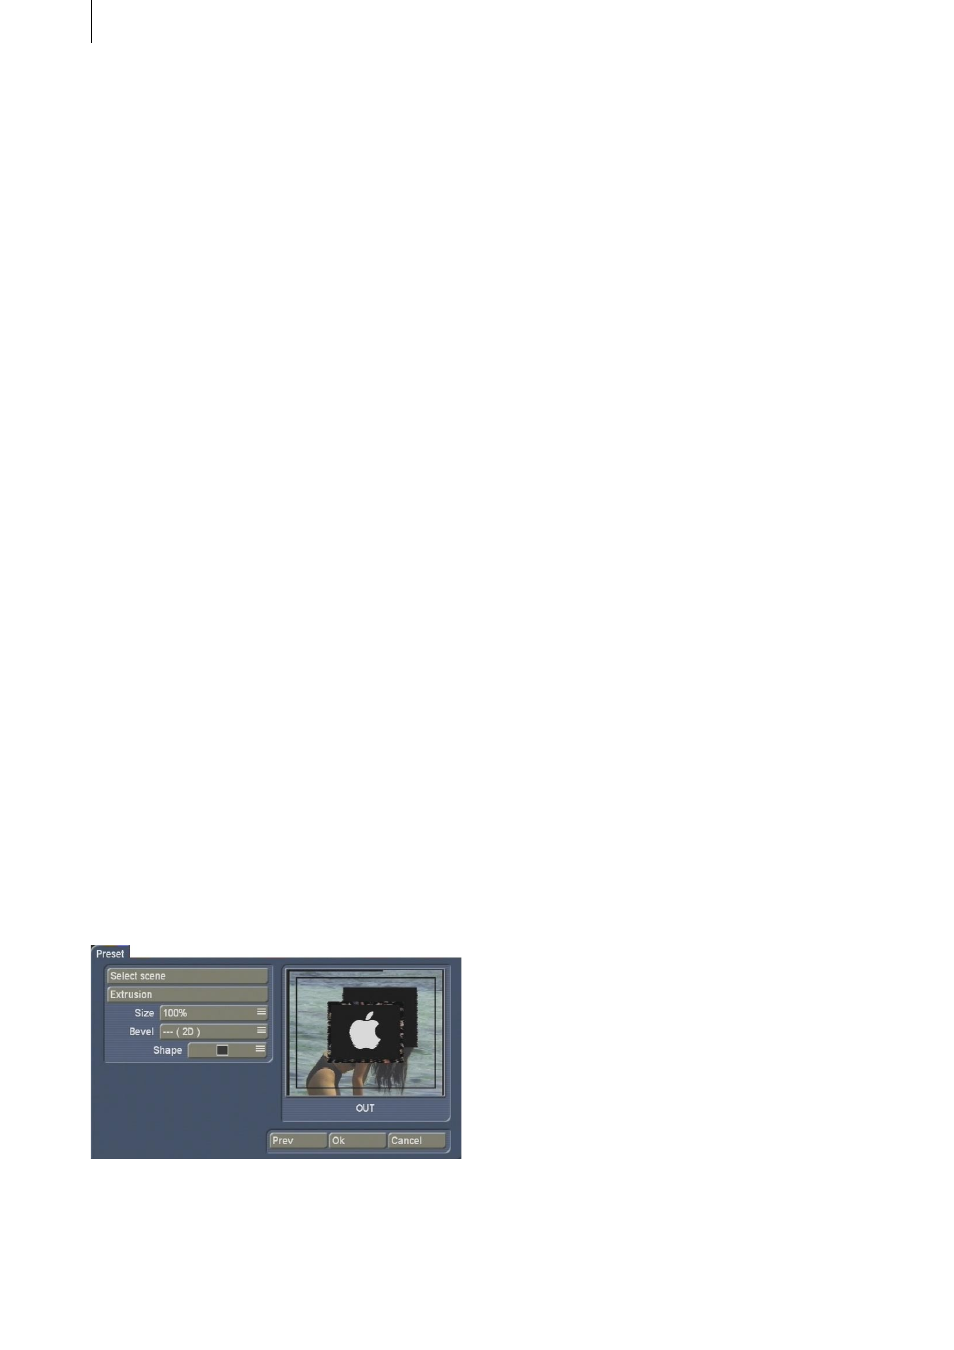
The following settings options are displayed on
the left hand side of the window:
• Select scene: Click on this button once to
display the scene bin from which you can now
select the desired scene for the PIP. Then click on
Ok.
• Extrusion: Click on this button to open the
image pool, and use the Product and Type
buttons to select a suitable image for the colour
of the outline, which surrounds the scene.
Then confirm your selection by pressing Ok.
• Size: Use this selection button to set the PIP
size. You can choose from eight settings.
• Bevel: Use this selection button to define the
bevelling of the outline edge.
• Shape: Use this selection button to define the
PIP format. A list appears with small preview
images of the possible formats.
Once you have created the appearance of the
PIP, click on Ok to exit the menu and accept the
settings.
(Press the Prev button to go back to the previous
menu, in order to make any corrections if
necessary. Press the Cancel button to reject the
settings which have been determined and to
return to the Image processing effects menu.)
In the Image processing effects menu, you can
now click on the Create button and then view
the result.