MacroSystem PiP-Studio 3D User Manual
Page 8
8
9
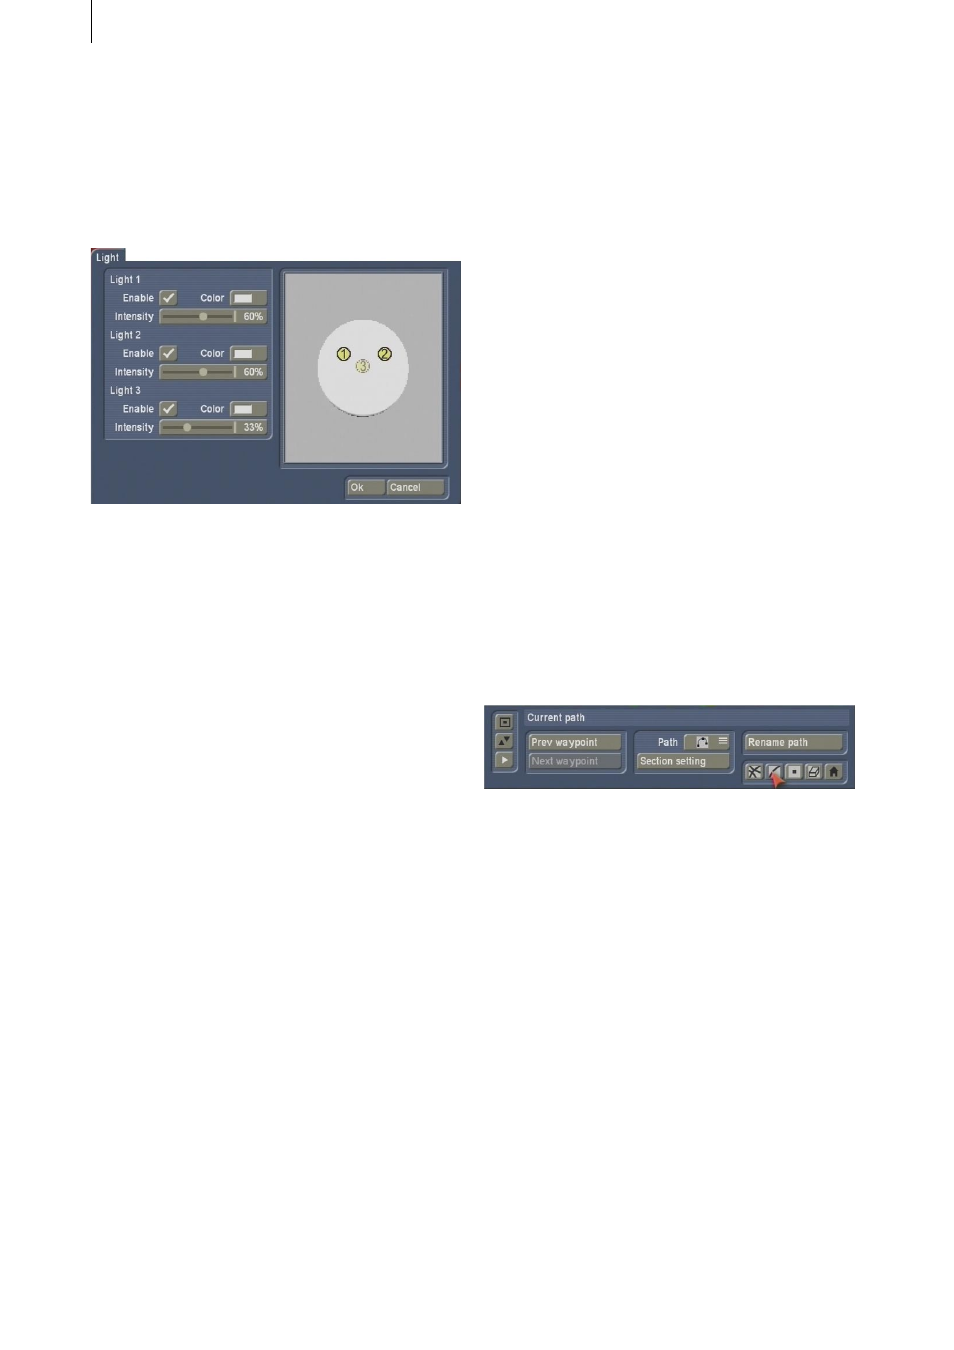
• Light: Click on this button for a window where
you can position three light sources, switch
them on (enable) or off individually and can
assign a colour value (color) and brightness
(intensity) to them.
In the left hand side of the screen you can
activate each of the light sources separately, by
clicking on the box which in turn places a tick in
the relevant box (On).
In addition, you can use the colour box to set a
Color for each light and determine the Intensity
of the light source as a percentage value.
On the right hand side of the screen, you can
see a preview in the form of a ball, on which
your three light sources are placed (up to three).
The fact that you are moving the light sources
around a ball and not a scene image is because
it is easier to represent the three dimensional
position on the ball.
You can now watch how the light falls differently
depending on the setting.
You can click directly onto the three yellow light
sources (1, 2 and 3) and move them by simply
clicking on the yellow dot so that it changes to
blue. Once it becomes blue, move the trackball
to move the light source. If you drag the dot
over the edge of the ball, you can move the light
source behind the ball – you will recognise this
by the dashed line of the dot and the transparent
number.
If you are happy with the new position, click
again on the left trackball button to confirm your
selection.
Once you have completed the settings for the
light source, close the Light window by clicking
on Ok to take you back to the Scene menu.
• Preview: Here you have a choice of four display
options for the PIP outline on the background
scene. Because of the smaller PIP display, you
can reduce the calculation time of the display. If
your device supports fast rendering, you should
select the best quality.
• Archives: If you click on the archive, a prompt
appears where you can choose whether you
want to archive all scenes, the current path or
the current style.
Once you have decided, a selection is displayed
which gives you the option to save, load or
delete the data.
Once you have determined all the desired
settings in the Scene menu, click on the Current
path (2) button, to see the following menu.
4.2.2 Current path menu
Using this menu you can determine the settings
for the current path.
• Prev waypoint: If you click on this button, the
previous route point of the path is activated. If
the button isn’t active, then you are already on
the first route point.
• Next waypoint: By clicking on this button, the
next route point of the path is activated. If the
button isn’t active, then you are already on the
last route point.
• Path: Use this selector button to determine
whether the motion line should be square or
rounded.
• Section setting: Use this button to influence
the movement of the path. This setting does not
apply to the active route point but to the whole
path.