MacroSystem PiP-Studio 3D User Manual
Page 16
16
17
flying out of the screen, move the finishing
point slightly downwards. Activate it so that
it changes to blue and move it just below the
yellow starting point which has now appeared.
The distance should be approximately two point
widths.
5.3 Placing two scenes opposite each
other on one background
In this tutorial, you are placing two scenes from
one background scene opposite each other.
First of all you need a background scene, for
which you will create a template of your choice
(Edit, New, Template). Allow the length of this
scene to be 10 seconds.
Now you need two video scenes, which should
also be 10 seconds long. Both of these opposing
scenes which in this example are called “1” and
“2”, remain in the scene bin.
Then add the background scene to the
storyboard and allocate the PIP-Studio 3D image
processing effect to them. Make sure that the
length of the effect corresponds with the length
of the scene.
Finally, click on the Start PIP-Studio 3D button to
access the program.
From the Scene menu, start by deleting all paths
which are displayed once the program has
started. To do so, continue clicking on the Del
path button until it can no longer be selected.
Confirm the waning messages which appear by
clicking on Ok.
Then use the Add path button to create a new
path.
For the first path, select the scene which is to
appear on the left of the screen. Use the relevant
menu symbol in the bottom right hand corner to
pull up the Style menu and click on the Select
scene button.
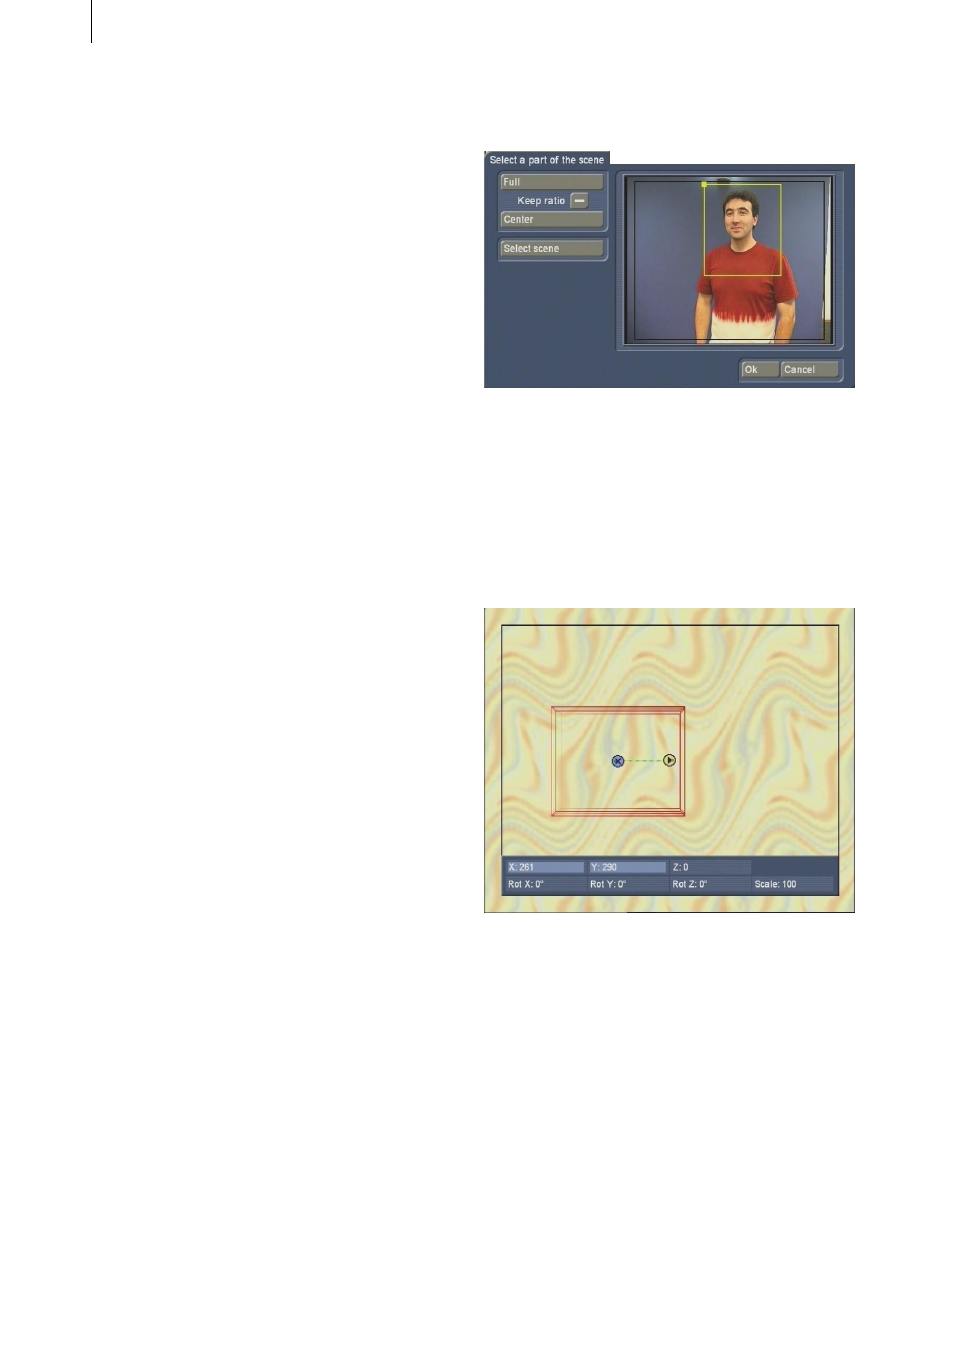
A window opens where you can select the
desired scene from the scene bin (Select scene)
and determine the extract. Here you have opted
for scene 1, confirm with Ok and move or reduce
the size of the box in order to define the desired
extract (see Chapter 4.2.4).
Confirm the setting with Ok.
Then determine the finishing point and change
the size and shape of the PIP.
Click on the finishing point (route point which
includes a cross), so that it is displayed in blue.
Then move the trackball to the left until you
reach the coordinates X=260 and Y=290.
Once you have positioned the finishing point,
click again on the left trackball button to confirm
the new position.
Then pull up the Waypoint menu and click on
the Rotation selection button. Select the setting
Camera: y axis. You will see that only this axis is
displayed.
Then click on this axis so that it becomes blue
and then move the trackball until the value Rot
Y: displays 58°. Confirm the setting by clicking
on the left trackball button.