Tutorials – MacroSystem PiP-Studio 3D User Manual
Page 12
12
13
(If you want to exit the program without
accepting the settings, press the right trackball
button and confirm the security prompt.)
You are now back in the Image processing
effects menu where you now have to click on
Create.
5. Tutorials
5.1 Creating a 3D transition
In this tutorial, a scene is supposed to rotate in
the middle of the image and thereby link directly
to the next scene.
First, you need a video scene which is 10
seconds long.
This scene should fly into the image in a three
dimensional format and should be shown as a
complete frame.
Now split the scene into two. The first part (eg.
4 seconds) is to fly into the image as a PIP, the
second part (eg. 6 seconds) is to be seen as a
complete frame.
Then select another scene, which is to be the
background in the PIP. It should be exactly the
same length as the first part of the scene, in
other words 4 seconds in this example.
Insert the background scene into the storyboard
and then add the second part of the scene which
had been split, behind it (6 seconds).
Finally, add the PIP-Studio 3D effect to the
background scene. Make sure though that the
effect covers the whole scene and then start the
program by selecting the Start PIP-Studio 3D
button.
If there are already PIP paths in this menu,
please delete them by continuing to click on the
Del path button until the button can no longer
be selected. Confirm any warning messages that
appear by clicking on Ok.
Then use the Add path function to add a path.
Activate the starting point of the path by clicking
on the yellow symbol so that it changes to
green.
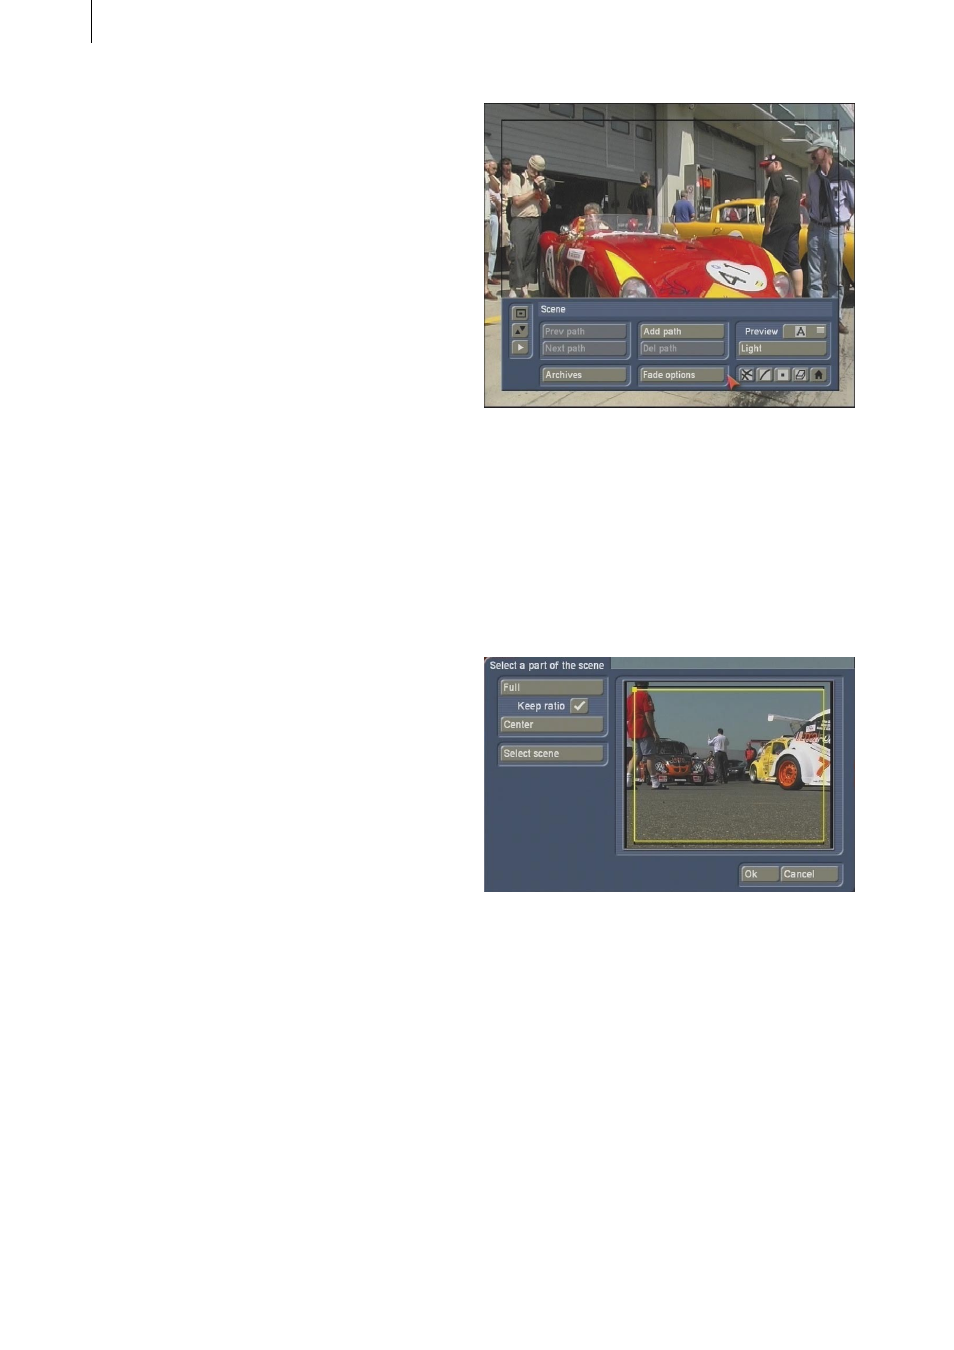
Enter the Style menu to select your PIP scene.
Click on the Select scene button and in the next
menu which appears, click on the same button
to select the first part of the scene (4 seconds)
which was split into two.
It is important that you do not select an extract
from this scene since the transition later on will
otherwise not be suitable. Therefore, to be on
the safe side, tick the Aspect ratio box and click
on the Full button so that the whole scene is
selected.
Confirm the scene selection by pressing Ok and
access the Waypoint menu.
Tilt the appearance of the PIP slightly on the
starting point. Since the PIP is supposed to
rotate, it is important to have an inclination here
so that the inclination at the starting point is